An Epic Road Trip and Meeting Susan Khalje!

22

Okay, despite the title, there was only one thing truly epic about my road trip to Maryland, and that was meeting haute couture sewing expert and master teacher Susan Khalje!

When I contacted Susan, she graciously invited me to visit her studio, north of Baltimore, where her popular haute couture sewing classes are held. I wanted to hear about her recently-launched online video series, which includes “The Cocktail Dress” course (now available), and a number of other courses in the pipeline. (Find details here on SusanKhalje.com)

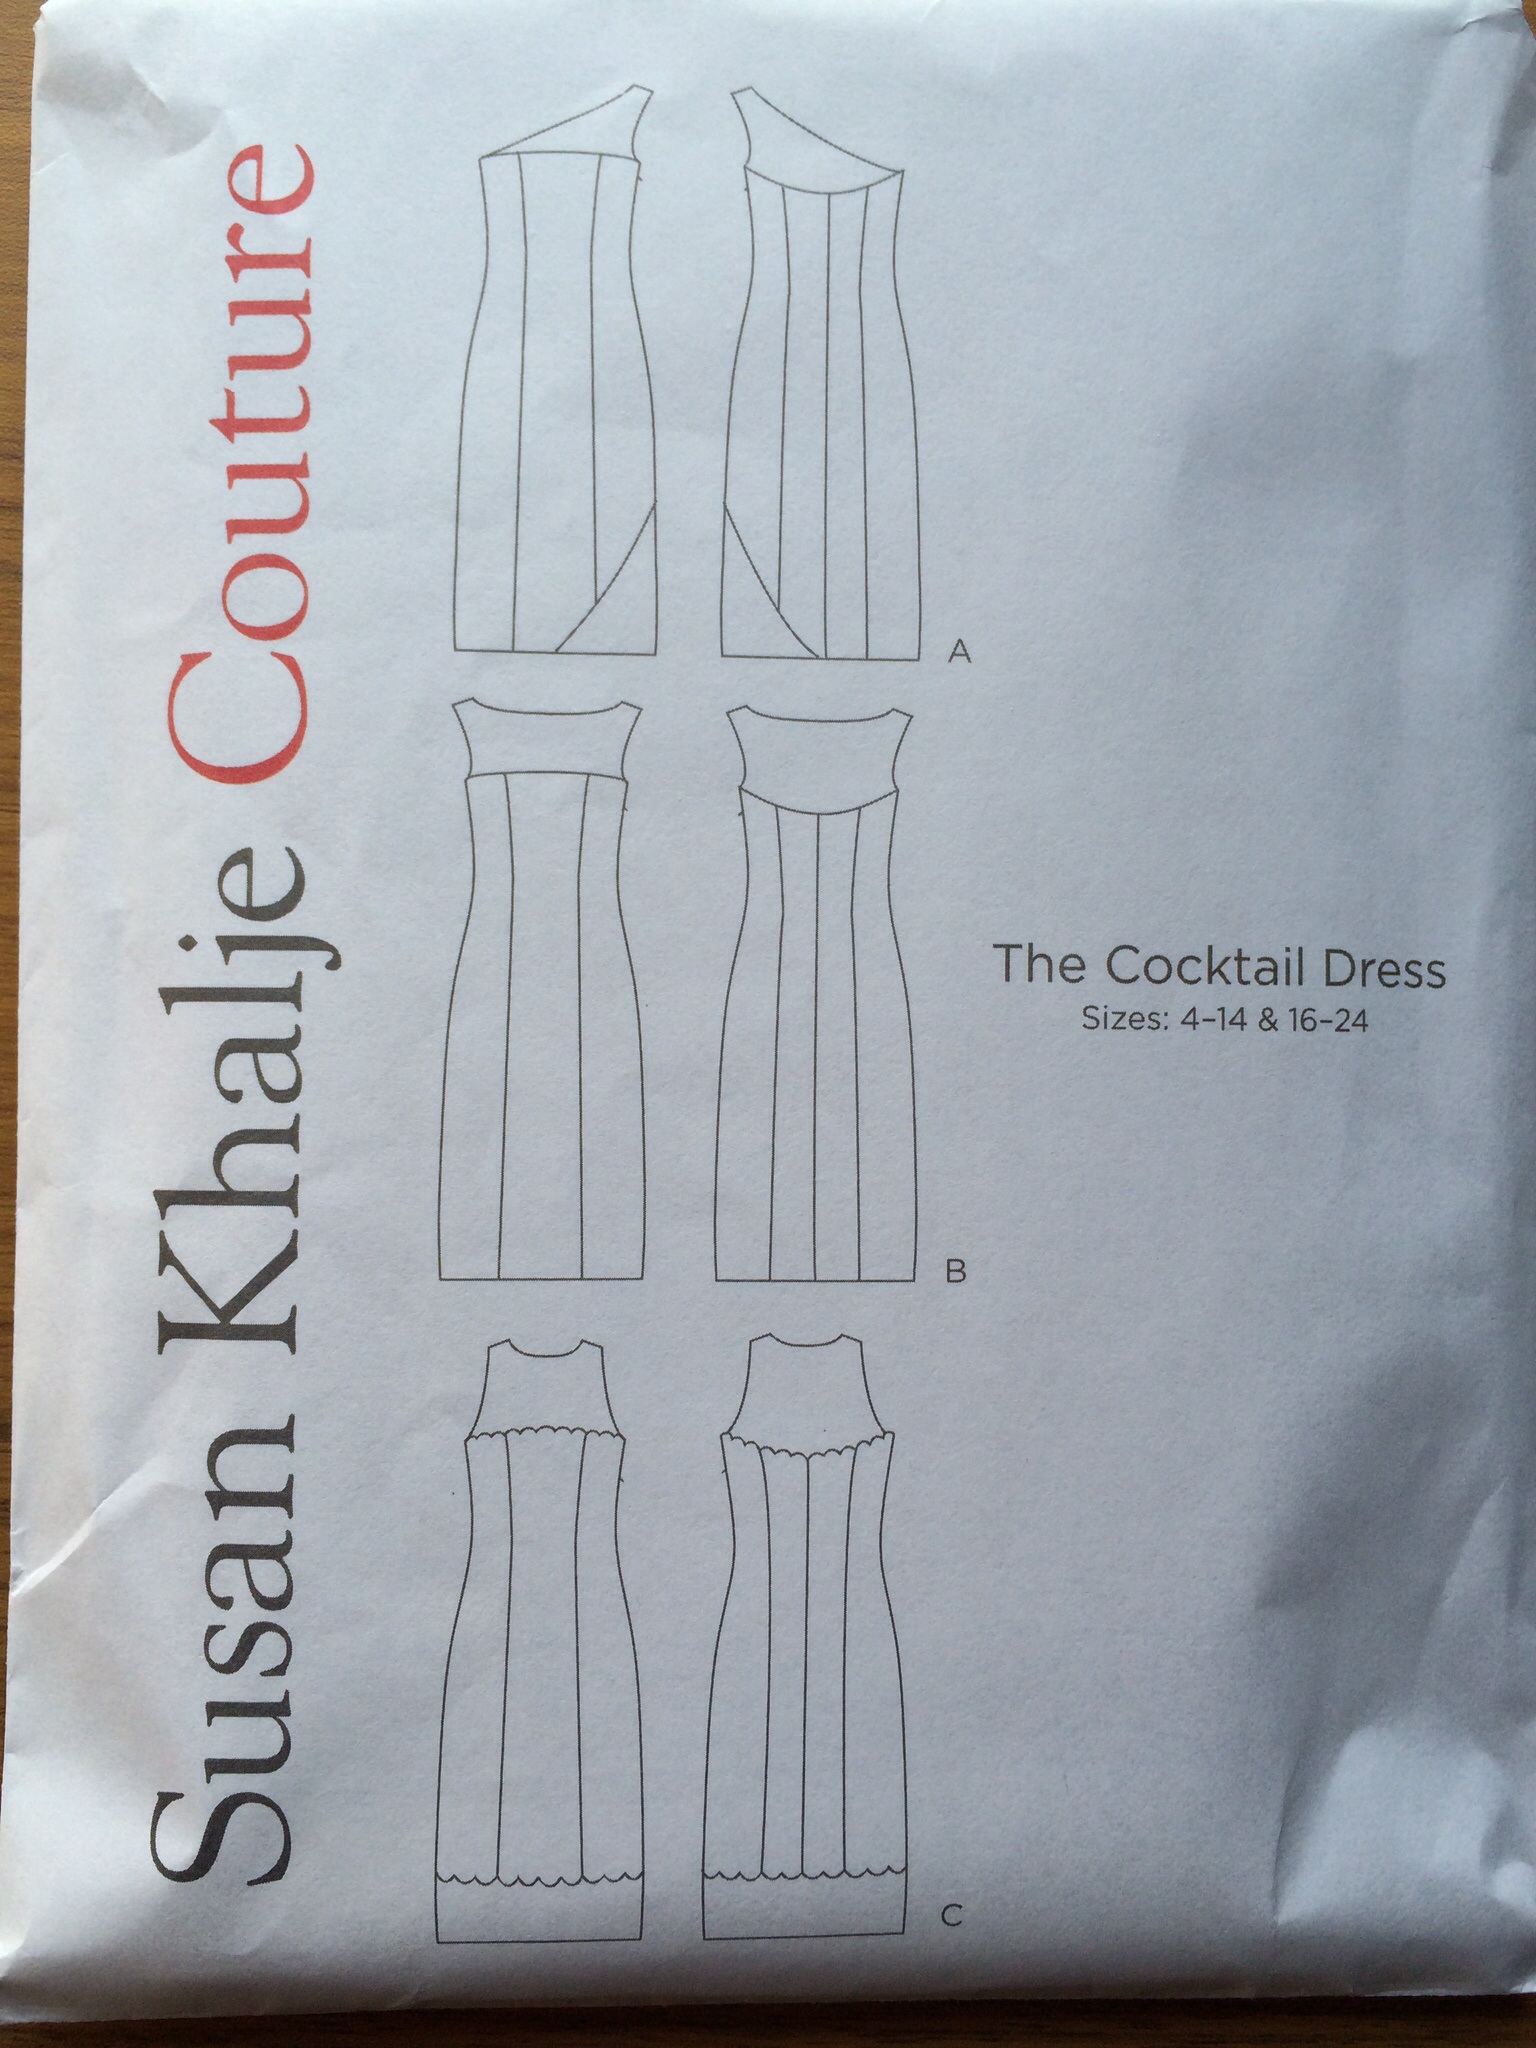
Susan has given me access to the Cocktail Dress course for review, and I’m very eager to have a look. Here’s the pretty pattern that goes with the course (which comes in a range of sizes, up to a 50″ bust):

image

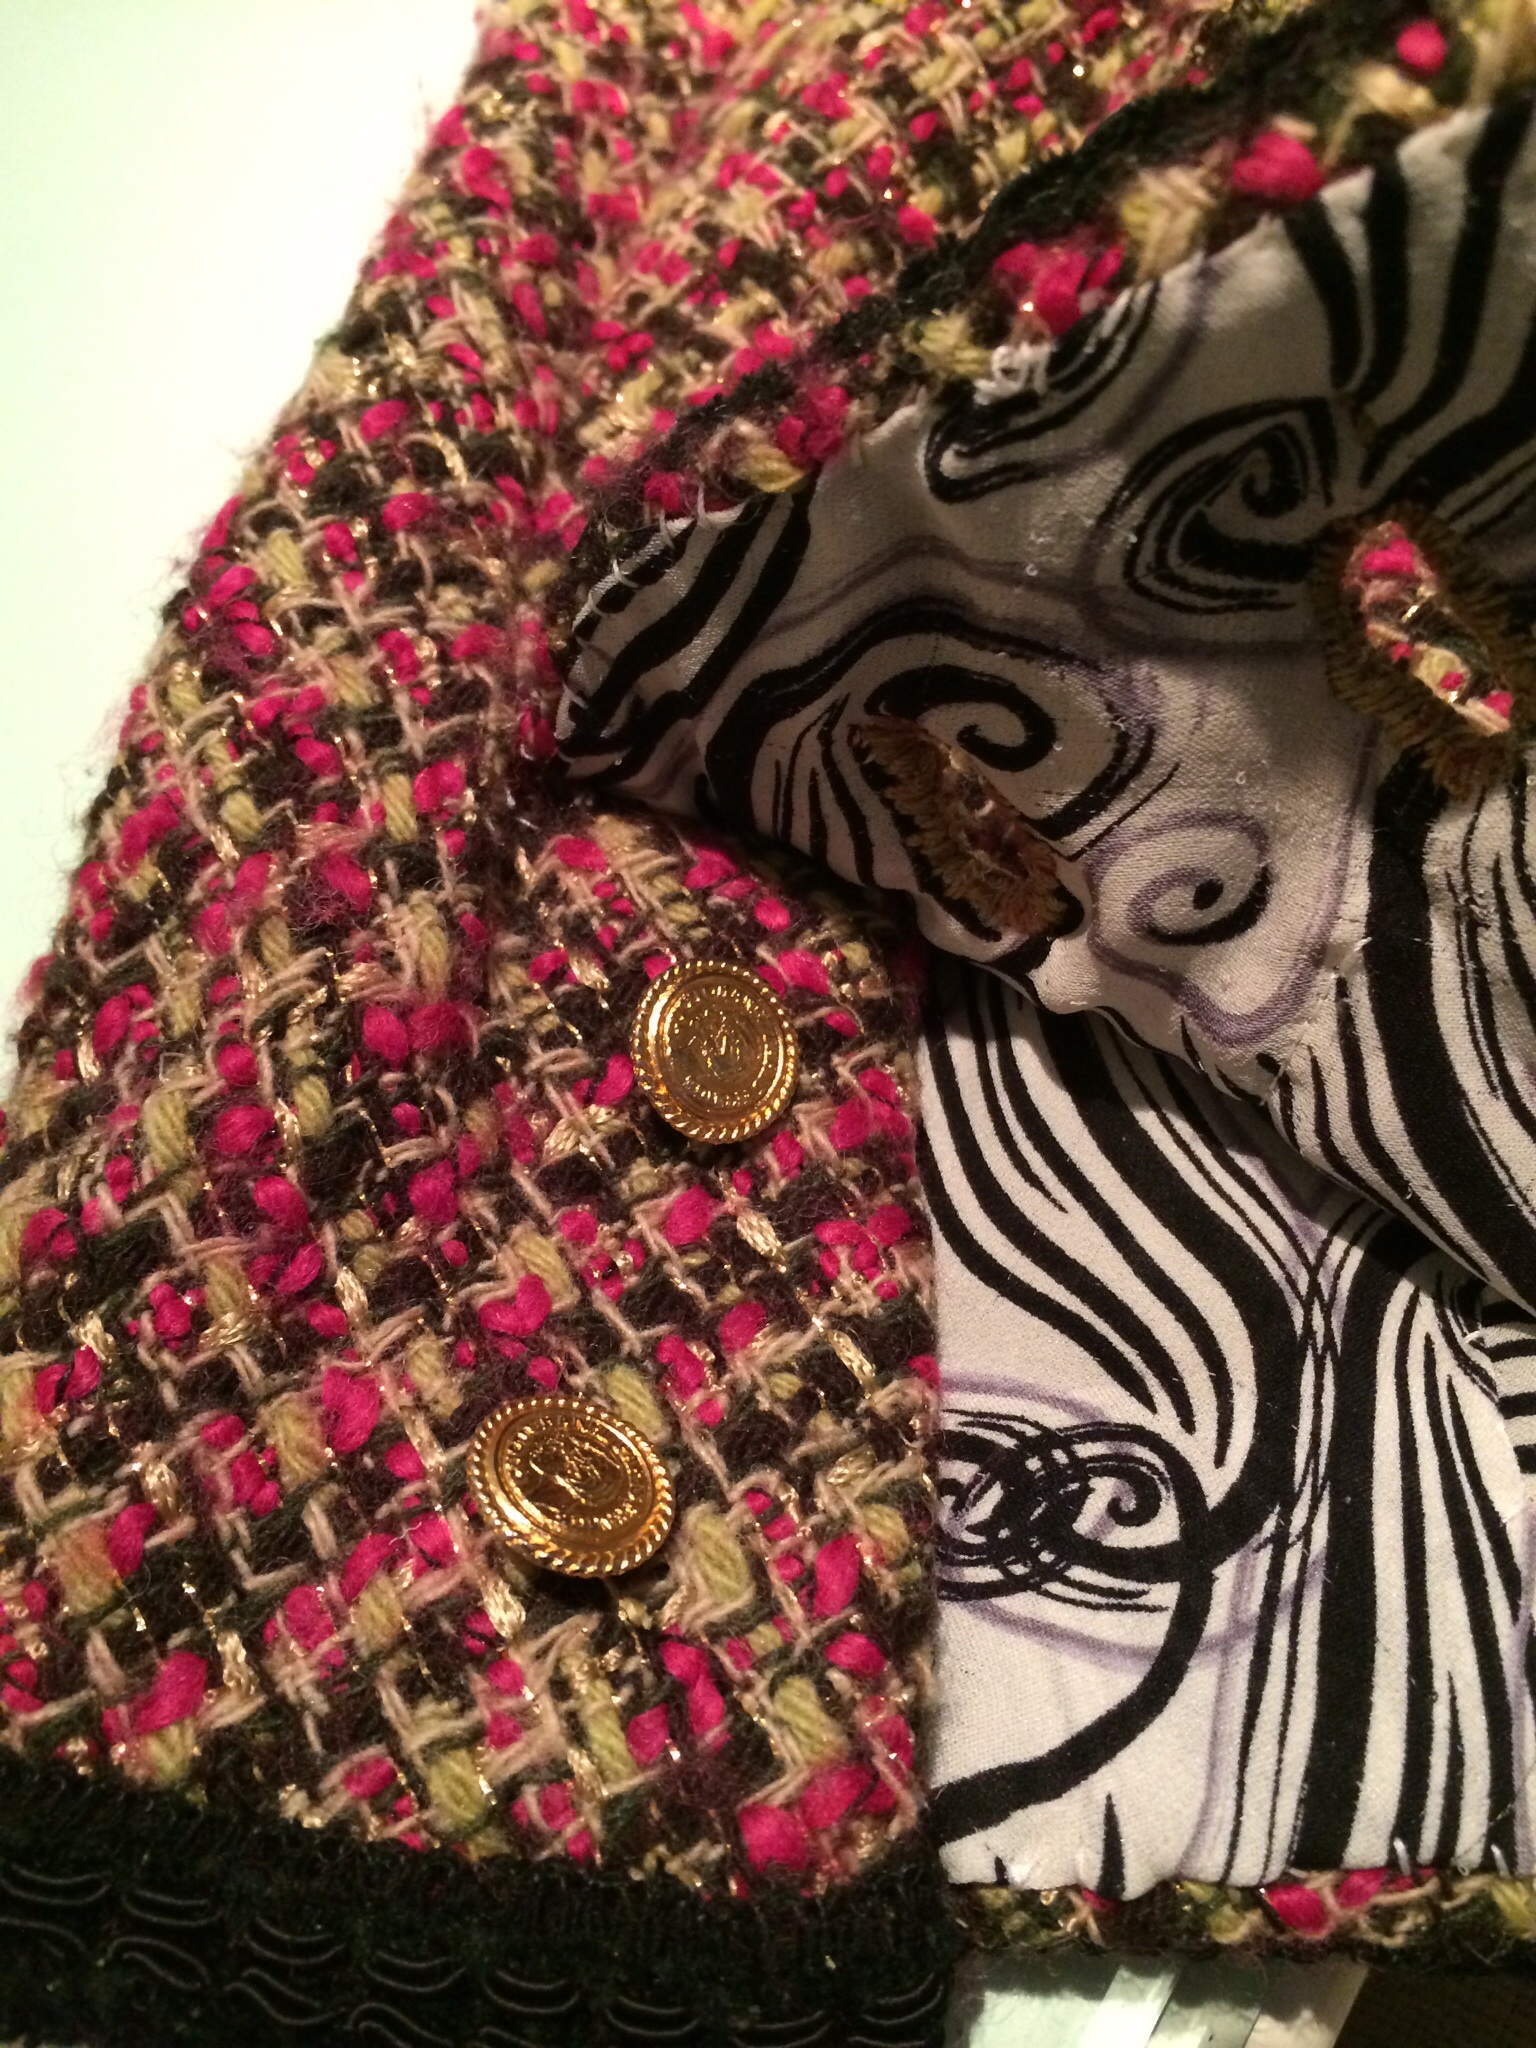
Susan even gave me a sneak peek at the French jacket pattern she’s currently tweaking, which will be released in conjunction with her highly-anticipated “French Couture Jacket” online course:

image

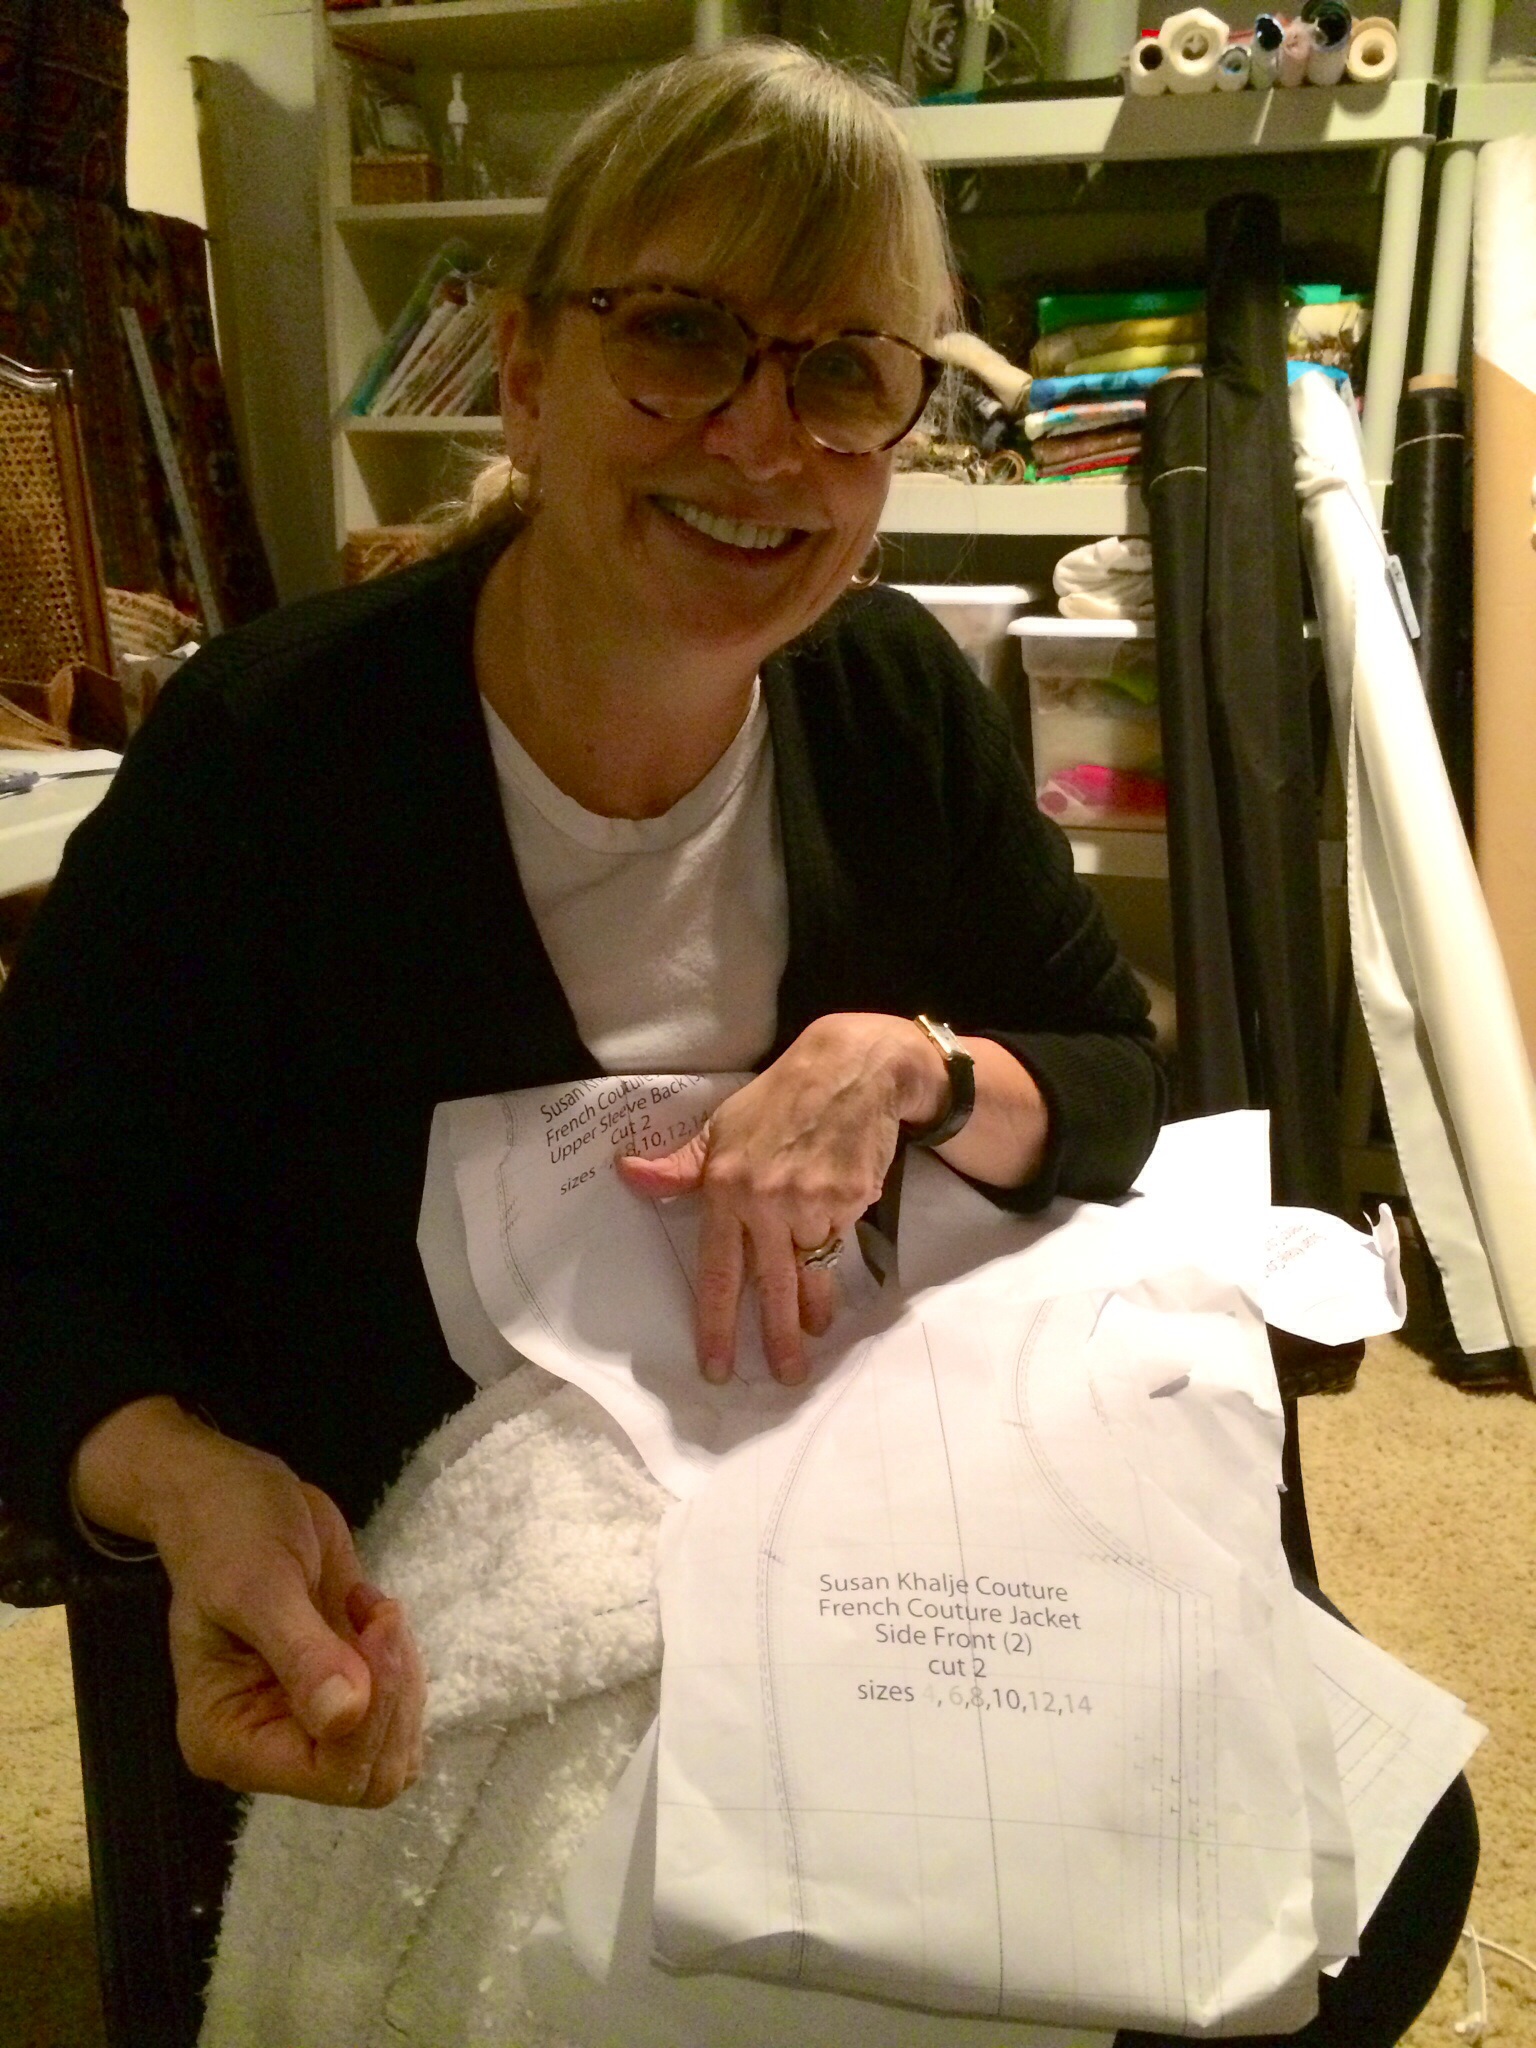
Between you and me, I think it will be the go-to pattern for a lot of sewing enthusiasts, so if making a Chanel-style jacket is on your bucket list, you may want to hold off until that course launches in the fall.

Susan and I talked about the sleeve alone for about 20 minutes, during which I learned its little secret… (Shhh…I’ve taken a vow of silence on that subject until the course is launched.)

Susan very nicely allowed me to interview her for a whopping two hours, giving me enough material for about 10 articles. So in the coming weeks I’ll be going over my notes and writing an article to be featured on Bernina USA’s website WeAllSew.com. (For details about the collaboration between Bernina USA and JetSetSewing.com, please click the “Bernina Collaboration” tab at the top of this post.)

I’ll let you know when that post goes up. Many thanks to Susan Khalje for taking the time to meet up with me!

While I was on the road, I decided to join Instagram, and discovered that most of you sewing peeps were already having a party there without me! So I’ve started daily posts featuring my favorite vintage patterns, using the hashtag #patterndujour.

image

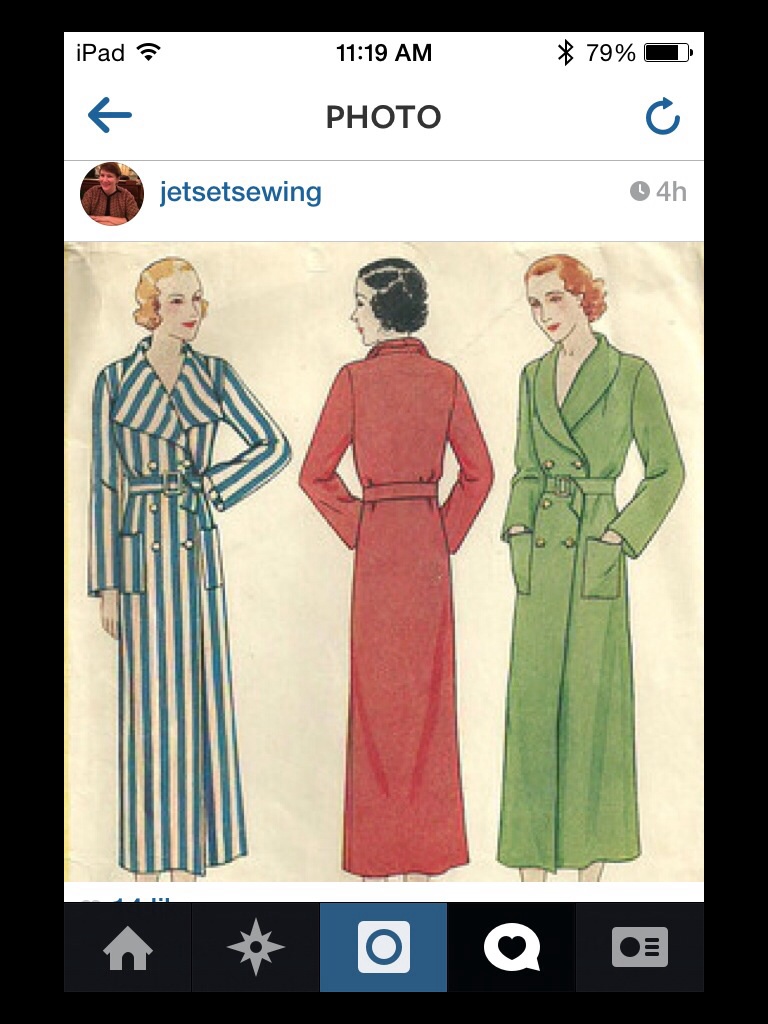
You can find me on Instagram under the name “jetsetsewing.” Let me know if you’re a reader, and I’ll be happy to follow you!

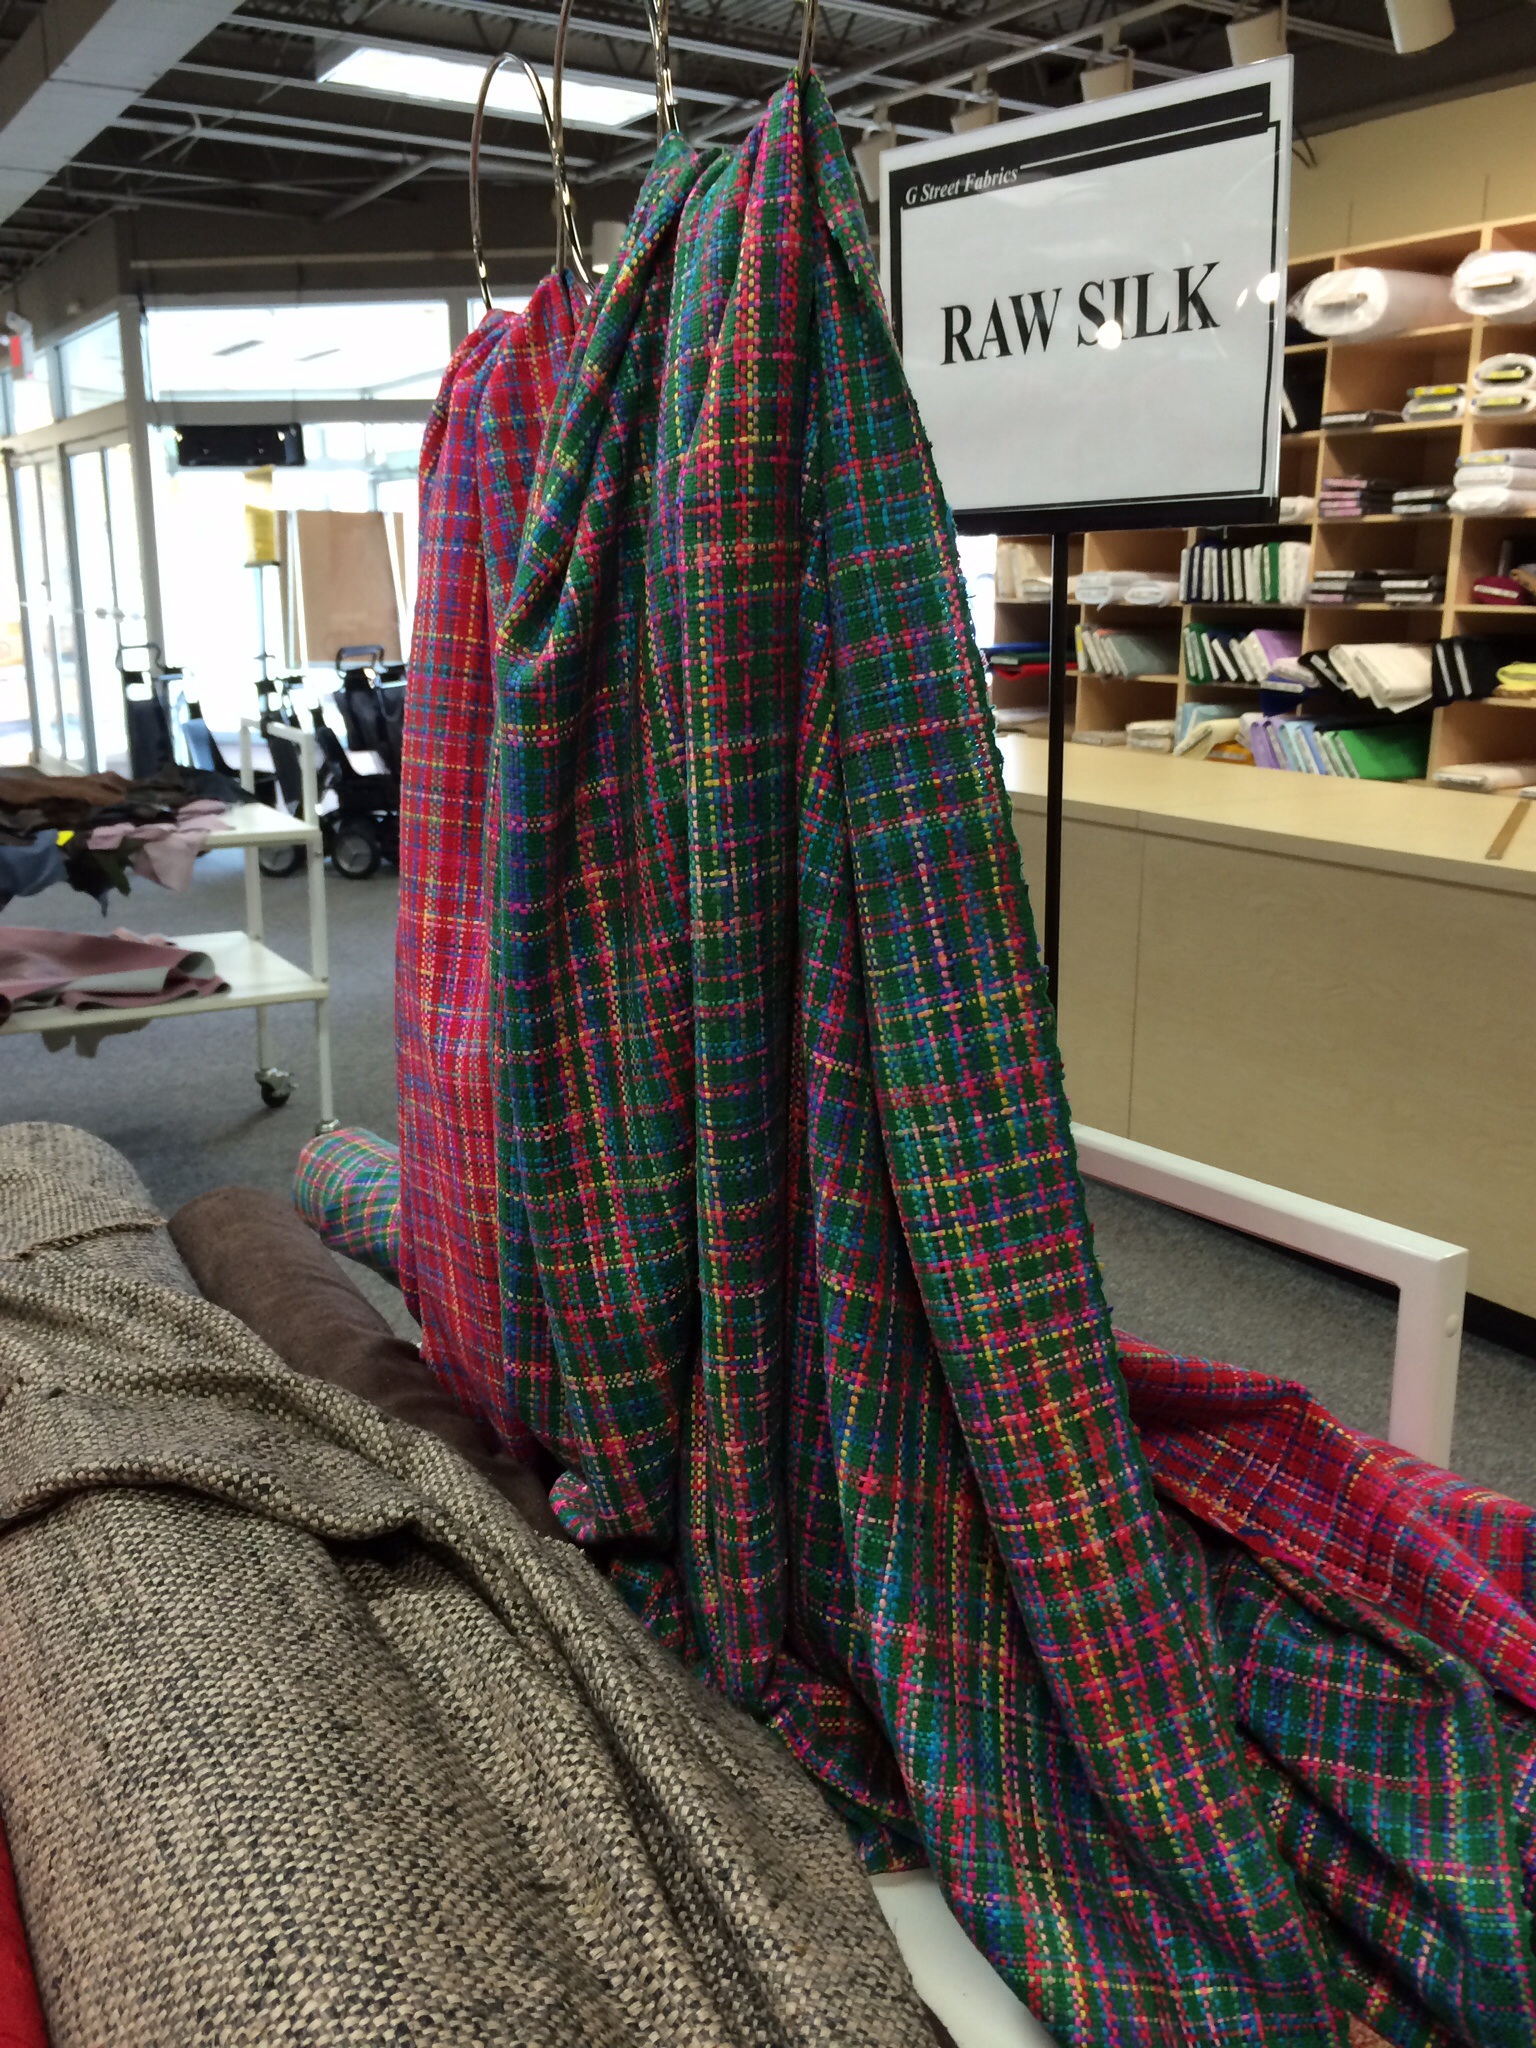
Though I was torn away from my dear Bernina 560, “Karl,” for a week, sewing was still on my mind, so I visited G Street fabrics in Rockville, Maryland, which is right outside of Washington, DC.

image

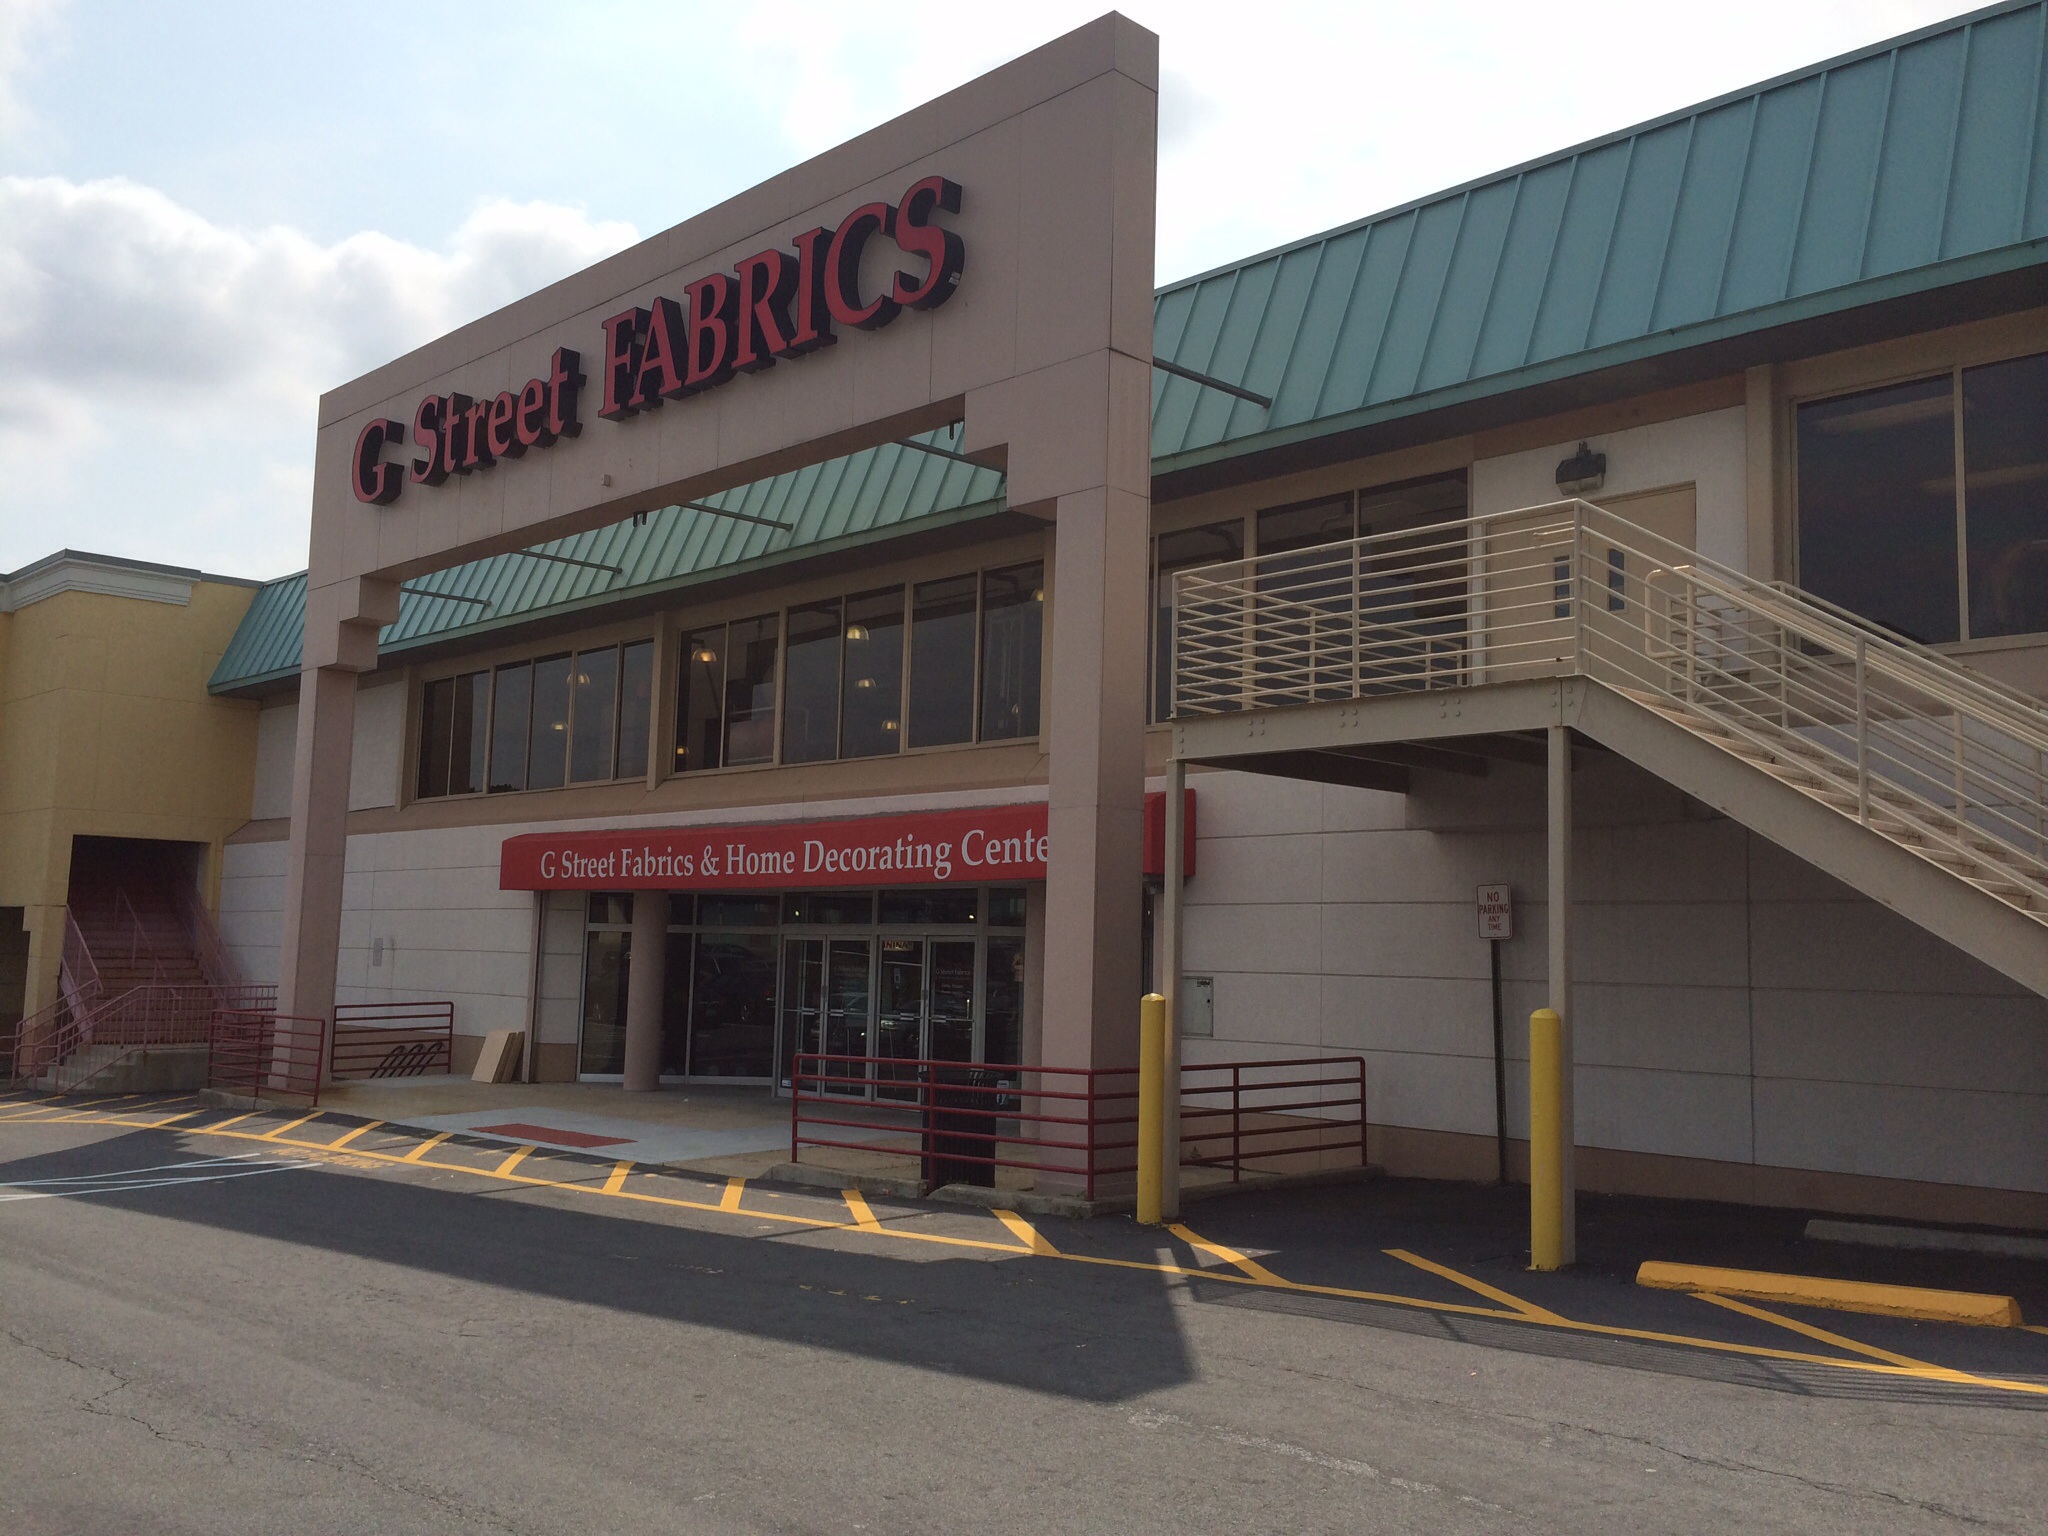
I’ll admit that I’m a little spoiled having shopped for fabrics in L.A. and Paris this year, but I did find a few fun things among the fabrics rolls.

imageimage

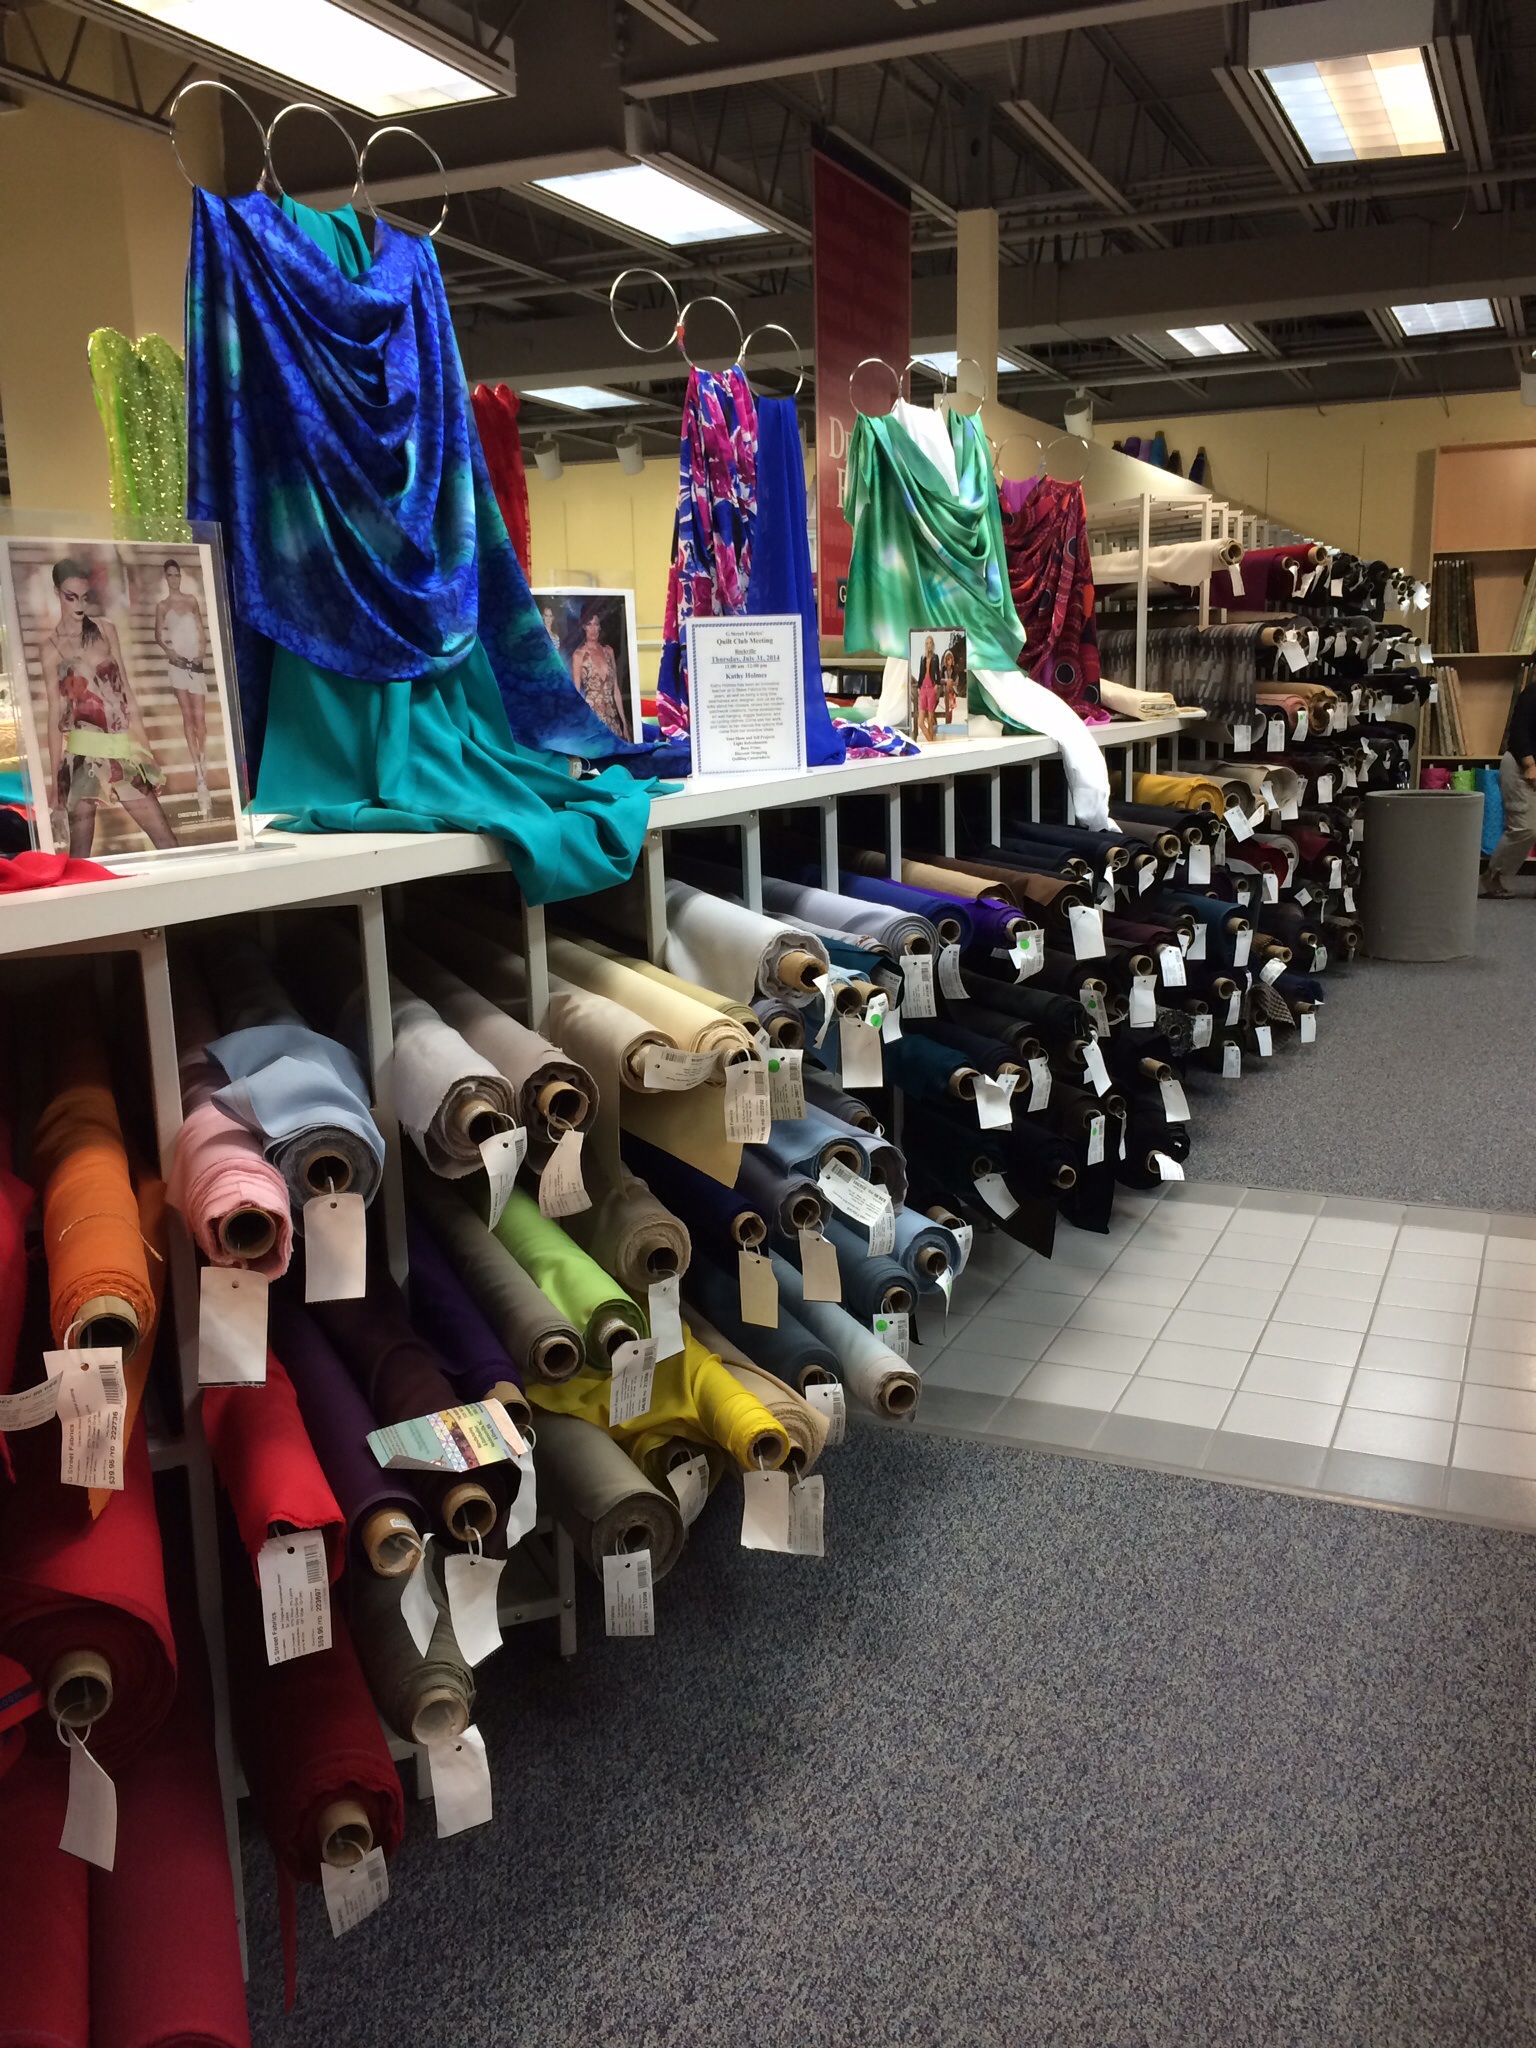
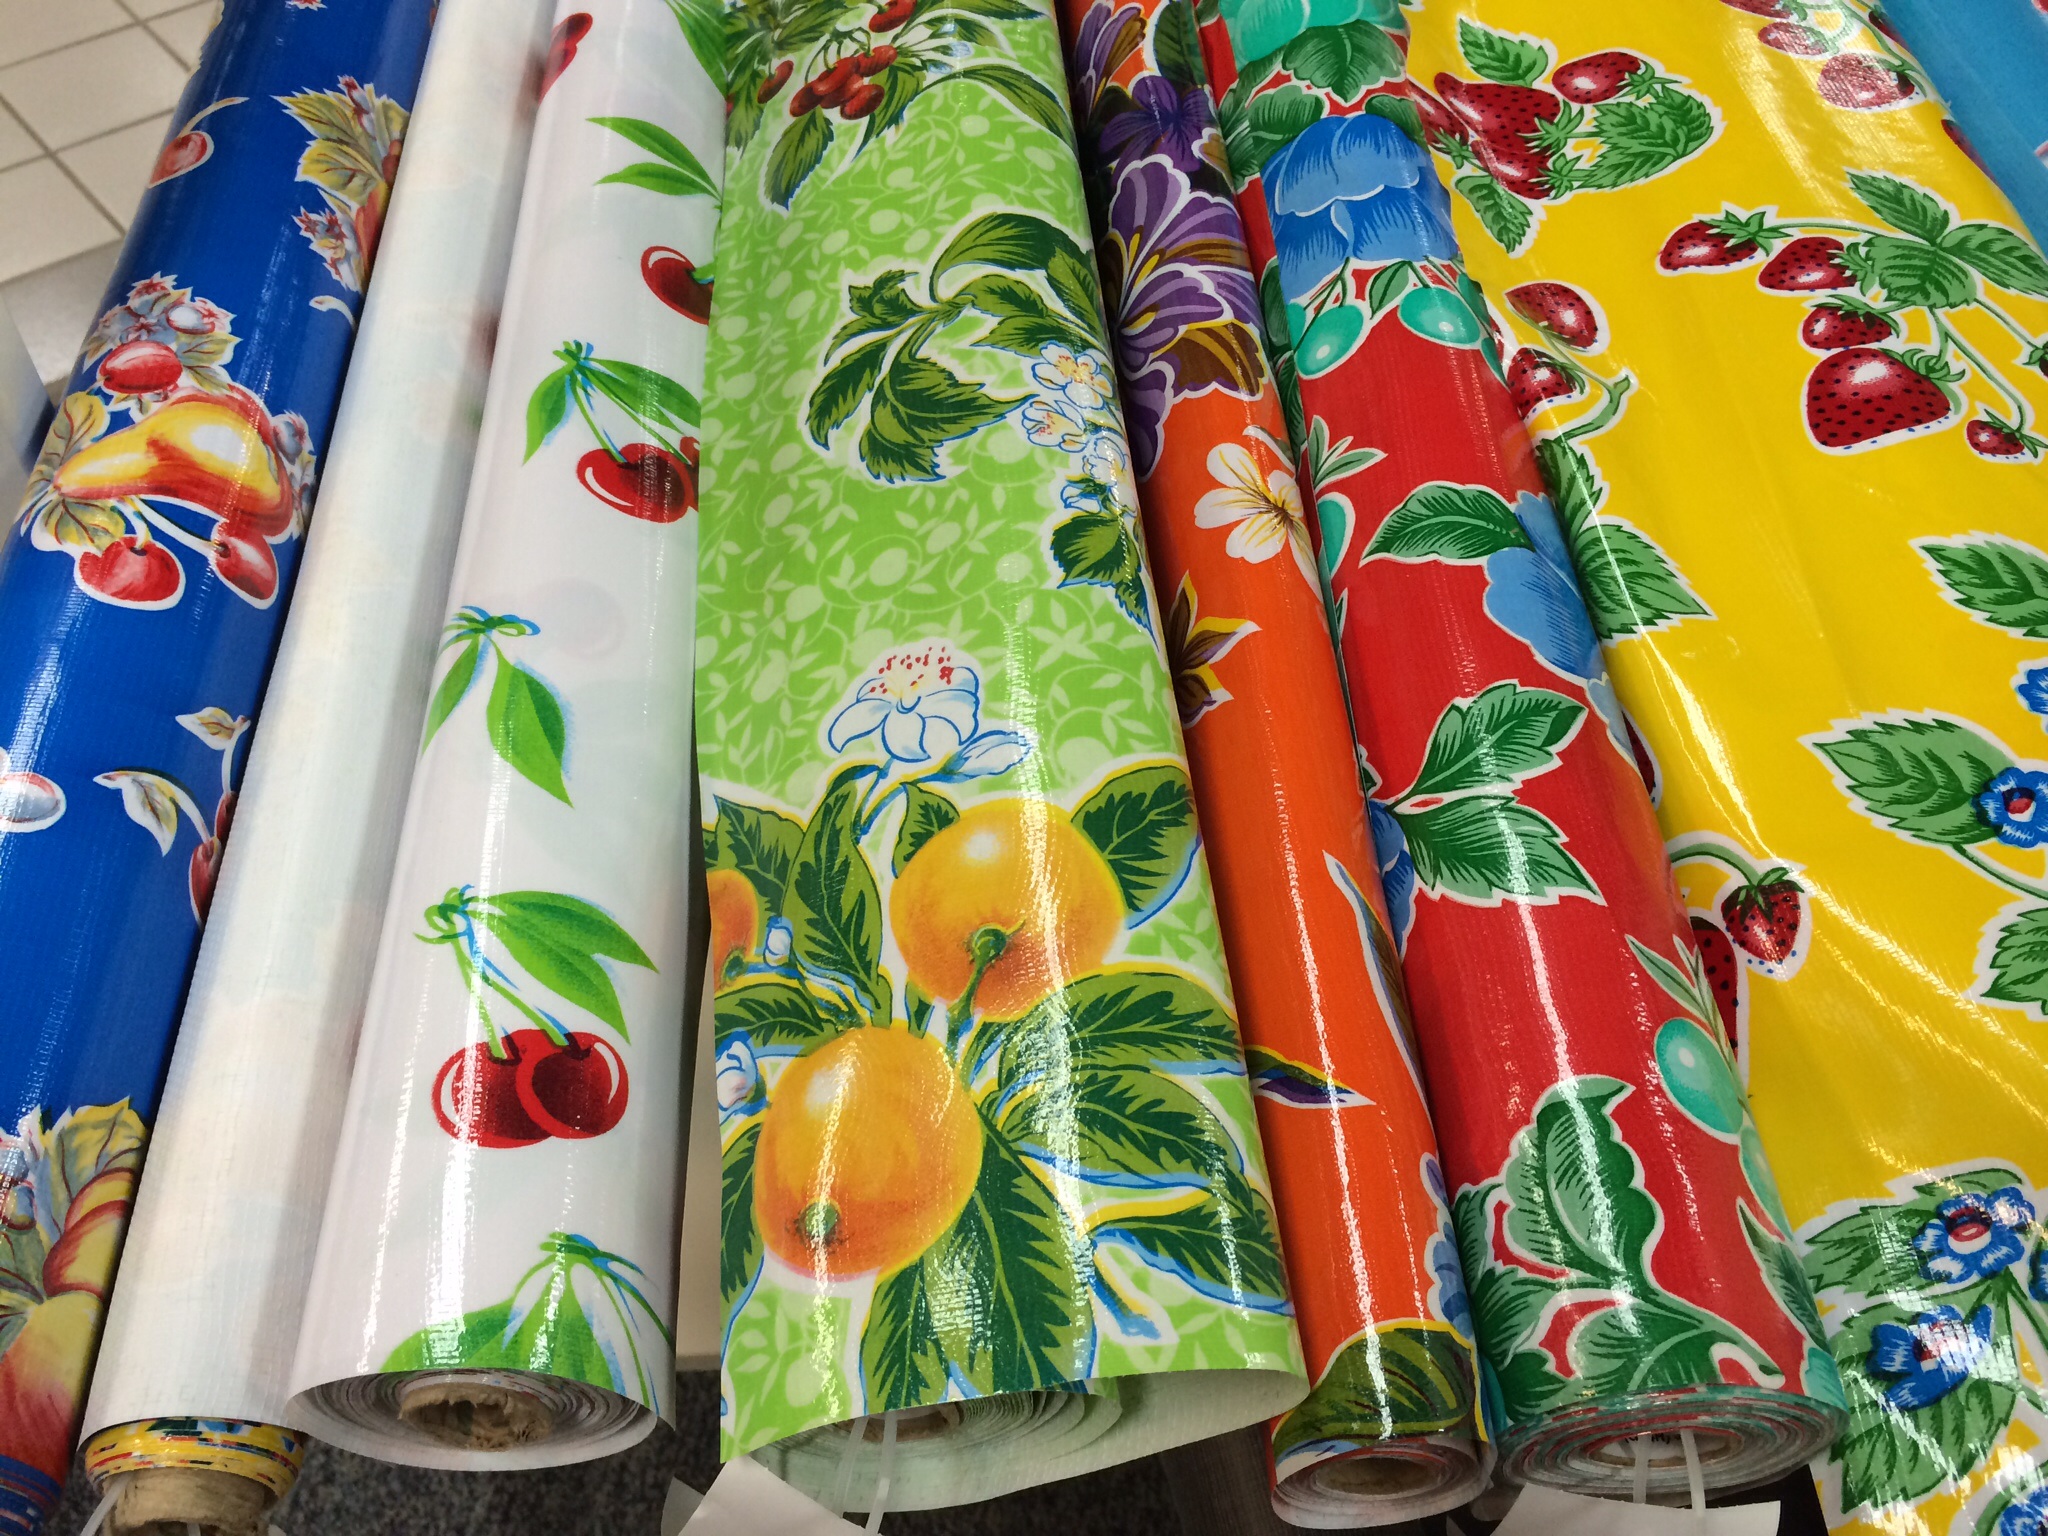
I really liked this selection of vintage-style oilcloth yardage, but just couldn’t get in the mood to make a tablecloth.

image

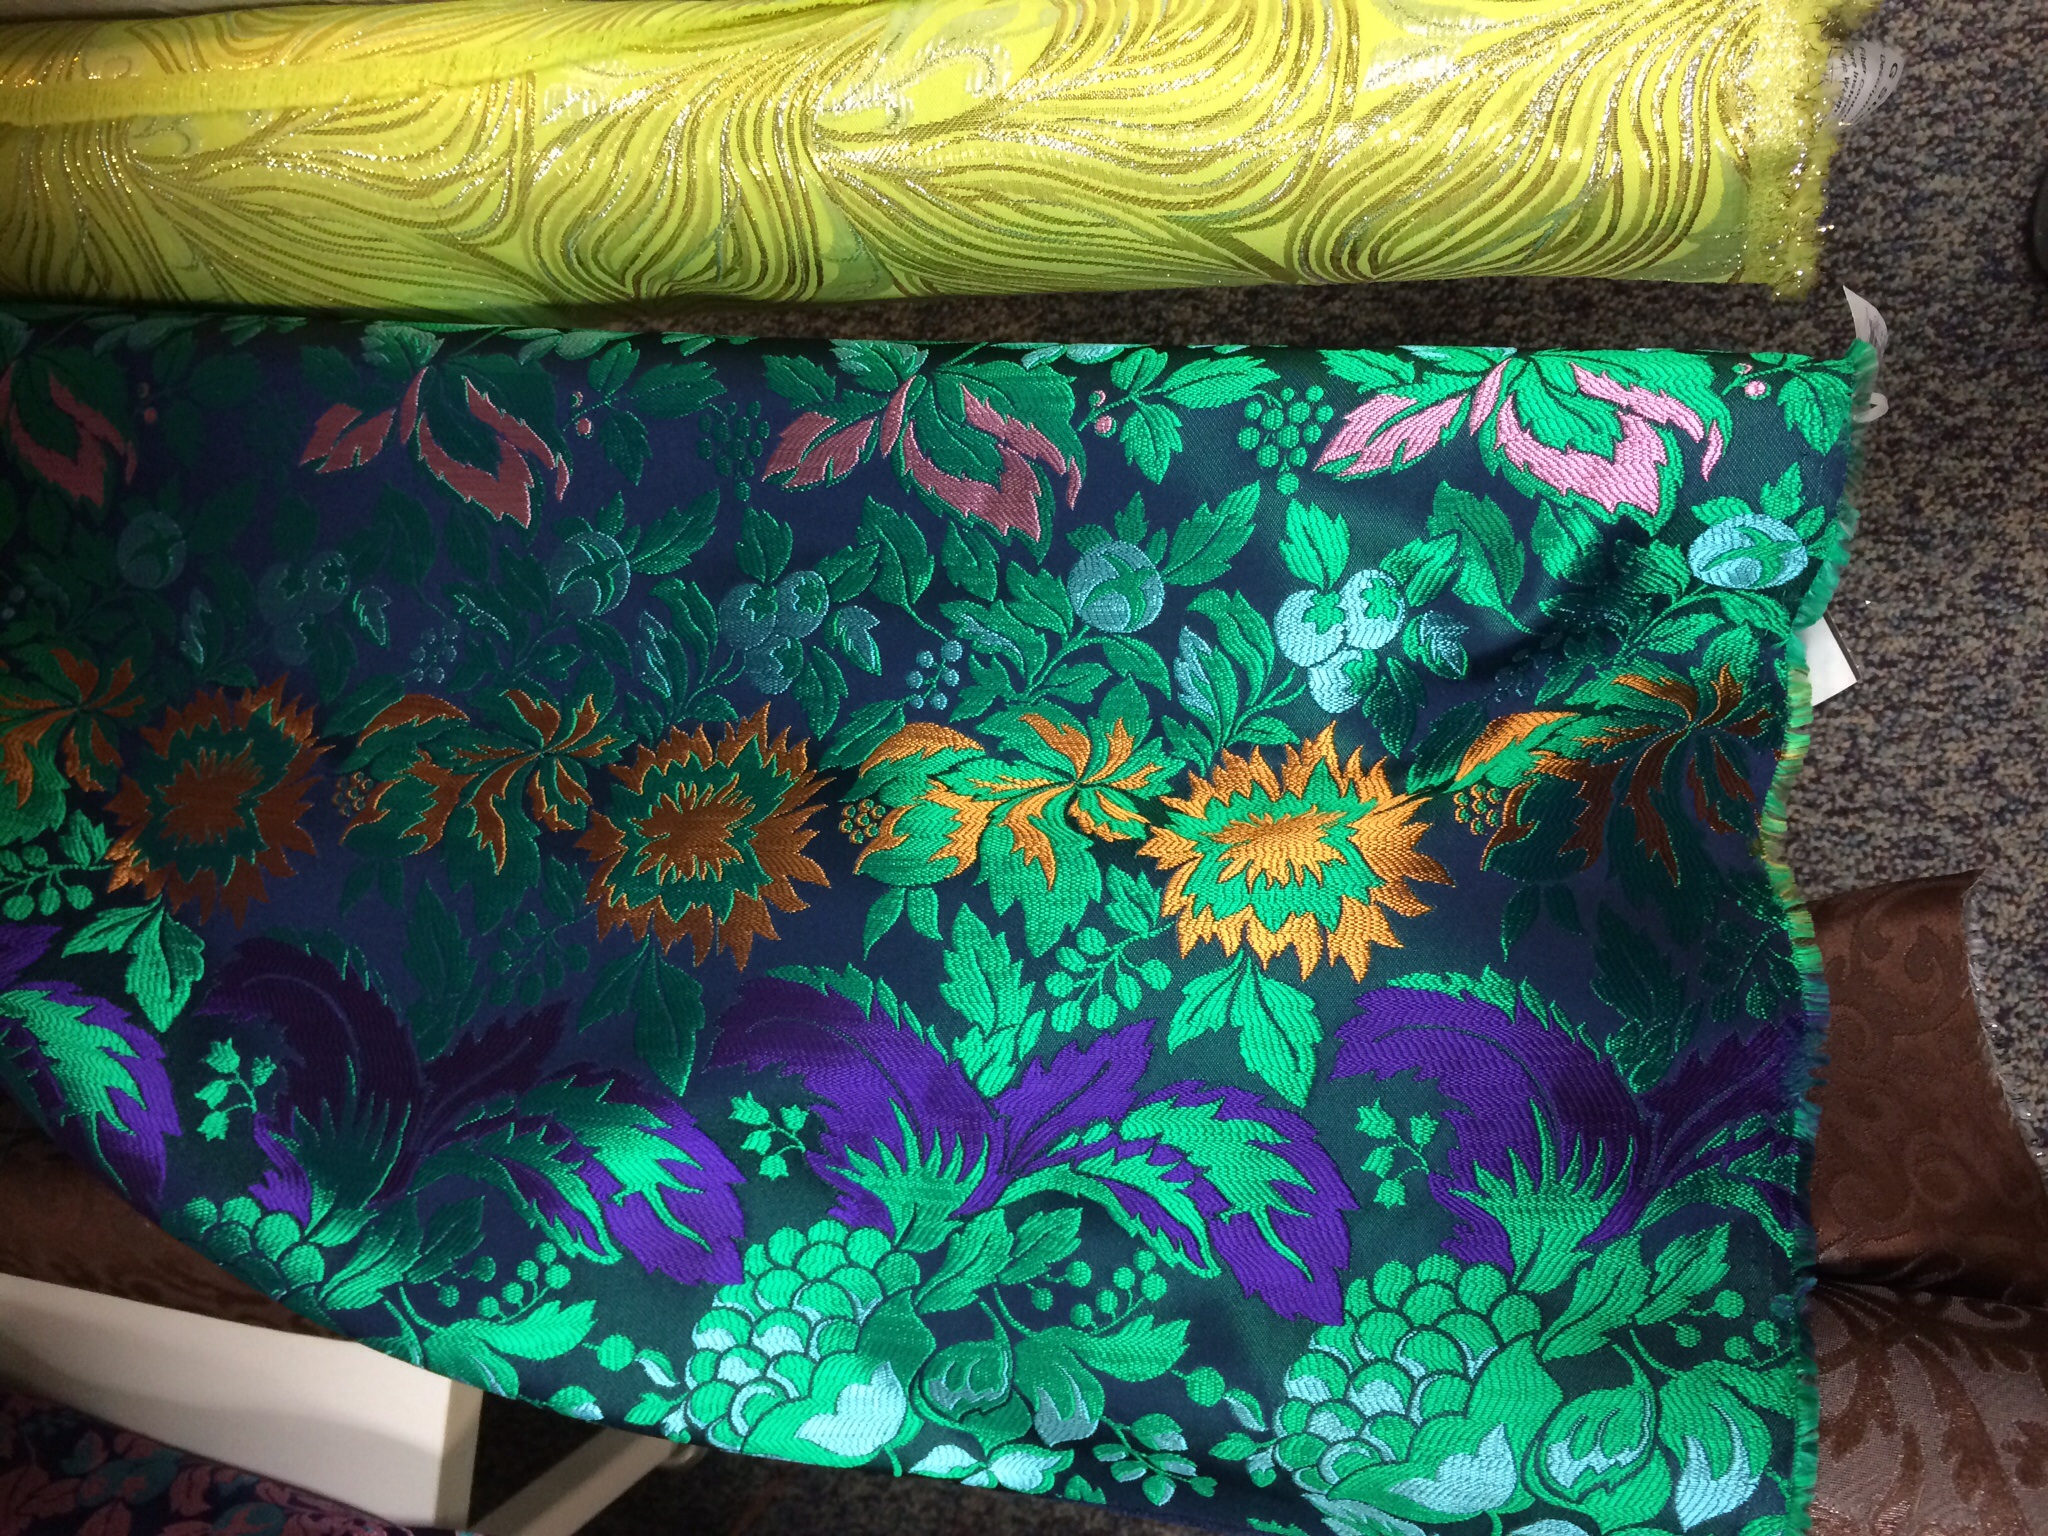
They do have a nice selection of fabrics for both basic garment sewing and high-end dress-making, as well as some quality suit fabrics and designer fabrics, like this brocade from Anna Sui.

image

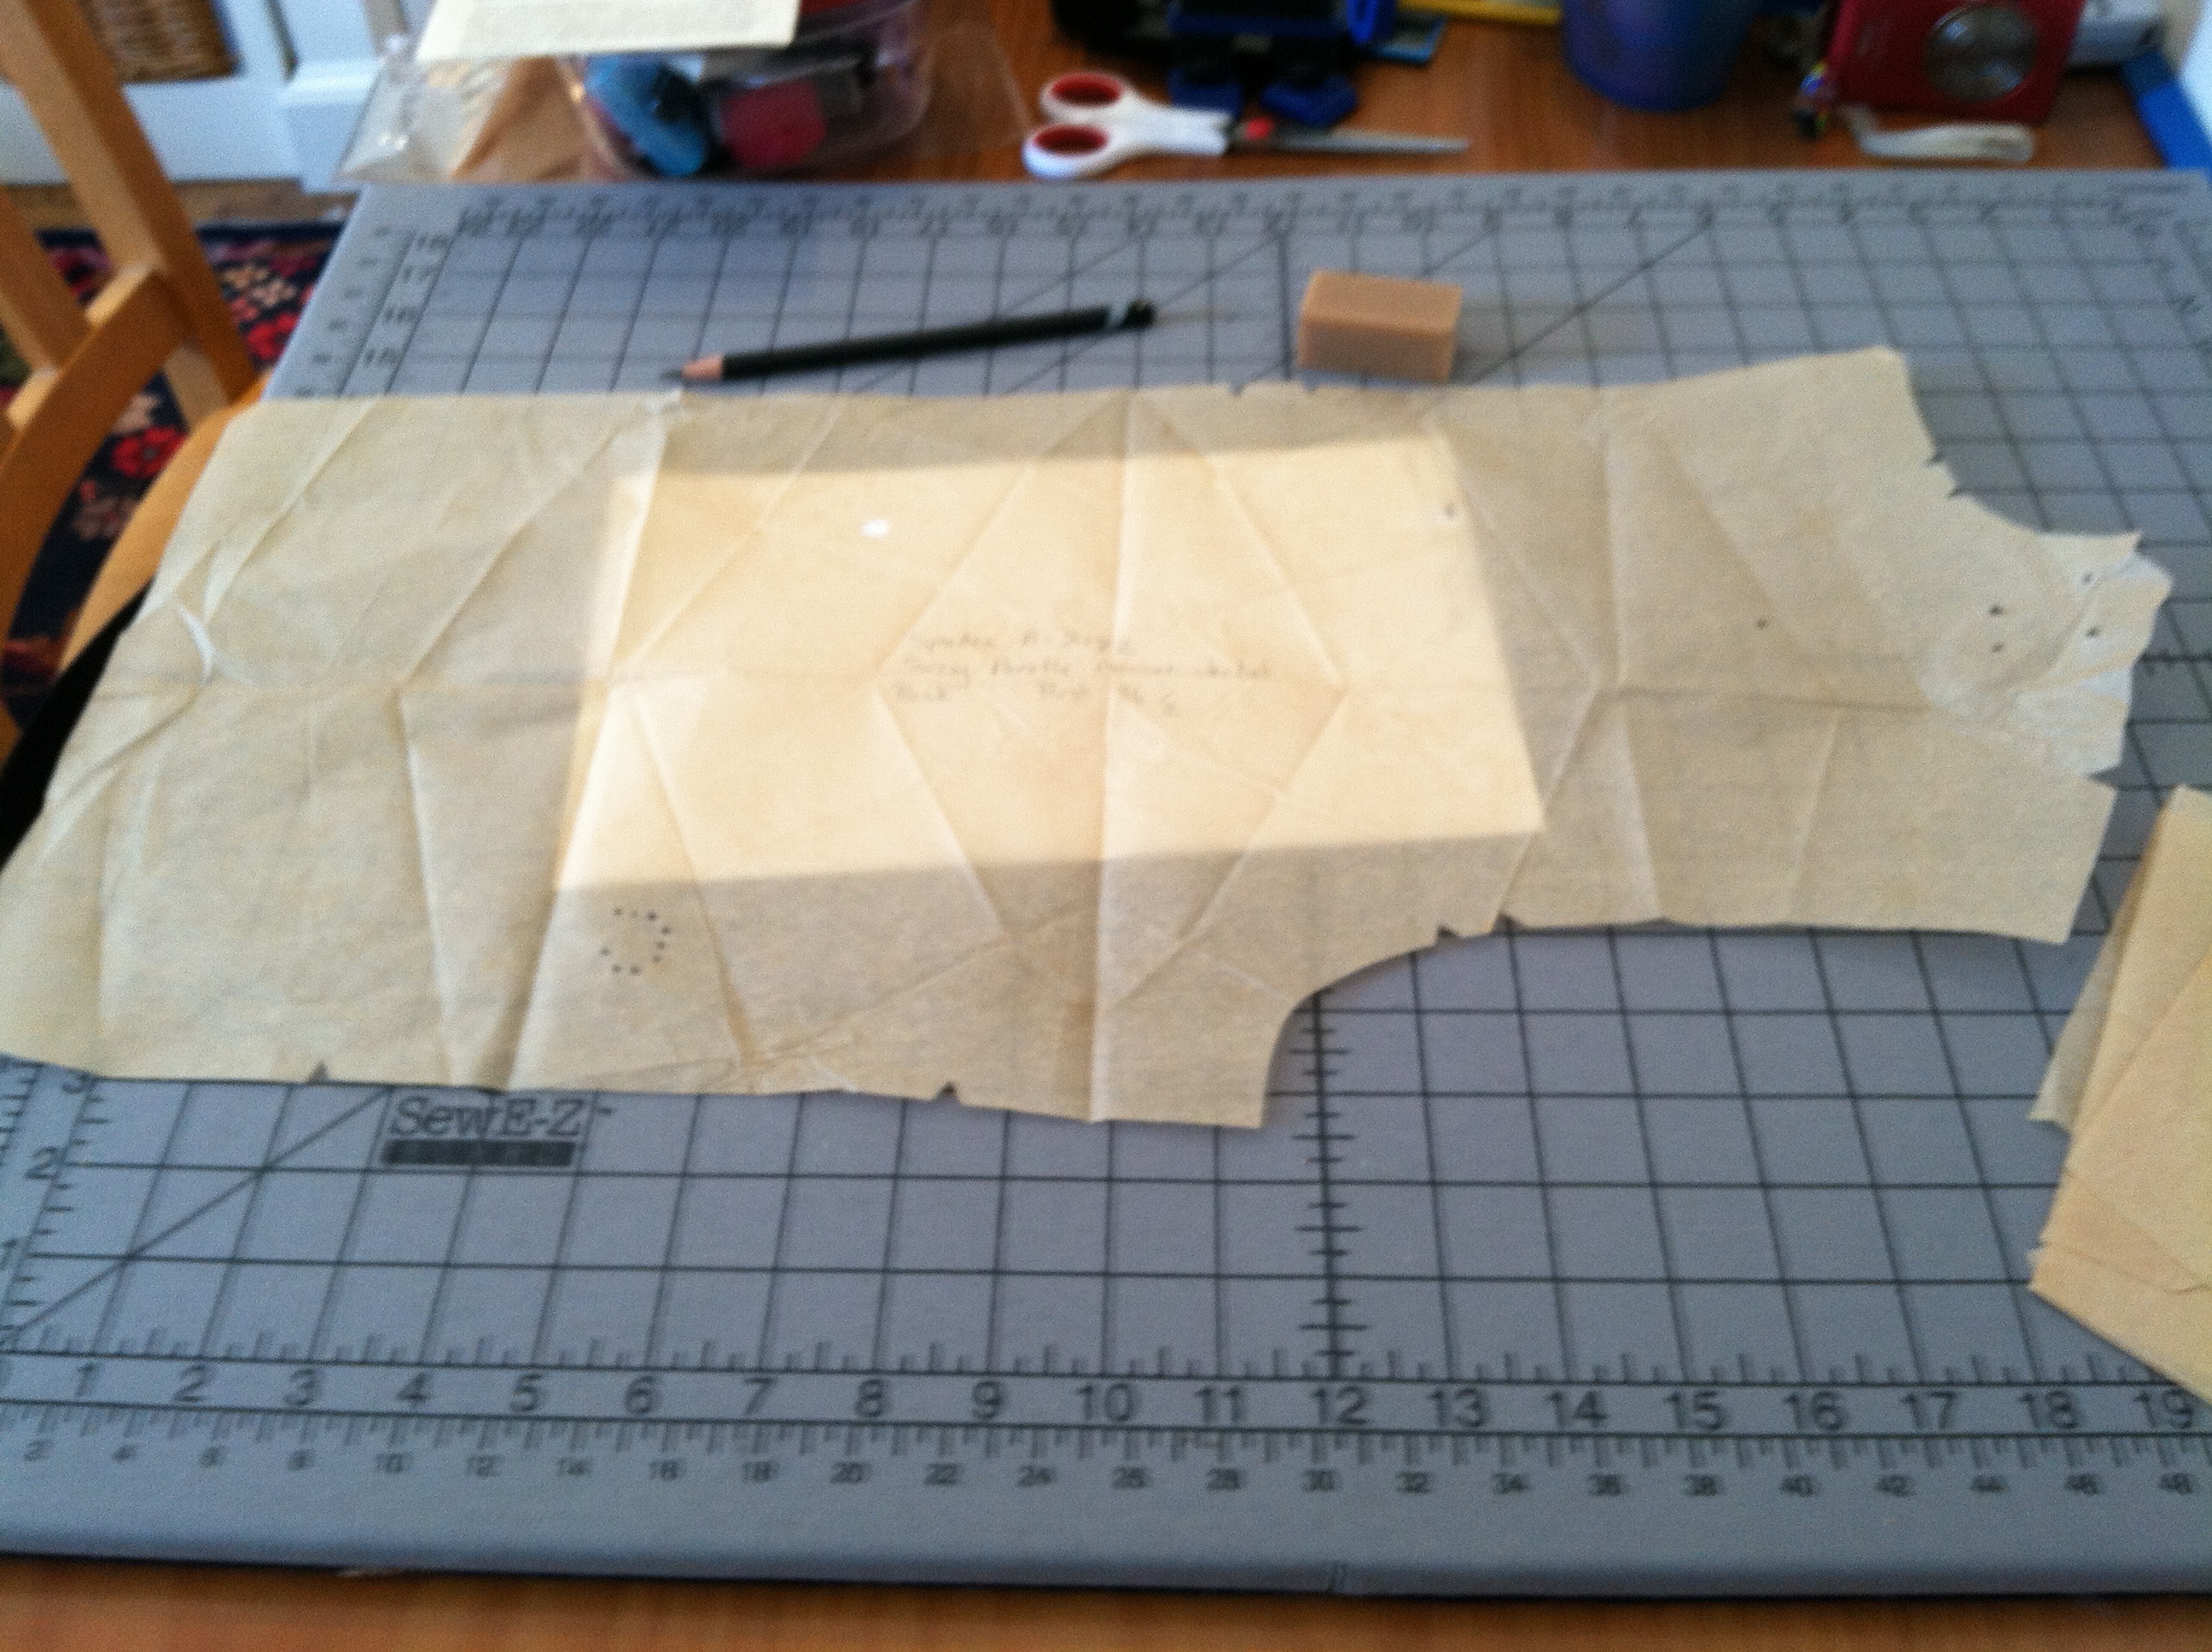
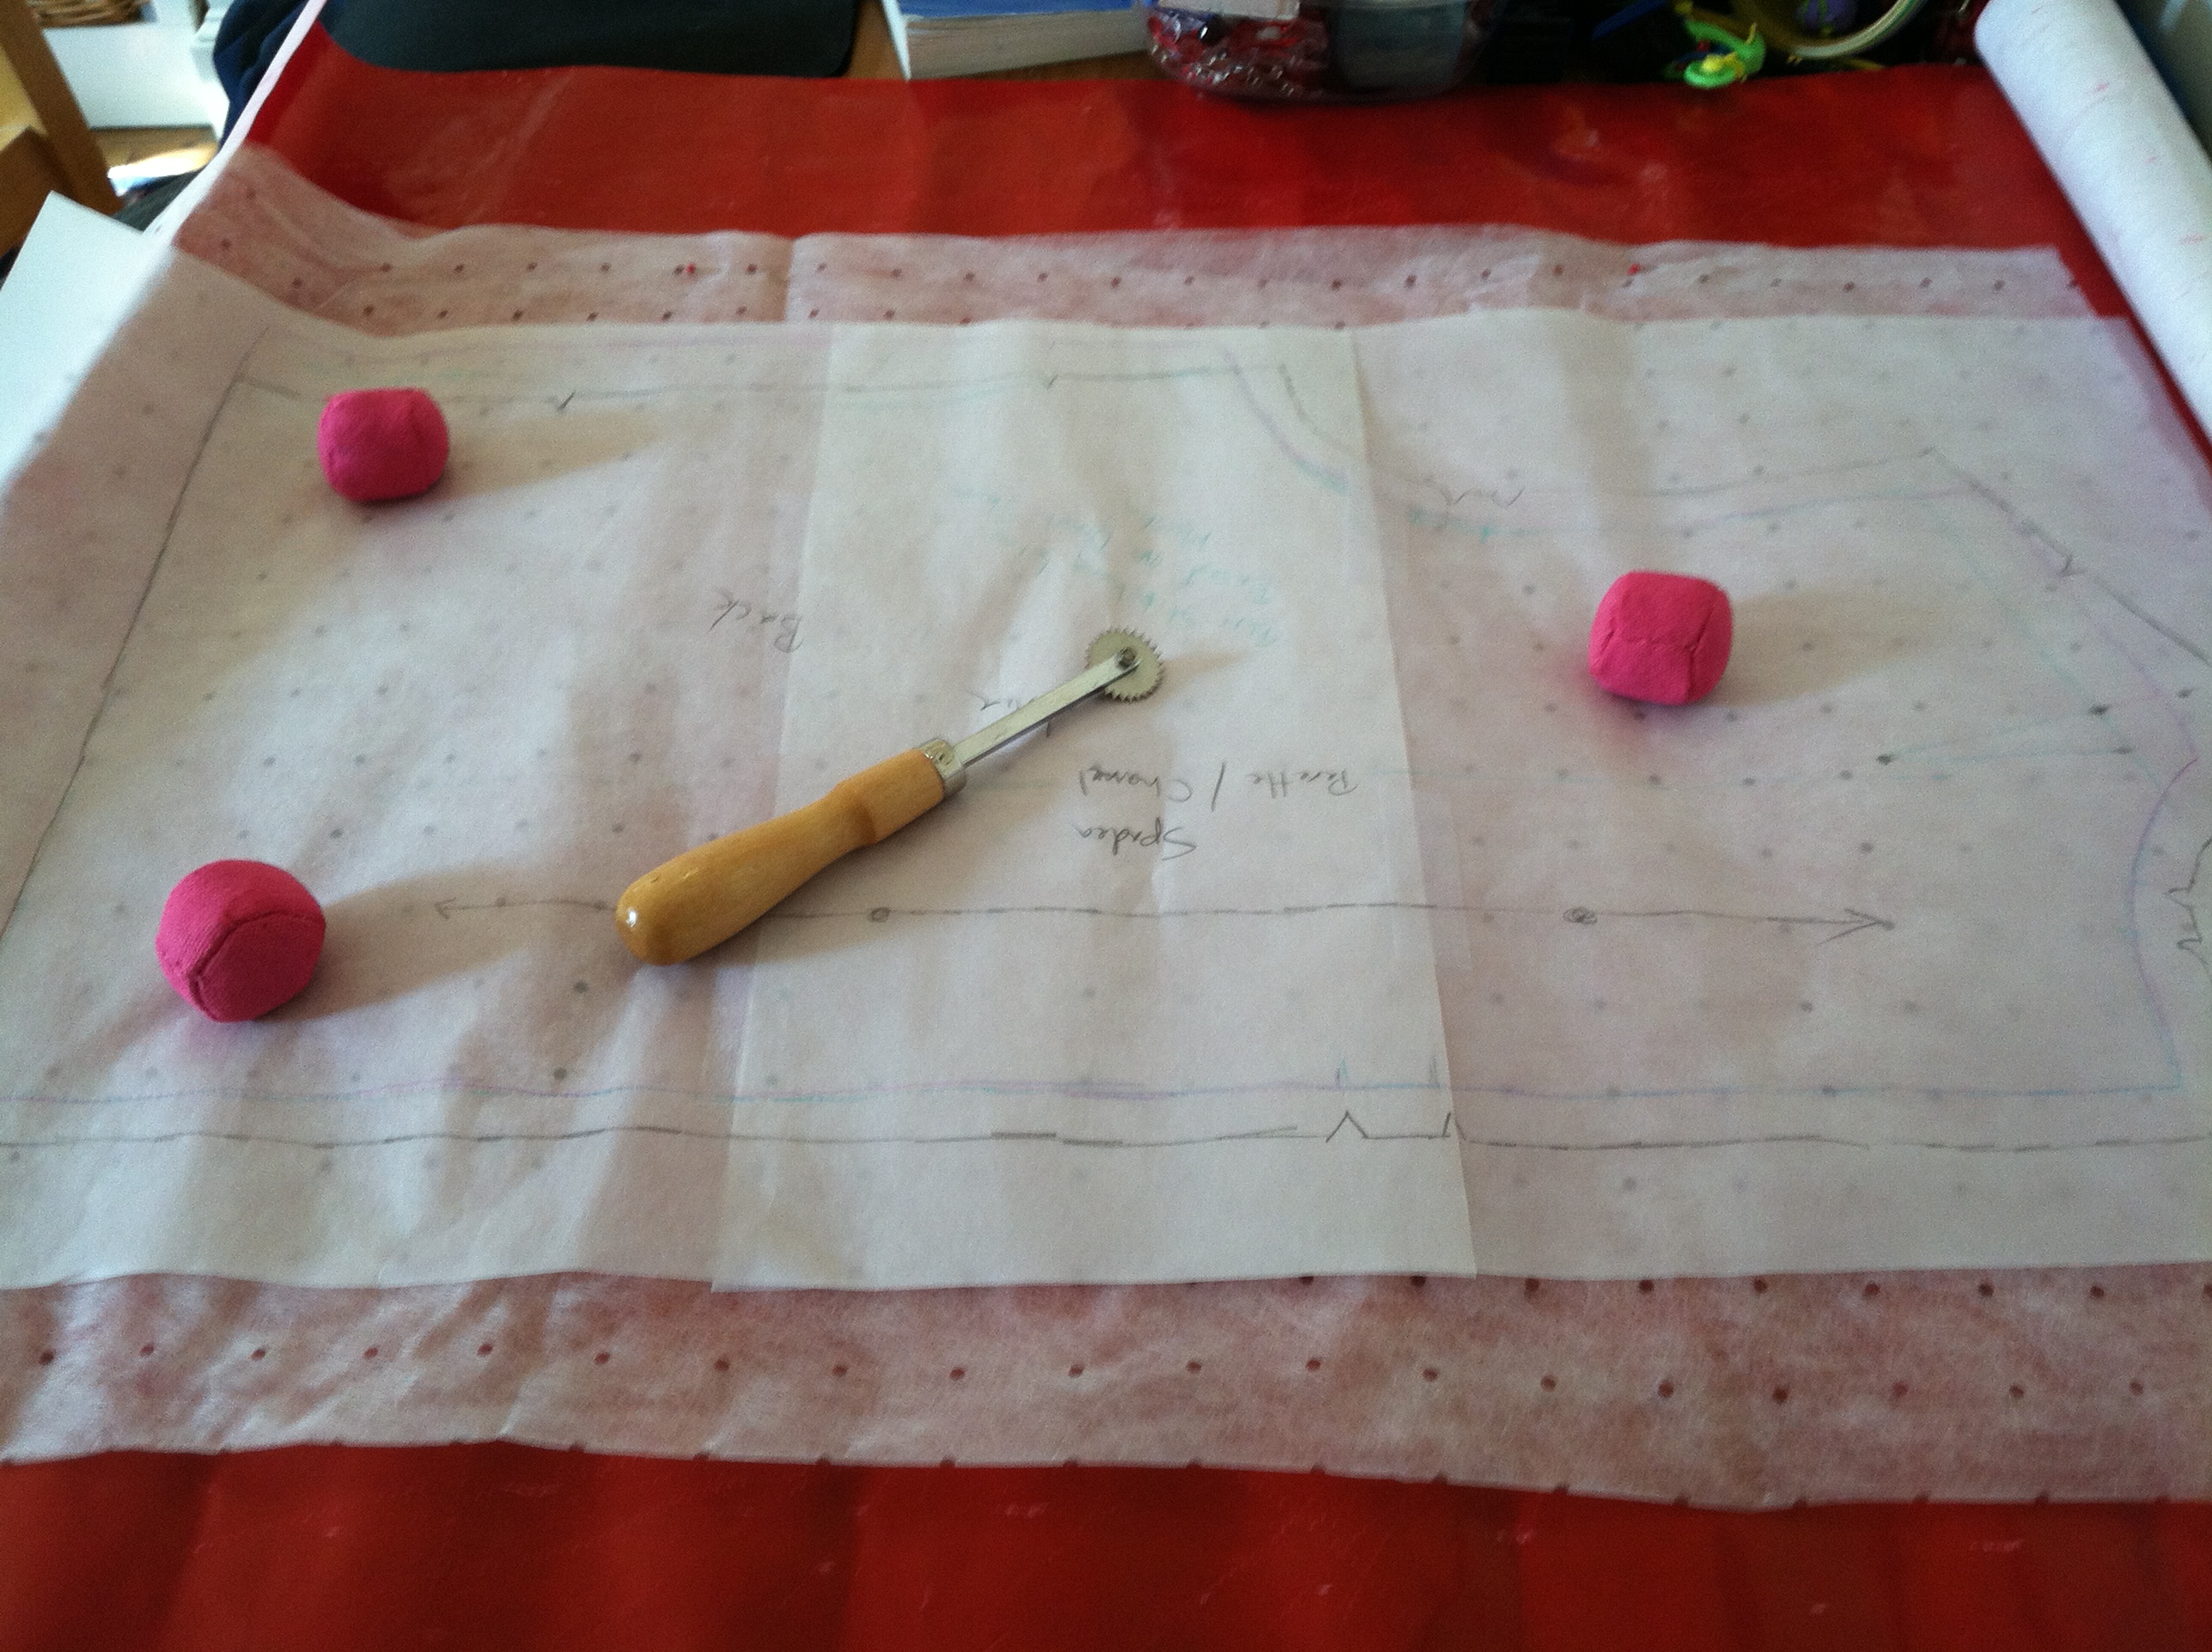
While I was there, I picked up supplies for my next project, which is to make a Claire McCardell dress and bolero jacket from this 50s Spadea pattern.

image

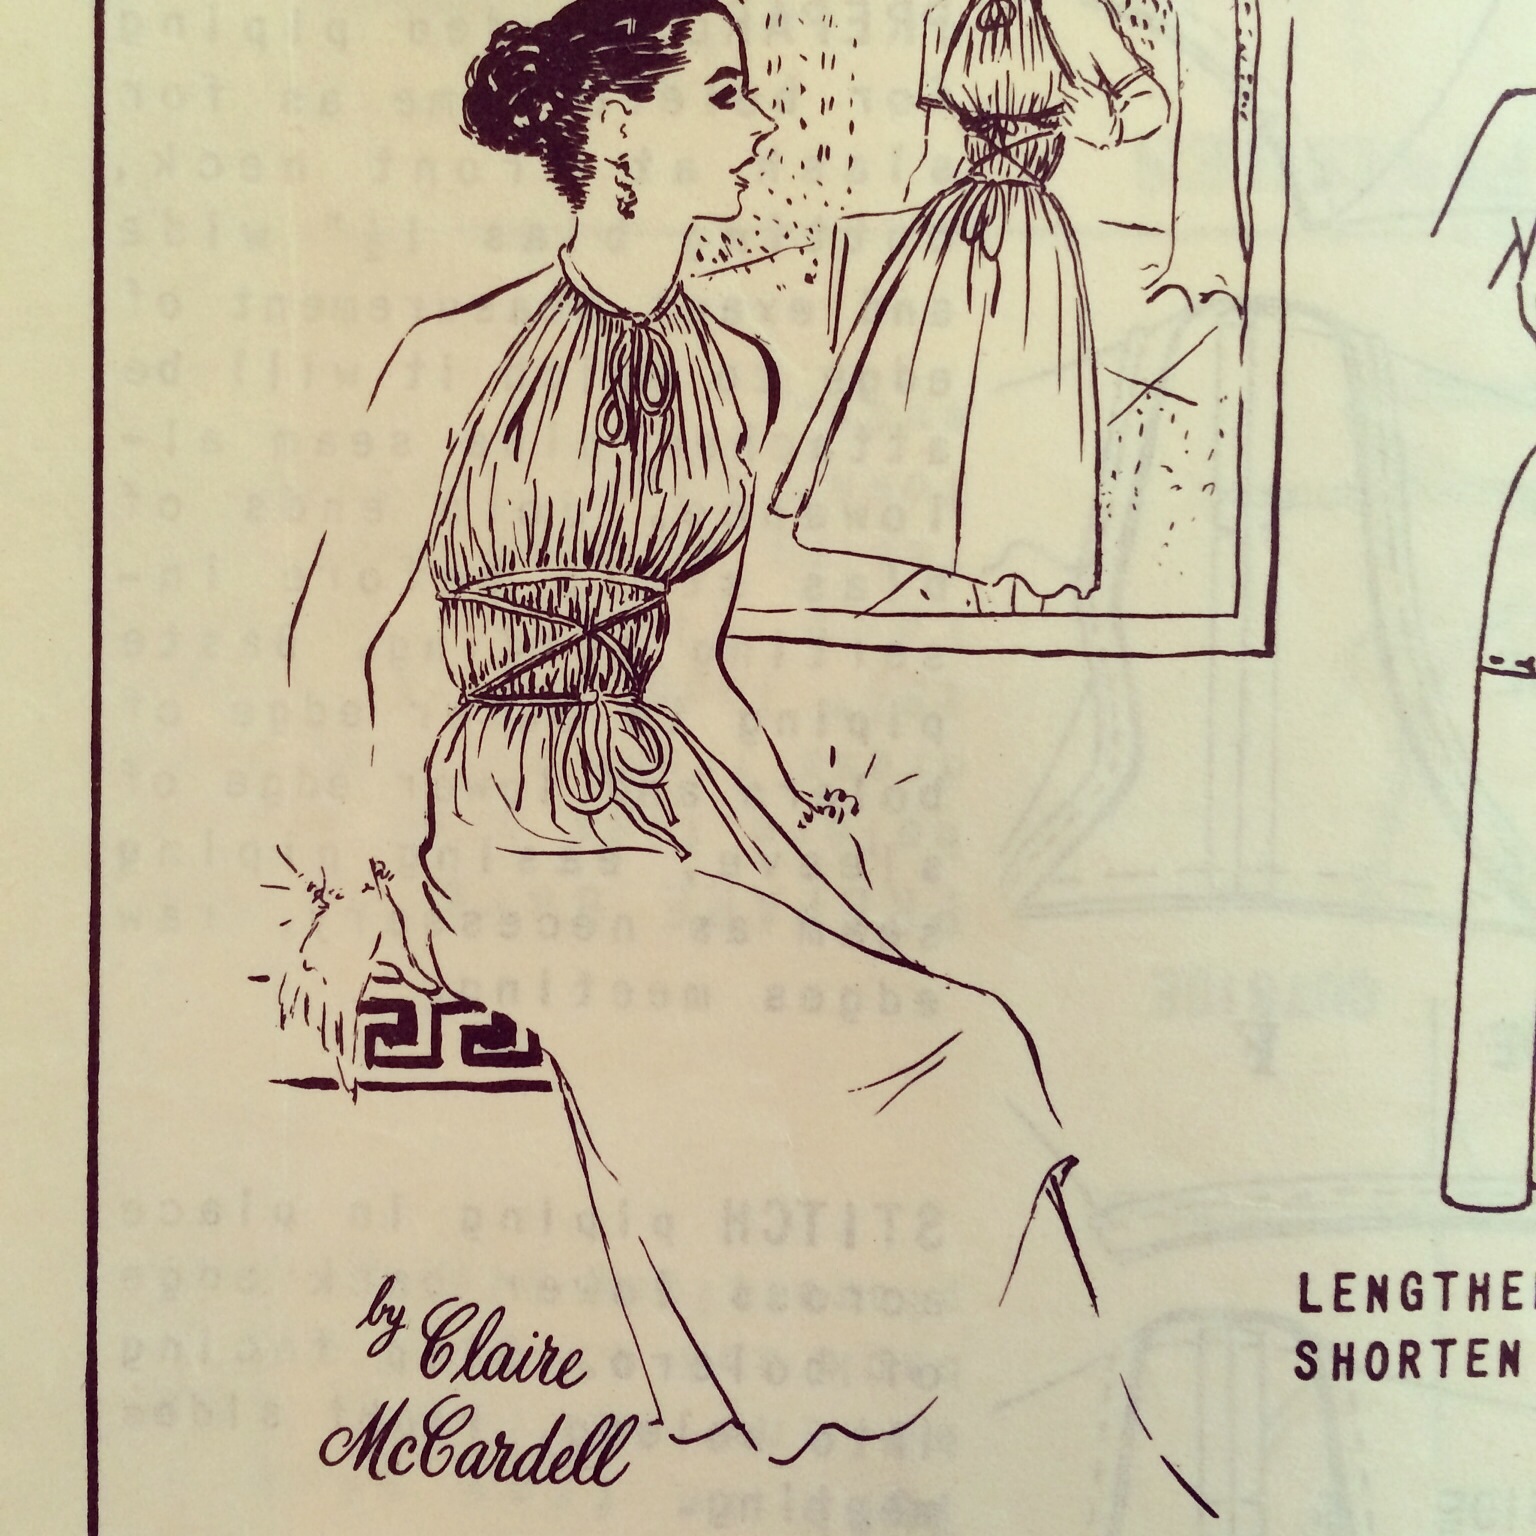
This style of Grecian-inspired design, with long adjustable strings cinching the waist, is a recurring theme in McCardell’s collections, and in fact there’s a black rayon version in the Metropolitan Museum’s Costume Institute collection.

image

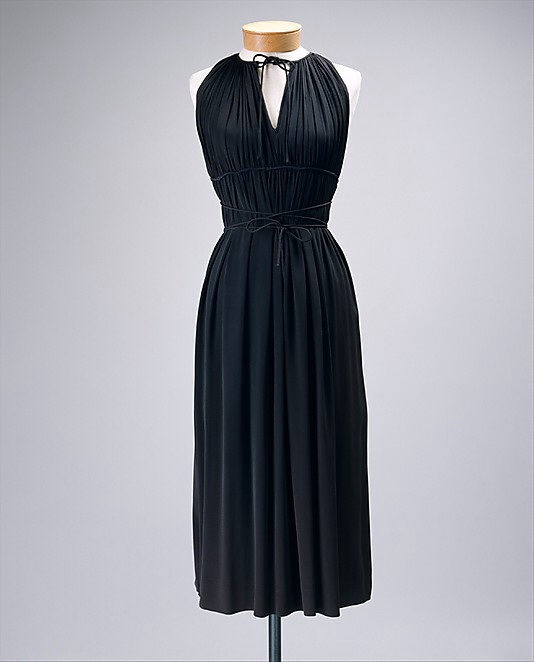
(Claire McCardell Dress in the Metropolitan Museum Costume Institute’s Collection)

Though this style may look familiar now, the dart-free, adjustable-waist concept pioneered by McCardell was radical in its time.

I’ve written in the past about how the Spadea pattern company took existing garments that were being sold in stores, deconstructed them, and drafted patterns from the pieces. So by using this pattern, I should be able to create a clone of the dress in the Met. Here’s a brief history of the Spadea company, written by Lizzie of The Vintage Traveler blog: (Article about Spadea Patterns)

The pattern has a matching bolero, and in researching McCardell, I found this description of the outfit in an ad: “Evening Elegance: black crinkle-crepe sheath, red and black reversible jacket, $55.” Sounds great, huh? I’ve also seen modified versions of this dress in wool jersey, another McCardell signature.

So if all goes well, I’ll be putting together this dress from black merino jersey bought during my mad dash through The Fabric Store in L.A., (L.A. Fabric Stores), and lining the bolero with the red wool jersey I just bought at G Street Fabrics.

And the dress will be worn by…my sister?!?! No fair!

Well, here’s what we’re cooking up.

I’ve mentioned before that my sister, Janet Eilber, is the artistic director of the Martha Graham Center of Contemporary Dance, AKA The Martha Graham Dance Company. You can peruse Janet’s impressive bio here.

Like McCardell, Martha Graham knew her way around a length of jersey, and one of her most famous dances, Lamentation, is danced entirely inside a jersey tube. Graham used the fabric to give the feeling of “stretching in your own skin” from grief. Janet also told me that Martha designed many of her own costumes, via draping.

I’ve always thought that Claire McCardell’s designs, which use a recurring set of pared-down “American Look” elements, have a lot in common with Martha Graham’s spare choreography, which uses a recurring language of movement to reveal the emotional core of the dances.

So, when my sis told me that she would be speaking at the upcoming DANCE & FASHION (!!) exhibit held by the Museum at the Fashion Institute of Technology in New York, and that she needed a dress to wear, I said “have I got a designer for you!”

Here’s a link that describes the exhibit in depth: (Dance & Fashion MFIT exhibit details) The exhibit will feature actual dance costumes as well as dance-inspired designer gowns and streetwear. It sounds fantastic, so I’ll definitely be there!

The exhibit opens at The Museum at FIT on Monday, September 12th, 2014, and runs through January 3rd, 2015. On Tuesday, October 28th, dancers from the Martha Graham Company will be performing Graham’s works “Lamentation” and “Spectre-1914,” to be followed by a panel discussion including Janet, designer Doo-Ri Chung, and Melissa Marra of MFIT.

So we’re going to find out if this ingeniously simple design can be easily adjusted to fit a variety of figures, which was McCardell’s intention. I’ll be making up the dress here, then sending it to my string-bean sister to see if we can fit it via photos and sister mental telepathy. (Or possibly via Skype, as my blogging pal CarmencitaB does with some of her clients in France.)

If the whole thing’s a bust, I have some original McCardell dresses in my collection that I just might be willing to loan to my sister. Considering how many times I raided her closet as a teen, it seems only fair.

Speaking of L.A., the West Coast branch of Mood Fabrics has just reopened, after sustaining earthquake damage in the spring. I’m glad they had the opportunity to work on their roof, as the day I was there (during an early March deluge) there were garbage cans everywhere to catch the raindrops dribbling in from the old skylights.

Phew, that’s it for me! How’s your sewing going?

The Making of Chanel Jacket #2: Blood, Sweat and Tears

23

A couple of posts ago, I promised details about how I constructed Chanel jacket #2.

image

Even though I was working on this project a year ago, it’s alllll coming back to me. The ill-fated muslins, the horrendous plaid matching, the pricked fingers and blood on my white lining, the furry fabric that felt like a shedding lapdog as I did hour after hour of hand sewing. No wonder it was sitting in my closet for a year!

Here’s the story: while in the thrall of creating Chanel jacket #1, which I made as a project for Susan Khalje’s “Couture Dress” course on craftsy.com, I started obsessively researching all things related to sewing a Chanel jacket. Looking at the Elliott Berman Textiles website one day, I noticed a listing for actual Chanel tweed fabric for $55 a yard. Not knowing at the time that that was a bargain for this type of fabric, I waited for a sale and got a couple of yards at 20% off.

Soon after, I completed Chanel jacket #1, then won a blue ribbon for it at the Martha’s Vineyard Agricultural Fair, which is a blood-sport crafting competition between rural crafters, hippy artsy folk, and overeducated gentleman/women farmers, with a few summer residents like me jumping in. Filled with hubris, and my $5 Fair winnings, I embarked on Chanel #2.

image

Embracing sewing has helped me get in touch with a scary competitive side of myself I didn’t know I had.

My plan was to use Vogue pattern 7975, (Vogue pattern 7975) which at that time was a favorite of Susan Khalje’s during her Chanel boot camps, though apparently she helps her students change the sleeve pattern into 3-part sleeves (Susan Khalje’s week-long Chanel Jacket class). So I started obsessing about the sleeve and decided to do a “frankenpattern” of that pattern with the sleeve from the Claire Shaeffer’s Vogue 8804 jacket pattern, which had just been released (Claire Shaeffer’s Chanel jacket pattern).

image  As I muslined 7579, which is a fairly conservative pattern with curving princess seams, I kept thinking, “I look lousy in princess seams,” and “this is too dowdy for me.” Undeterred and in denial, I finished the muslin and hated it. If you’re built like me, with boobs, a short waist, and hips, a fitted Chanel-style jacket is not your finest look to begin with, and it can easily turn you into a dumpy “pepper pot” (as the guys from Monty Python used to call themselves when they played middle-aged women in drag).

7975 muslin

I hate the way I look in muslins, but I’m always glad I did them.

In the end I selected a Simplicity pattern (Simplicity 2154) with kimono sleeves and side panels, which I reasoned would be easier for plaid matching and construction. I had convinced myself that I could throw this jacket together. I have no idea why! I have seen photos of Chanel jackets using this cut, so it is an authentic look.

Chanel jacket with kimono sleeves

I muslined the Simplicity pattern and liked it a lot better–it had a much more retro 60s vibe, and it looked better on me. Also, I saw that I could create a vent on the top sleeve seam, which would save me the hassle of creating a three-part sleeve.

After taking about 2″ off the top shoulder/arm seam, raising the side panel to make the underarm higher, and cutting lengthwise rectangles at the cuff of the top sleeve seams to make the vent, the muslin was fitted and good to go.

IMG_0428

I took apart the muslin and trimmed it to the stitching line to make the pattern pieces. I laid out the front pieces on one layer of fabric, side by side, so that the plaids would match up. Ditto for the back. The side pieces I thought would match pretty closely. I cut around the pieces, leaving a large seam allowance. At this point, you’re supposed to thread-trace (hand baste) around the pattern pieces to mark the seamline, but I think I used tracing paper instead. As I noted in the construction of Chanel #4, this is a bad idea because the tracing lines can permanently mark the fabric. But thread tracing is so boring!

image

Then the fun started. The fabric I selected has a subtle, very tricky, plaid repeat that is about 6″ long. So when you think you’ve got it lined up properly, you’re really about 2″ off. By the time I got into the serious matching and construction I got so obsessive that I spent hours trying to ensure that the large black thread was matching the other large black thread, and not the small black thread, which would completely throw off all of the fuchsia and grass green threads. It made me nuts.

For lining, I used a double silk georgette from Emma One Sock (emmaonesock.com), which, though lovely, I realized during construction was not all that sturdy for the amount of hand-work required.  And even though I really liked the style of the kimono sleeves (because the bodice starts on the grain and then the sleeves dip down on the bias), when it came to attaching the bottom of the sleeve/bodice pieces to the two small side panels that go under the arms, it was such a pain. Such a pain! It requires a weird pivot on your machine that I botched and then ended up doing by hand. Set-in sleeves would have been a hundred times easier. But it was worth it, as it gives this jacket a non-traditional look.

For instructions, I used an old article by Susan Khalje from Threads Magazine (Threads Magazine article), outlining the steps she uses to make a traditional Chanel-style jacket, where, prior to construction, the lining pieces are quilted directly onto the exterior “fashion” fabric pieces. The exterior pieces are machined together, and then the interior seams allowances are finished by catch-stitching them down to keep them from rolling up. Finally, the lining seams are hand-sewn closed to cover the fashion-fabric seams.

So I machine-quilted the pieces of lining to the pieces of fashion fabric, using a walking foot. Then I attempted to put the exterior together, with the attached lining pieces flapping around the seams. No fun at all. I had convinced myself that I would close the lining seams by folding them over one another and machine top-stitching the whole thing, but it looked awful. So it was back to hand-stitching. Everything.

Here you can see my haphazard machine quilting, with the hand-stitched line where the lining was connected over the exterior seam. So much flippin’ hand sewing! If you look closely you can see a small dot of blood on the lining from when I pricked my finger. I can’t believe that some people do the quilting by hand, too.

image

I also watched a video from the Chanel atelier showing the construction of a modern “little black jacket” and saw that they were using fusibles to support the neckline, center front and sleeve cuffs. I decided that if it’s okay by Karl, it’s okay by me! (Video of the making of a Chanel “little black jacket”.)

What you’re looking at below, on the left, is the center front of the right bodice, with the edge reinforced by sewing on a piece of selvedge from some silk organza (I learned that trick from Susan Khalje’s Craftsy course) and stabilized with lightweight knit fusible. I did this around the neckline and cuffs as well. You can see that the lining was already quilted on so I have to fold it back to put on the fusible. The lining was constantly getting caught in the stitching during the exterior construction. Yiiii!

image

I turned in the center-front edge, hand catch-stitched it down, then turned under the lining and fell-stitched it down. Here’s the finished center front, after I had put on the chain and hooks and eyes.

image

I basically jerry-rigged some vents on the upper sleeves by cutting a rectangle, about 3″ long and 2″ wide, on the cuff end of the sleeve back piece. I turned the rectangle in by 1″ (self-facing it), catch-stitched it down, and then attached the lining.

image At that point, nearing the freak-out zone, I remembered that I hadn’t done buttonholes in 30 years. We didn’t have a buttonholer when I was a kid, so I just went at them by hand. I like to think of the buttonholes on this jacket as “funky.” Note: you can avoid funky buttonholes and other pitfalls by consulting Claire Shaeffer’s book with DVD: The Couture Cardigan Jacket.

imageYes, that is a picture of Coco Chanel on those buttons. I bought a trashed Chanel blouse on Ebay, cut the buttons off and sewed them on the jacket. Now when I wear this jacket, stupid Coco’s always giving me that look.

I wanted to make the jacket look 60s, so rather than the jewel neck, I made the neckline more bateau. However, I had to close up the ends of the neckline, as the bateau shape made the front hang in a weird way. I still like it, though.

image

I found a roll of those vintage “La Cote d’Azur” clothing labels on etsy. Now they’re my “private label”.

For pockets, I was inspired by this 60s jacket:

Chanel best look

but since I’m short-waisted, I didn’t want to do the upper set of pockets, which I assumed were for Coco’s ciggies anyway. More dastardly plaid-matching ensued while I created and lined two patch pockets and hand-sewed them on. (Basically cut a rectangle of fabric and one of lining, sew three sides right sides together, turn them right-side out, turn under the raw ends and hand-stitch, hand-sew on the trim, stick the pocket on the jacket and hand-stitch it on, repeat.)

Meanwhile, the exterior fabric was getting fuzzier and more played-out looking the more I stitched away, and the silk was getting tiny pulls all around the edge.

But as frustrating as it all was, I could see for myself why Chanel had added various design elements. The trim goes around the neck and center front to reinforce and stabilize that area without heavy tailoring. It keeps the neckline from flopping open, and it keeps the simple design from being too blocky and boring. Though I wasn’t using upper pockets, I could see how they would be useful on a princess-seamed jacket, to cover the place where the plaids don’t match at the bust point. The chain helps to keep the lightweight fabric hanging well so it won’t ride up, and the weight can counter-balance heavy buttons. The brilliant simplicity and wearability of this design has kept these jackets in vogue for more than 60 years.

I finally hand-sewed on the chain (time-consuming because you’ve got to get the needle around and through the metal loops) and hand-sewed on the trim and hooks and eyes. Then I put it in my closet until I recovered from the trauma ten months later.

Chaneljacket

Working with a vintage unprinted pattern, if you’re lazy.

0
1962 Spadea/Chanel unprinted pattern

1962 Spadea/Chanel unprinted pattern

If you sew from vintage patterns, you may have been nonplussed to open that package and see absolutely nothing printed on the pieces, like in the photo above. Printed patterns only came into vogue in the 50s, and before that people needed to follow the notches and dots cut into the pattern to find their way. The Spadea company continued to hand-cut their unprinted patterns well into the 60s.

Above is a piece of the Spadea/Chanel jacket pattern I wrote about in a previous post. The instructions included with the pattern explain what the markings mean.  Each pattern piece has a letter made of small dots punched in it, to identify the back, front, sleeve etc. The notches are small “v” shapes on the side, three large dots indicate the fold, two large dots indicate the grainline, and medium and small dots are used in the instruction to indicate buttons, buttonholes, ease lines etc.

Marking pattern on to "Kwik Trace" muslin

Marking pattern on to “Kwik Trace” muslin

The first thing I do when I open an unprinted vintage pattern is write the pattern number, name and original bust size measurement on each piece so they don’t get mixed up with other patterns. Since I was using a rare vintage pattern, I traced it onto tracing paper and put the original away. Then I compared the pattern piece with a pattern from a previous jacket I made to make some fit adjustments. You can do this with a pattern block or sloper if you have one. (Those are basic fitting patterns some people make for themselves to fit patterns more quickly. So far I’ve been too lazy to make one.)

I then used a large piece of tracing paper (from the http://www.richardthethread.com/  website in LA) and a tracing wheel to copy the pattern onto my “muslin” version of the jacket. (Though in this case I’m using Kwik Trace tracing fabric rather than actual muslin, again being lazy.) The downside of Kwik Trace is that it’s unwoven and doesn’t have a grain, so I wouldn’t recommend it for projects where you need to know how the fabric will behave, such as a bias cut dress.

Completed "muslin" of jacket

Completed “muslin” of jacket

I cut out the pieces and constructed the muslin loosely using the method outlined in Susan Khalje’s “Couture Dress” course on Craftsy. (Okay, I skipped a few steps, but you get the idea.) I’ve recommended that course in previous posts, and it really helps with vintage projects like this. http://www.craftsy.com/class/The-Couture-Dress/53?_ct=sbqii-sqjuweho-qbb&_ctp=53,1

Once I tweaked the fit, I marked any changes on the Kwik Trace with a sharpie and took the “muslin” apart. Those pieces now became my pattern. At this point I wrote the pattern number and name on each piece and indicated that it had been fitted for me, in case I wanted to reuse it.

Cutting the fabric with large seam allowances

Cutting the fabric with large seam allowances

I pinned the pattern pieces on my fabric and then cut loosely around them to leave plenty of seam allowance. Boucle like this unravels in a huge hurry, and by the time you’re ready to finish the seams, you may have already lost more than 1/2 an inch.

Thread tracing the seam line

Thread tracing the seam line

At this point, if you follow Susan’s Khalje’s instructions in the Couture Dress course, you are supposed to “thread trace” (loosely baste with contrasting silk thread) around all of the seam lines to mark the seams on the front and back. This is a great idea! But I can’t face it at this point in the construction! (Because I’m lazy.) So, despite the fact that Susan warns against this, I marked both sides of my fabric with tracing paper, which I then could not get out of the fabric. Fortunately my fit was pretty good, so I just stitched inside the line and the marks ended up inside the seam allowance. I did thread trace the armscye and sleevecap as it makes it a million times easier to line up.

How about you? Have you ever worked with an unprinted pattern? How did it go? Leave me a comment, and a link if you have one. I’d love to see your projects.

Till next time… (I used to work in TV so I feel like I need a sign-off line) “May your bobbins be full and your tension even?”

Claire Schaeffer: Godmother of Haute Couture Sewing #2

7

photo (12)
If Susan Khalje is the hands-on “Godmother of Haute Couture”, who learned her craft making confections for Bridezilla, then Claire Schaeffer is the historian, whose in-depth study of haute couture techniques have made her books a must-have for my sewing library.

Her “Couture Sewing Techniques” book, in particular, describes just about every haute couture technique that a sewing enthusiast will encounter in a lifetime (or the half-life of your fabric stash, which is 9 million years…). Fitting, sleeve-setting, hems, buttonholes, pockets, jacket tailoring (including Chanel-style jackets), fabrics, pressing etc. are all covered in painstaking detail. Here’s where you can find it on Amazon:

http://www.amazon.com/Couture-Sewing-Techniques-Revised-Updated/dp/1600853358/ref=pd_bxgy_b_img_z

If you go to the Threads Magazine website, there is a series of videos by Claire Schaeffer illustrating the techniques from the book, which I highly recommend. The hand-stitching tutorial in particular I found very useful. If your hand-sewing skills are not that strong, it’s worth it for you to watch this video and practice before you undertake sewing a Chanel-style jacket. You need to subscribe to the Threads website for access to the videos, or buy the DVD:

http://www.threadsmagazine.com/item/23016/couture-techniques-workshop-basics-with-claire-shaeffer

Claire Schaeffer just published a comprehensive book on the history and making of the Chanel-style jacket, entitled “The Couture Cardigan Jacket: Sewing Secrets from a Chanel Collector.” The enclosed DVD walks you through every step of her method of making a jacket. Here it is on Amazon:

http://www.amazon.com/Couture-Sewing-Cardigan-secrets-Collector/dp/1600859550/ref=sr_1_1?s=books&ie=UTF8&qid=1384778985&sr=1-1&keywords=claire+schaeffer

(I have a confession to make at this point. I love Claire Schaeffer’s books, but just looking at the zillions of steps she outlines in her Chanel-style jacket method gives me so much anxiety that I want to go bake cookies instead.) Fortunately, Lizzie of The Vintage Traveler, a favorite blog of mine, has written a nice rundown of the book and video, which you can find here:

http://thevintagetraveler.wordpress.com/2013/10/11/currently-reading-and-viewing-the-couture-cardigan-jacket-by-claire-shaeffer/

One person who made a very pretty jacket using Claire’s pattern is seamstress Ann Rowley. During construction, she took a series of very helpful photos illustrating every step:

http://www.flickr.com/photos/7370831@N07/sets/72157630204914658/

And here’s a link to reviews from patternreview.com by people who have completed jackets from this pattern.

Vogue 8804 http://sewing.patternreview.com/patterns/54069

If you are someone who can fathom spending the time it takes to hand-sew a couple of intricate quilts and fashion them into a tiny jacket, then Claire’s method may be for you. There’s a lot of basting involved, and people who have made the pattern say it takes more than 100 hours start to finish. The result is a meticulous and authentic jacket that’s a little conservative for my tastes, but may be just what you’re looking for.