The Making of Chanel Jacket #2: Blood, Sweat and Tears

23

A couple of posts ago, I promised details about how I constructed Chanel jacket #2.

image

Even though I was working on this project a year ago, it’s alllll coming back to me. The ill-fated muslins, the horrendous plaid matching, the pricked fingers and blood on my white lining, the furry fabric that felt like a shedding lapdog as I did hour after hour of hand sewing. No wonder it was sitting in my closet for a year!

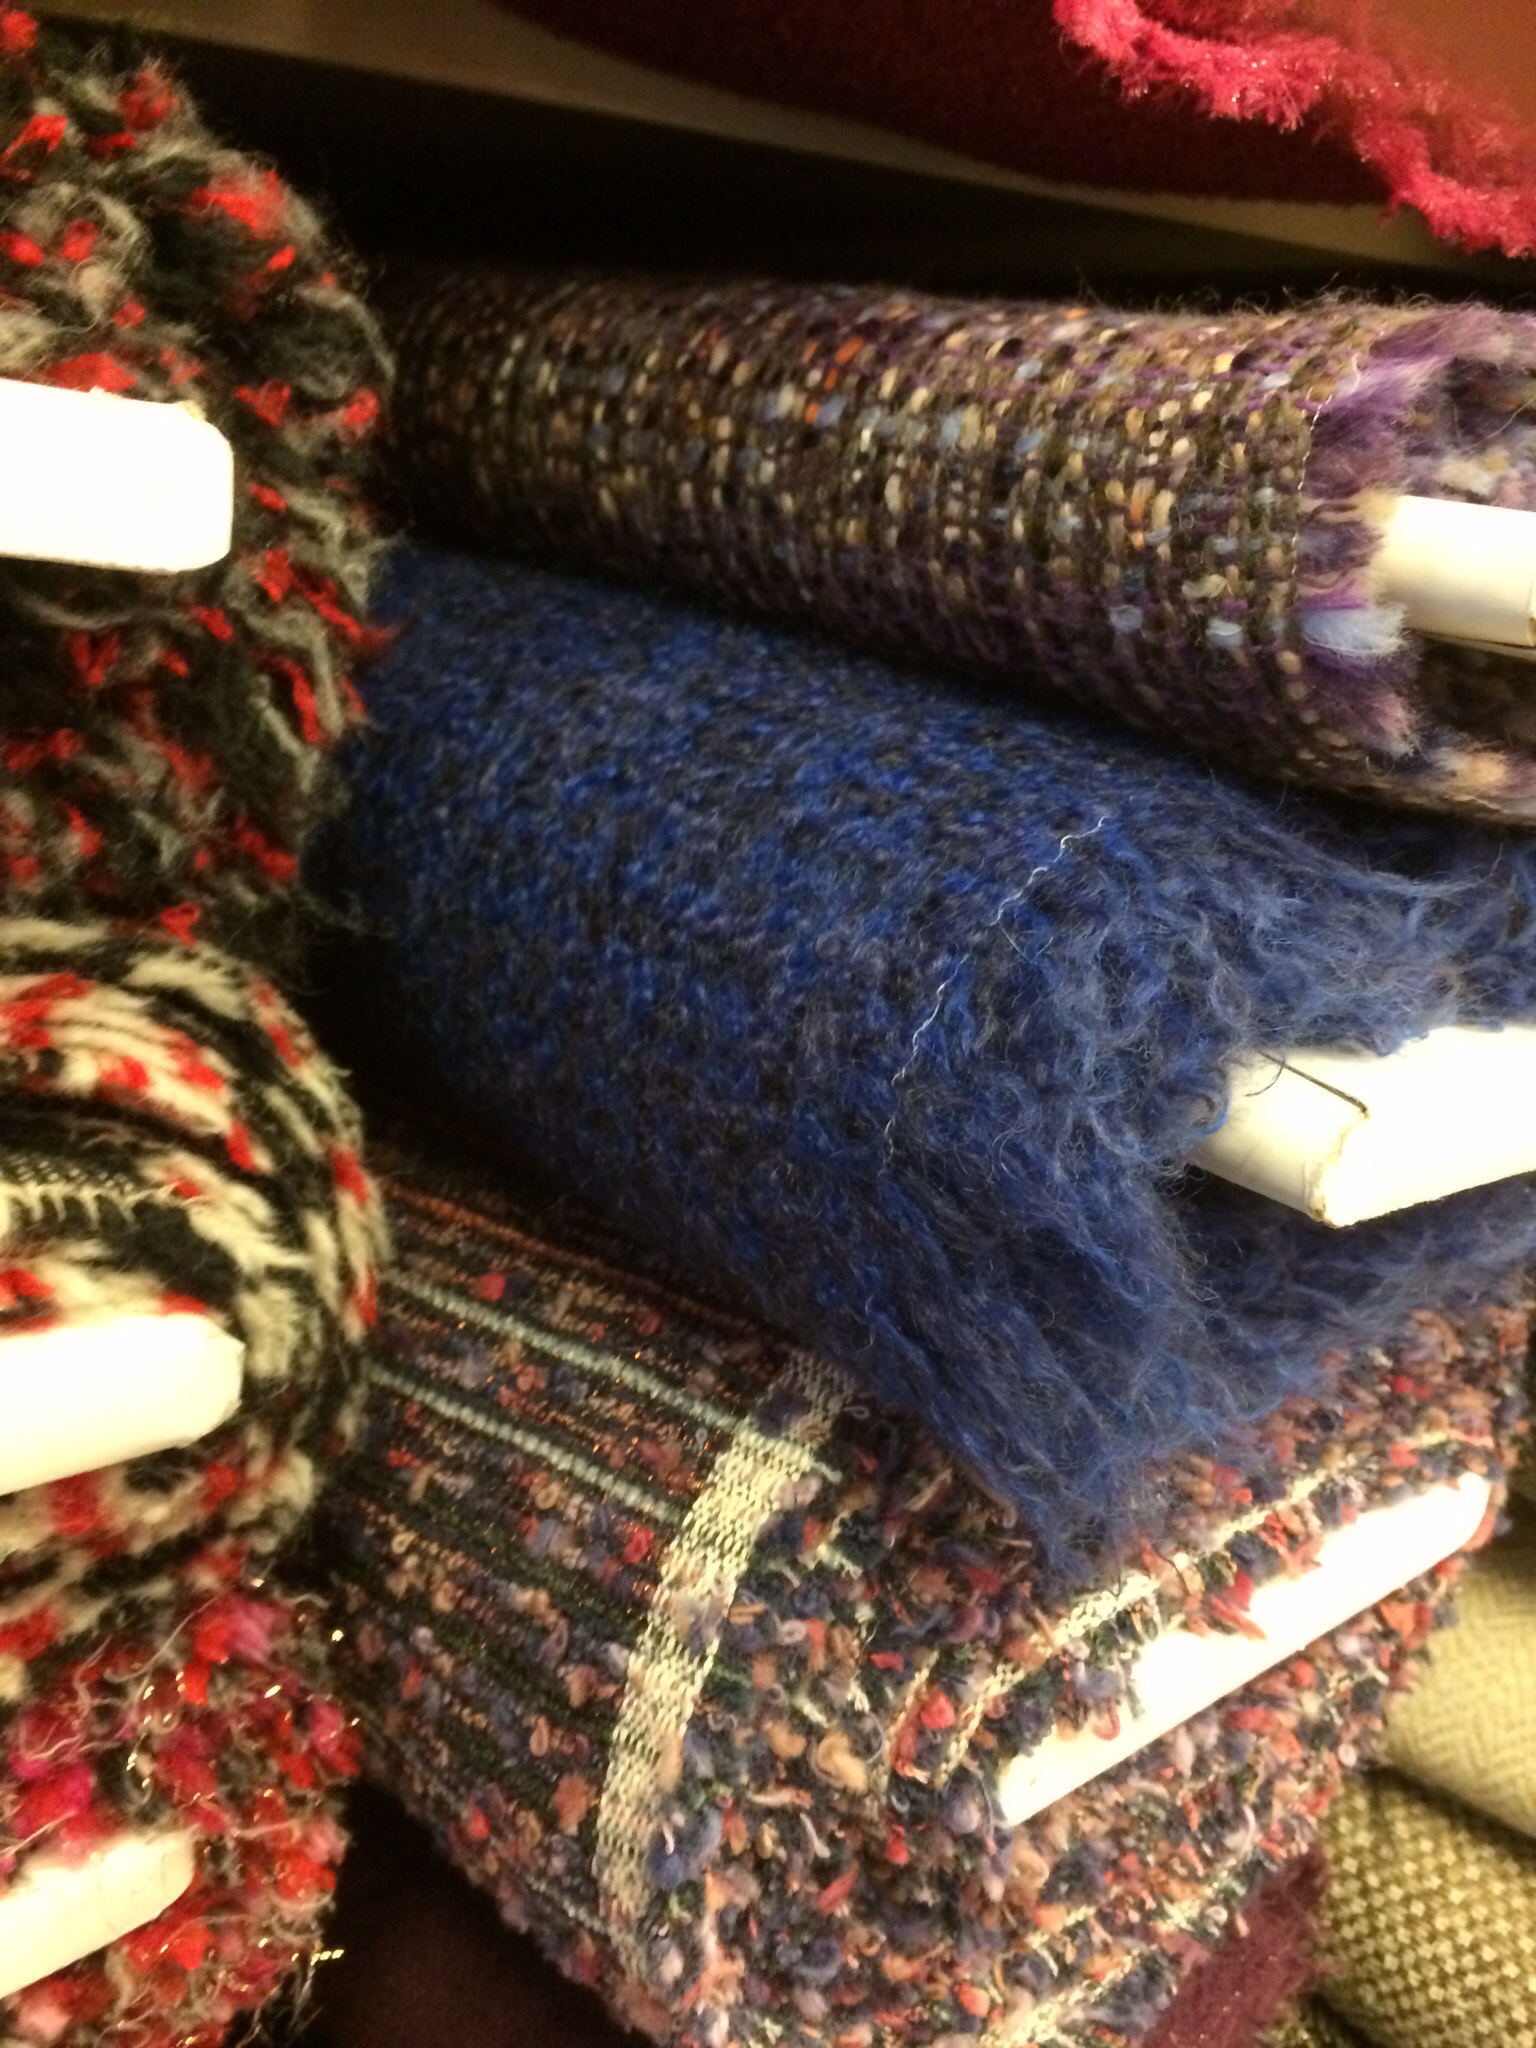
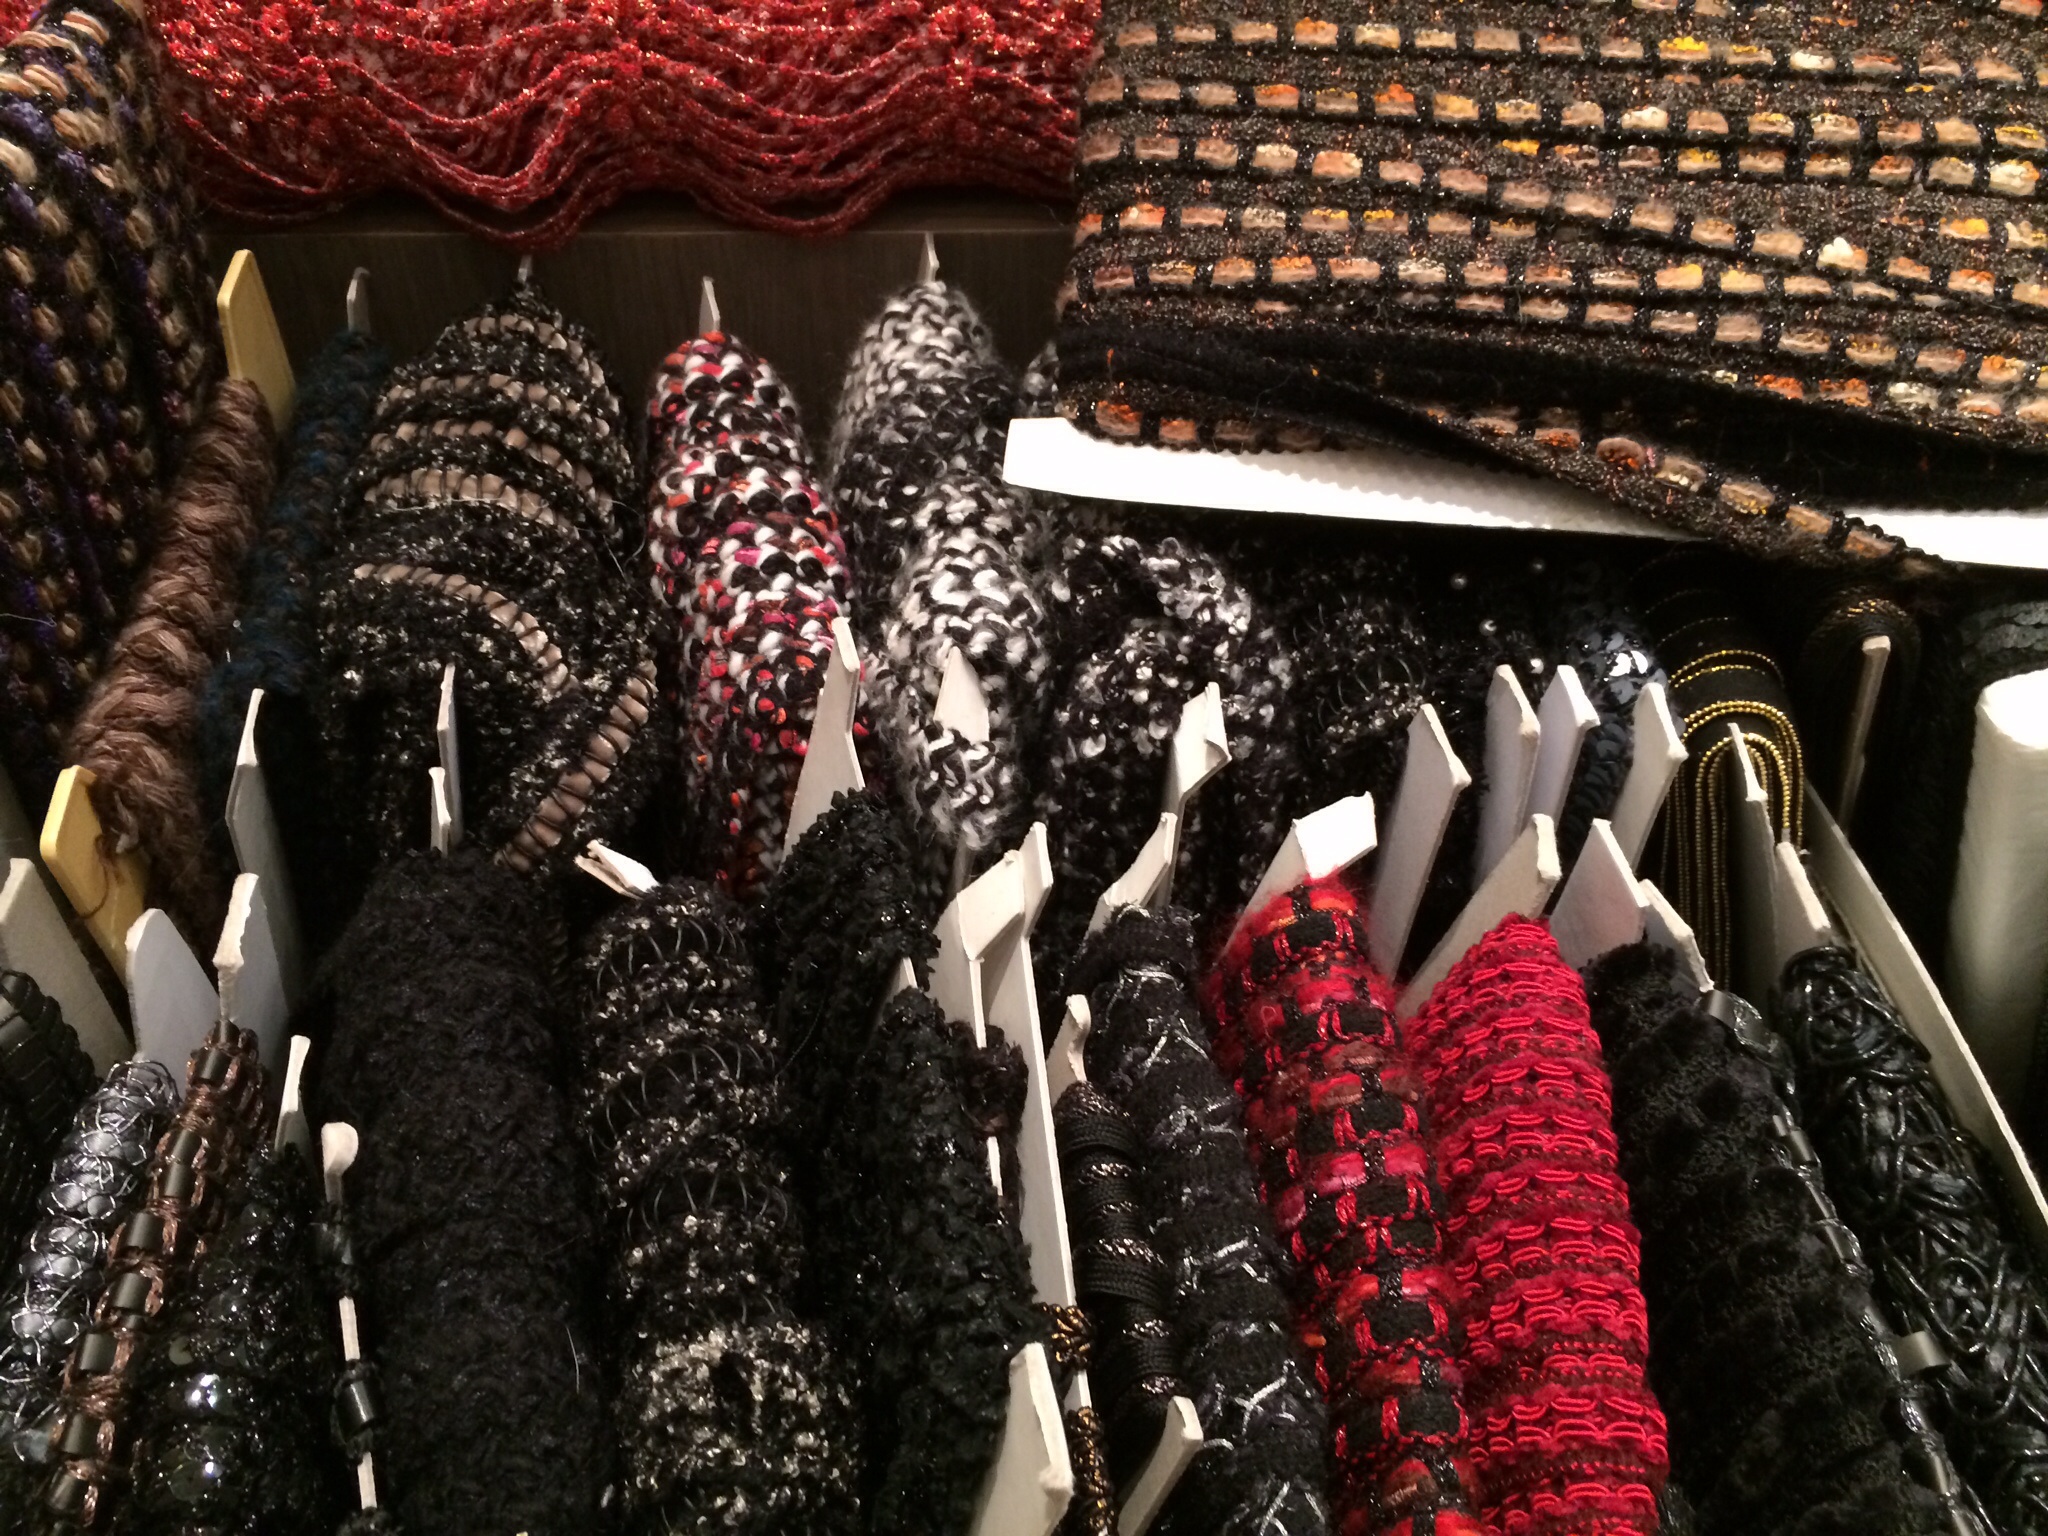
Here’s the story: while in the thrall of creating Chanel jacket #1, which I made as a project for Susan Khalje’s “Couture Dress” course on craftsy.com, I started obsessively researching all things related to sewing a Chanel jacket. Looking at the Elliott Berman Textiles website one day, I noticed a listing for actual Chanel tweed fabric for $55 a yard. Not knowing at the time that that was a bargain for this type of fabric, I waited for a sale and got a couple of yards at 20% off.

Soon after, I completed Chanel jacket #1, then won a blue ribbon for it at the Martha’s Vineyard Agricultural Fair, which is a blood-sport crafting competition between rural crafters, hippy artsy folk, and overeducated gentleman/women farmers, with a few summer residents like me jumping in. Filled with hubris, and my $5 Fair winnings, I embarked on Chanel #2.

image

Embracing sewing has helped me get in touch with a scary competitive side of myself I didn’t know I had.

My plan was to use Vogue pattern 7975, (Vogue pattern 7975) which at that time was a favorite of Susan Khalje’s during her Chanel boot camps, though apparently she helps her students change the sleeve pattern into 3-part sleeves (Susan Khalje’s week-long Chanel Jacket class). So I started obsessing about the sleeve and decided to do a “frankenpattern” of that pattern with the sleeve from the Claire Shaeffer’s Vogue 8804 jacket pattern, which had just been released (Claire Shaeffer’s Chanel jacket pattern).

image  As I muslined 7579, which is a fairly conservative pattern with curving princess seams, I kept thinking, “I look lousy in princess seams,” and “this is too dowdy for me.” Undeterred and in denial, I finished the muslin and hated it. If you’re built like me, with boobs, a short waist, and hips, a fitted Chanel-style jacket is not your finest look to begin with, and it can easily turn you into a dumpy “pepper pot” (as the guys from Monty Python used to call themselves when they played middle-aged women in drag).

7975 muslin

I hate the way I look in muslins, but I’m always glad I did them.

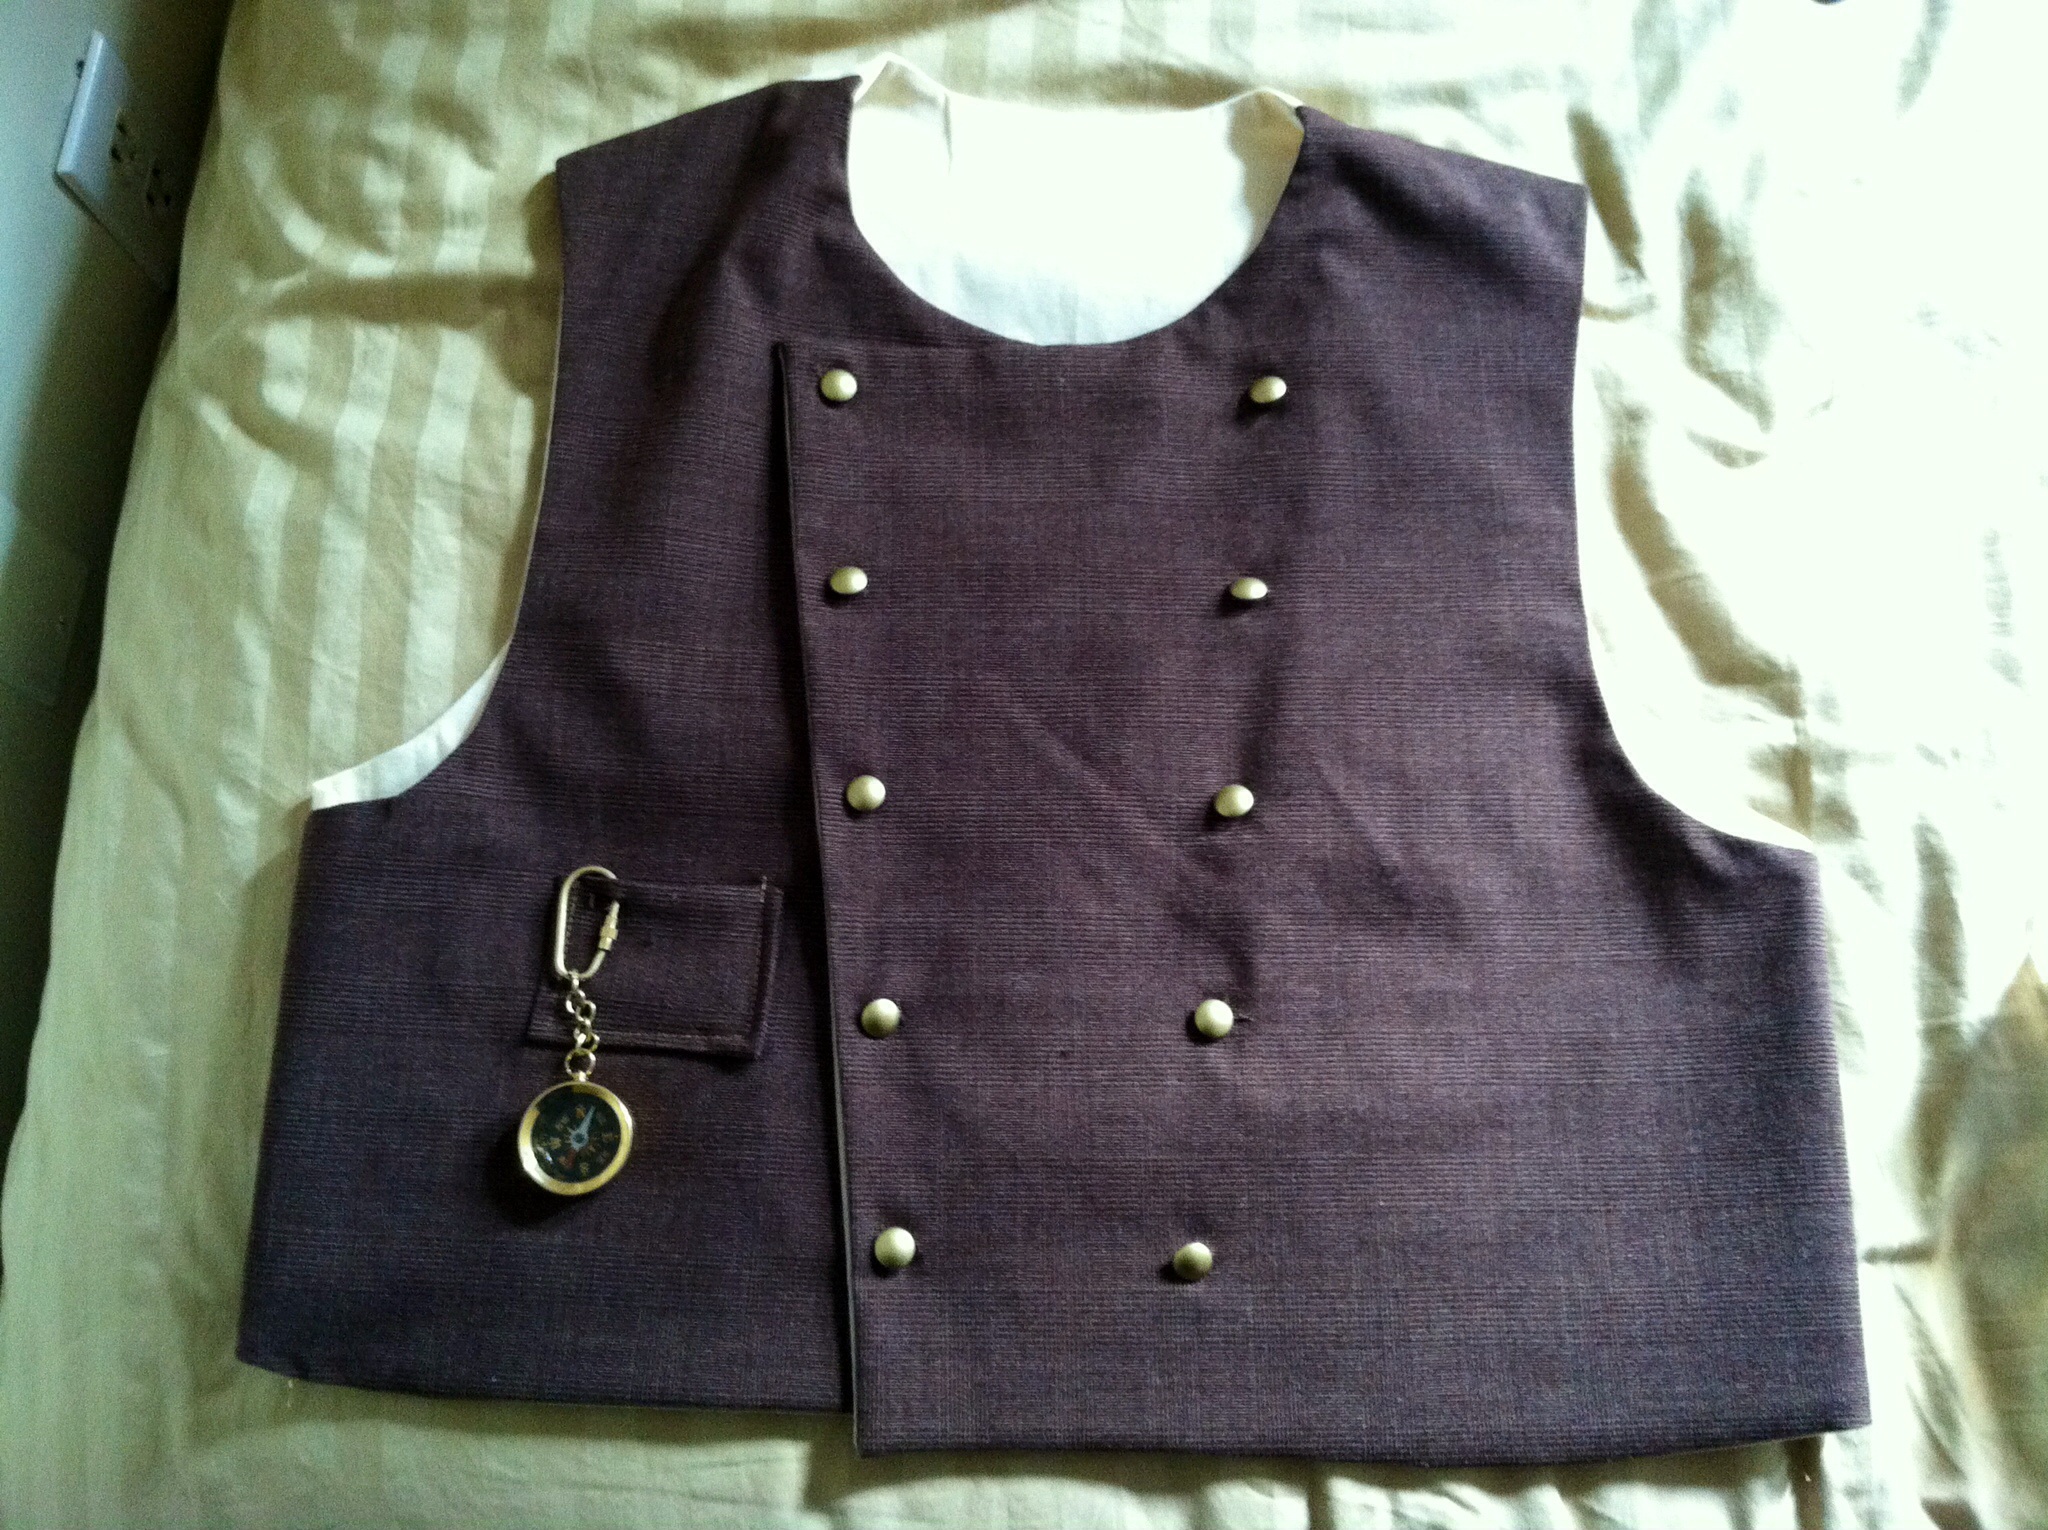
In the end I selected a Simplicity pattern (Simplicity 2154) with kimono sleeves and side panels, which I reasoned would be easier for plaid matching and construction. I had convinced myself that I could throw this jacket together. I have no idea why! I have seen photos of Chanel jackets using this cut, so it is an authentic look.

Chanel jacket with kimono sleeves

I muslined the Simplicity pattern and liked it a lot better–it had a much more retro 60s vibe, and it looked better on me. Also, I saw that I could create a vent on the top sleeve seam, which would save me the hassle of creating a three-part sleeve.

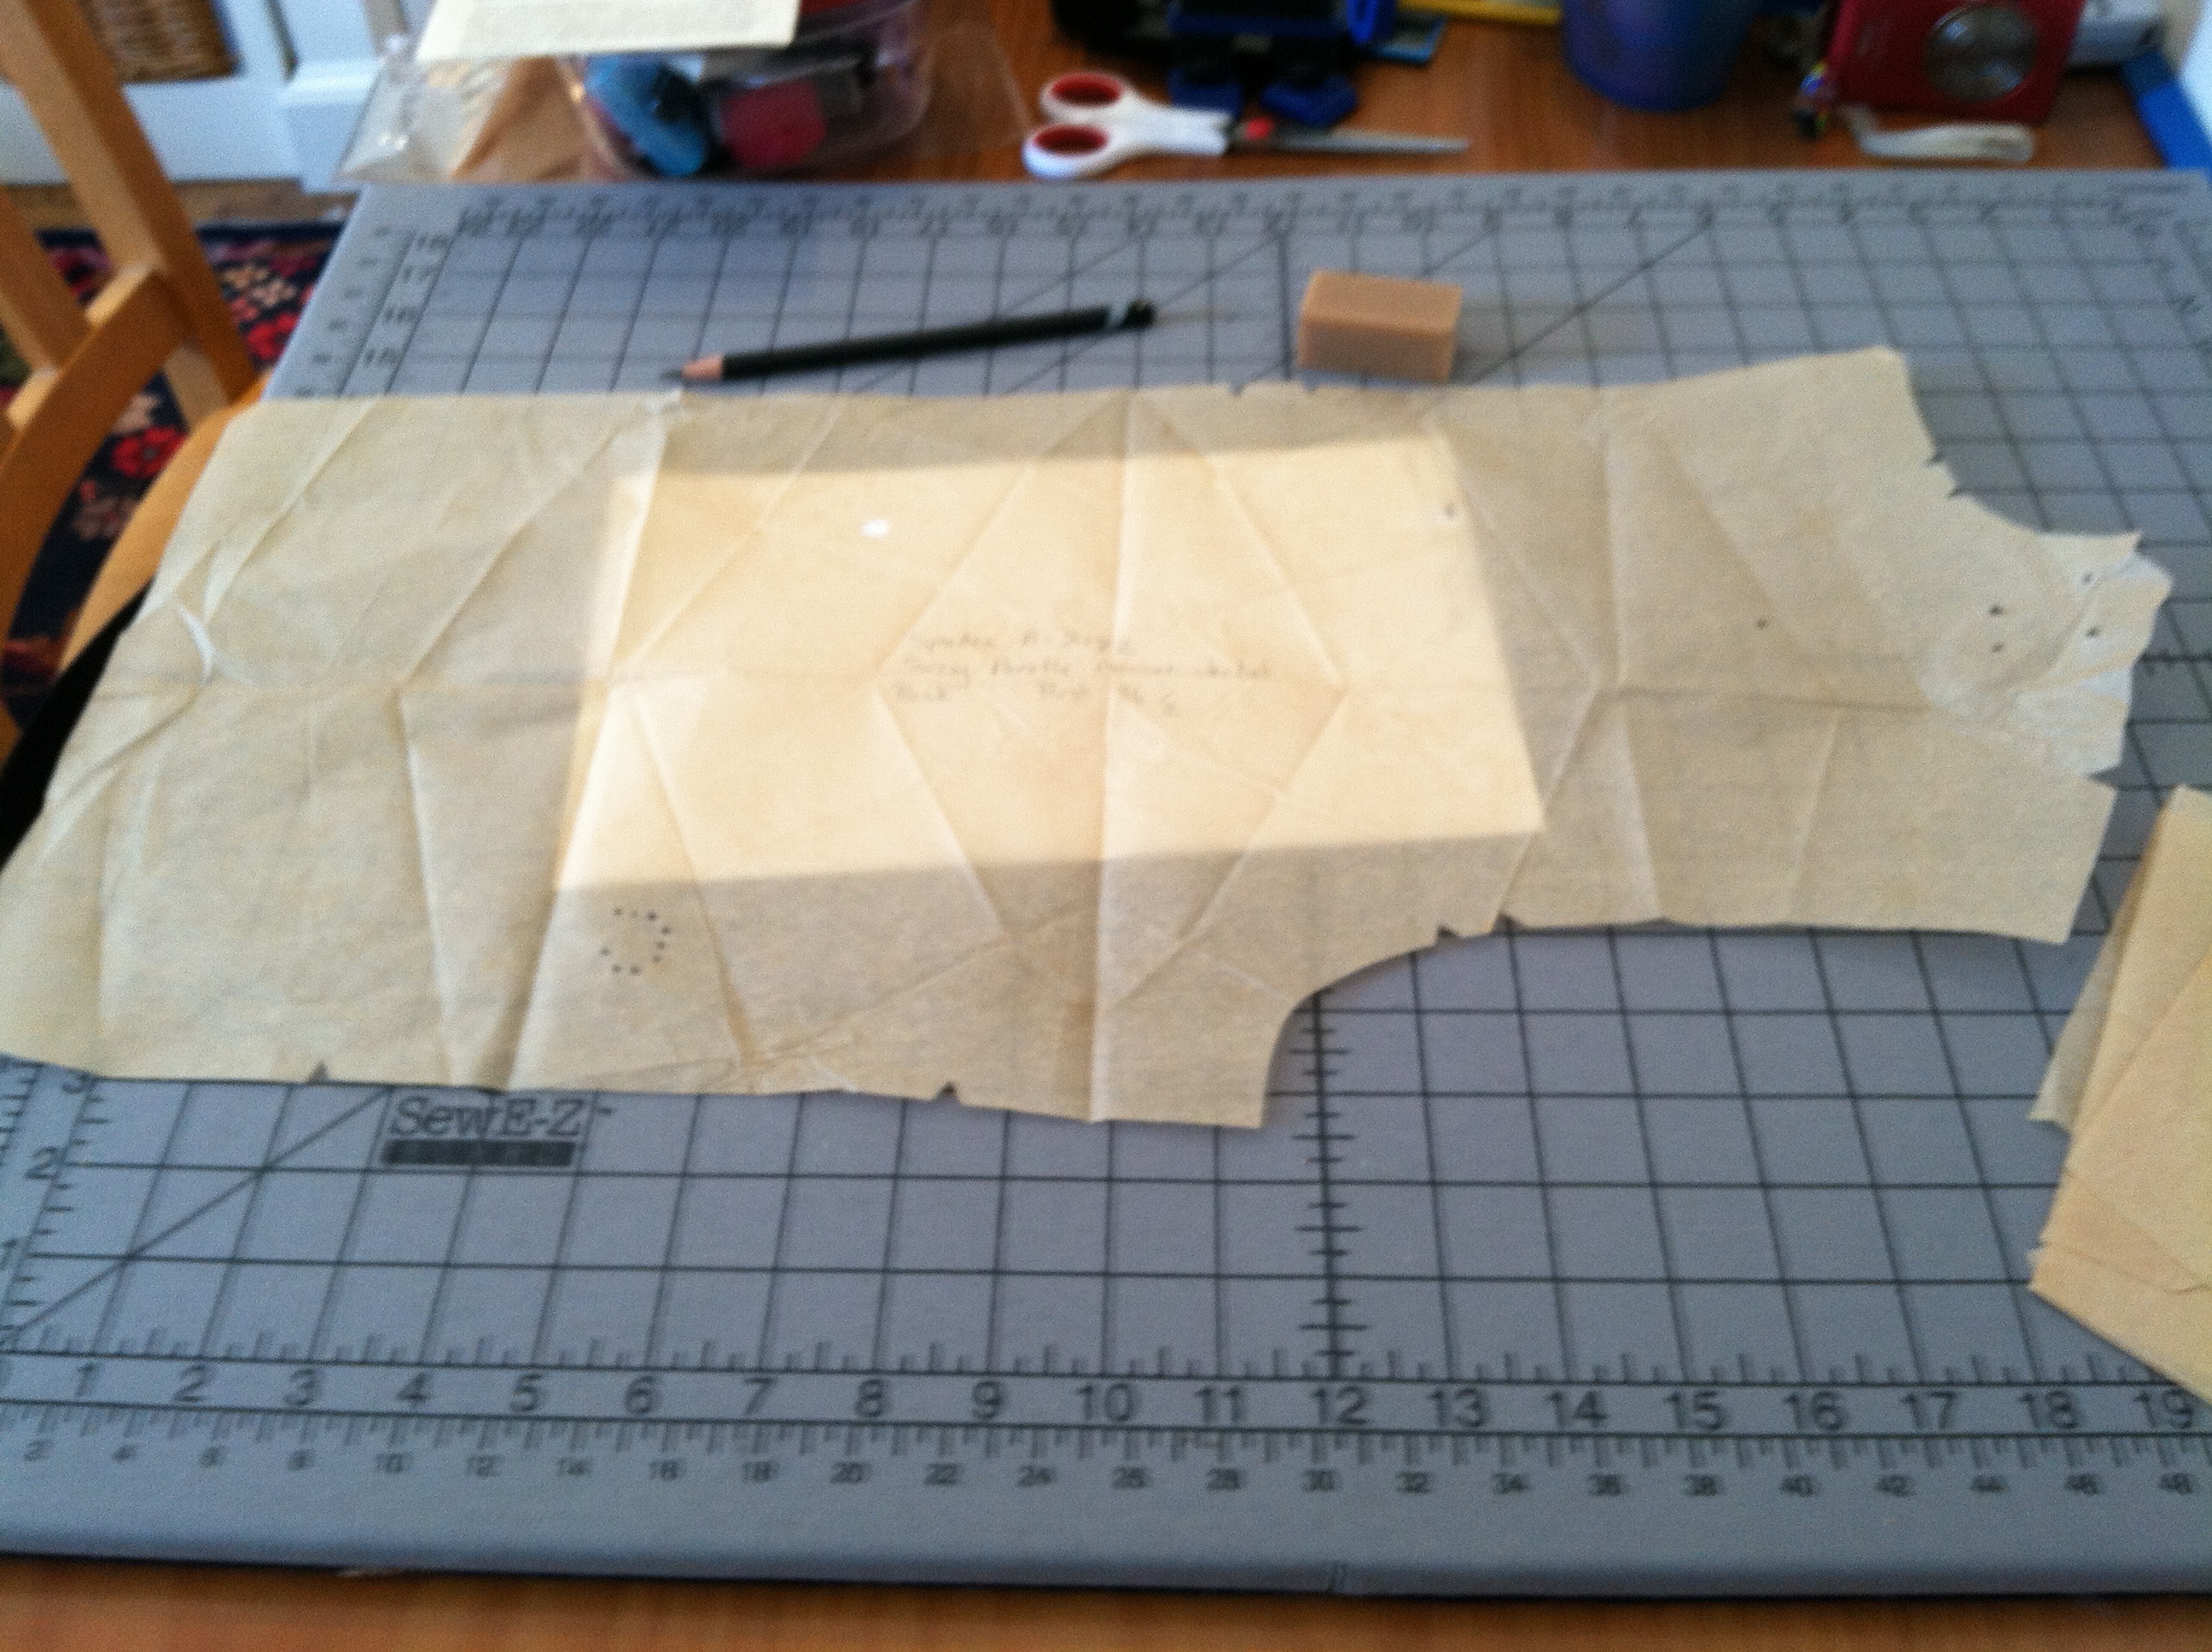
After taking about 2″ off the top shoulder/arm seam, raising the side panel to make the underarm higher, and cutting lengthwise rectangles at the cuff of the top sleeve seams to make the vent, the muslin was fitted and good to go.

IMG_0428

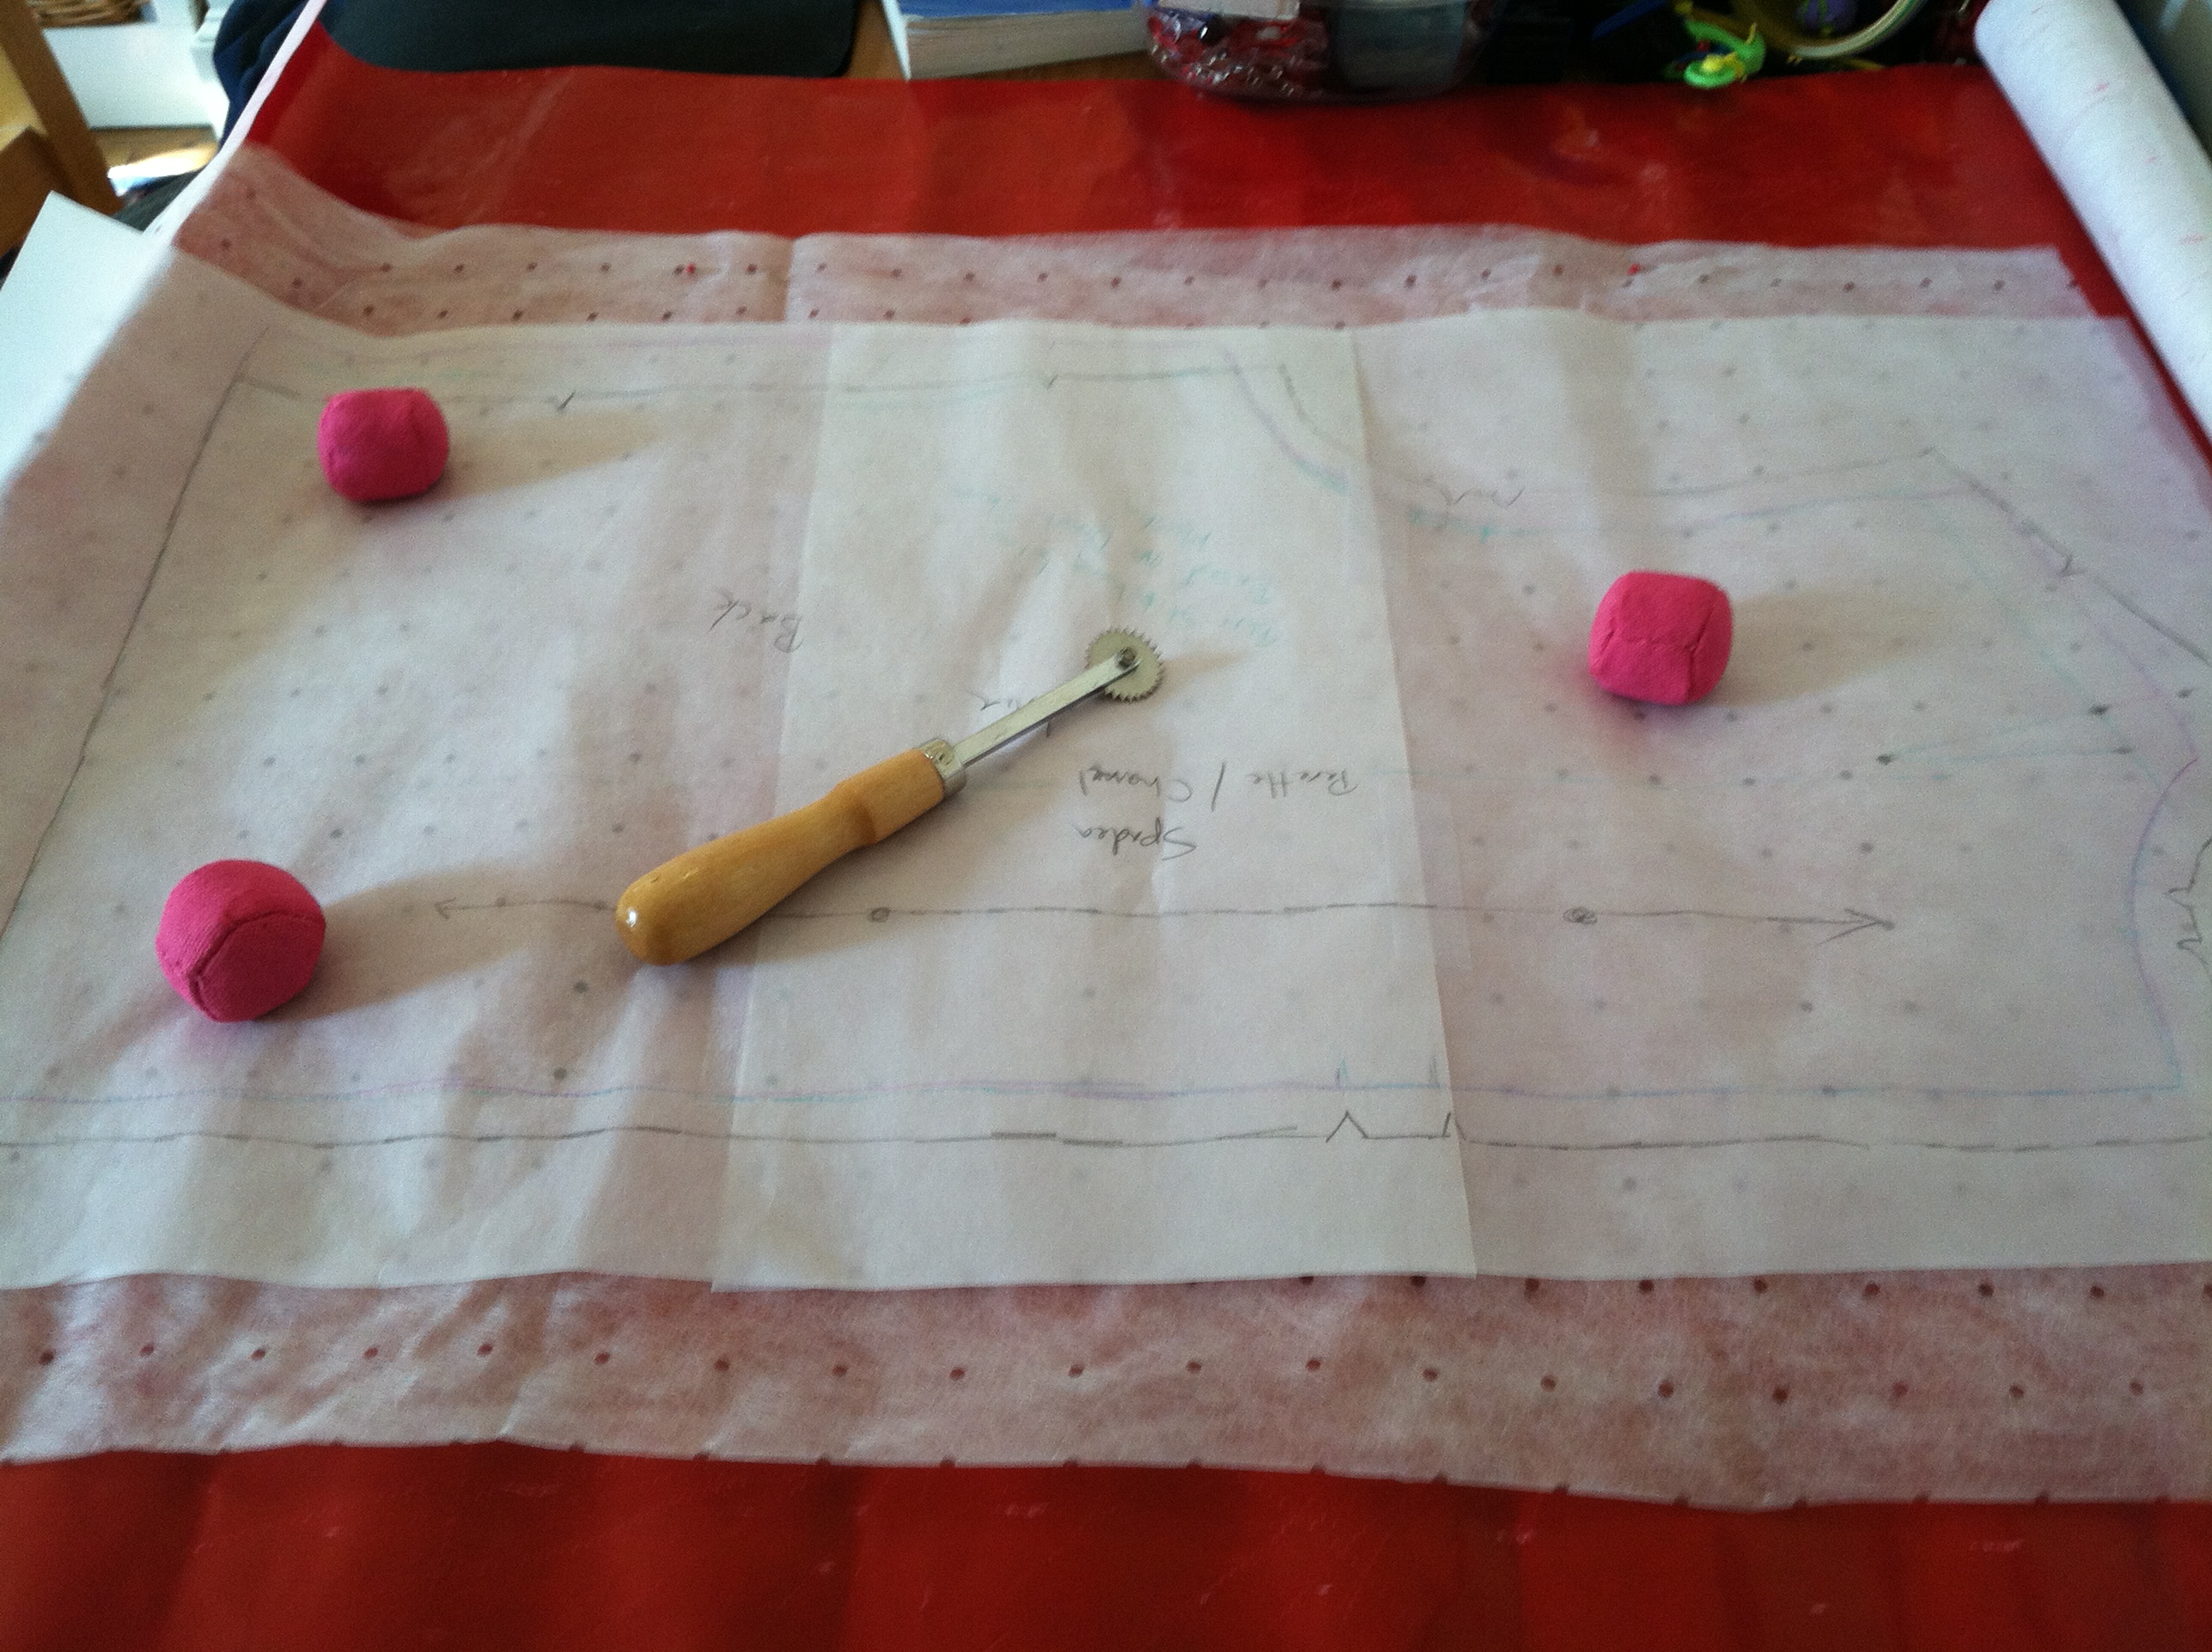
I took apart the muslin and trimmed it to the stitching line to make the pattern pieces. I laid out the front pieces on one layer of fabric, side by side, so that the plaids would match up. Ditto for the back. The side pieces I thought would match pretty closely. I cut around the pieces, leaving a large seam allowance. At this point, you’re supposed to thread-trace (hand baste) around the pattern pieces to mark the seamline, but I think I used tracing paper instead. As I noted in the construction of Chanel #4, this is a bad idea because the tracing lines can permanently mark the fabric. But thread tracing is so boring!

image

Then the fun started. The fabric I selected has a subtle, very tricky, plaid repeat that is about 6″ long. So when you think you’ve got it lined up properly, you’re really about 2″ off. By the time I got into the serious matching and construction I got so obsessive that I spent hours trying to ensure that the large black thread was matching the other large black thread, and not the small black thread, which would completely throw off all of the fuchsia and grass green threads. It made me nuts.

For lining, I used a double silk georgette from Emma One Sock (emmaonesock.com), which, though lovely, I realized during construction was not all that sturdy for the amount of hand-work required.  And even though I really liked the style of the kimono sleeves (because the bodice starts on the grain and then the sleeves dip down on the bias), when it came to attaching the bottom of the sleeve/bodice pieces to the two small side panels that go under the arms, it was such a pain. Such a pain! It requires a weird pivot on your machine that I botched and then ended up doing by hand. Set-in sleeves would have been a hundred times easier. But it was worth it, as it gives this jacket a non-traditional look.

For instructions, I used an old article by Susan Khalje from Threads Magazine (Threads Magazine article), outlining the steps she uses to make a traditional Chanel-style jacket, where, prior to construction, the lining pieces are quilted directly onto the exterior “fashion” fabric pieces. The exterior pieces are machined together, and then the interior seams allowances are finished by catch-stitching them down to keep them from rolling up. Finally, the lining seams are hand-sewn closed to cover the fashion-fabric seams.

So I machine-quilted the pieces of lining to the pieces of fashion fabric, using a walking foot. Then I attempted to put the exterior together, with the attached lining pieces flapping around the seams. No fun at all. I had convinced myself that I would close the lining seams by folding them over one another and machine top-stitching the whole thing, but it looked awful. So it was back to hand-stitching. Everything.

Here you can see my haphazard machine quilting, with the hand-stitched line where the lining was connected over the exterior seam. So much flippin’ hand sewing! If you look closely you can see a small dot of blood on the lining from when I pricked my finger. I can’t believe that some people do the quilting by hand, too.

image

I also watched a video from the Chanel atelier showing the construction of a modern “little black jacket” and saw that they were using fusibles to support the neckline, center front and sleeve cuffs. I decided that if it’s okay by Karl, it’s okay by me! (Video of the making of a Chanel “little black jacket”.)

What you’re looking at below, on the left, is the center front of the right bodice, with the edge reinforced by sewing on a piece of selvedge from some silk organza (I learned that trick from Susan Khalje’s Craftsy course) and stabilized with lightweight knit fusible. I did this around the neckline and cuffs as well. You can see that the lining was already quilted on so I have to fold it back to put on the fusible. The lining was constantly getting caught in the stitching during the exterior construction. Yiiii!

image

I turned in the center-front edge, hand catch-stitched it down, then turned under the lining and fell-stitched it down. Here’s the finished center front, after I had put on the chain and hooks and eyes.

image

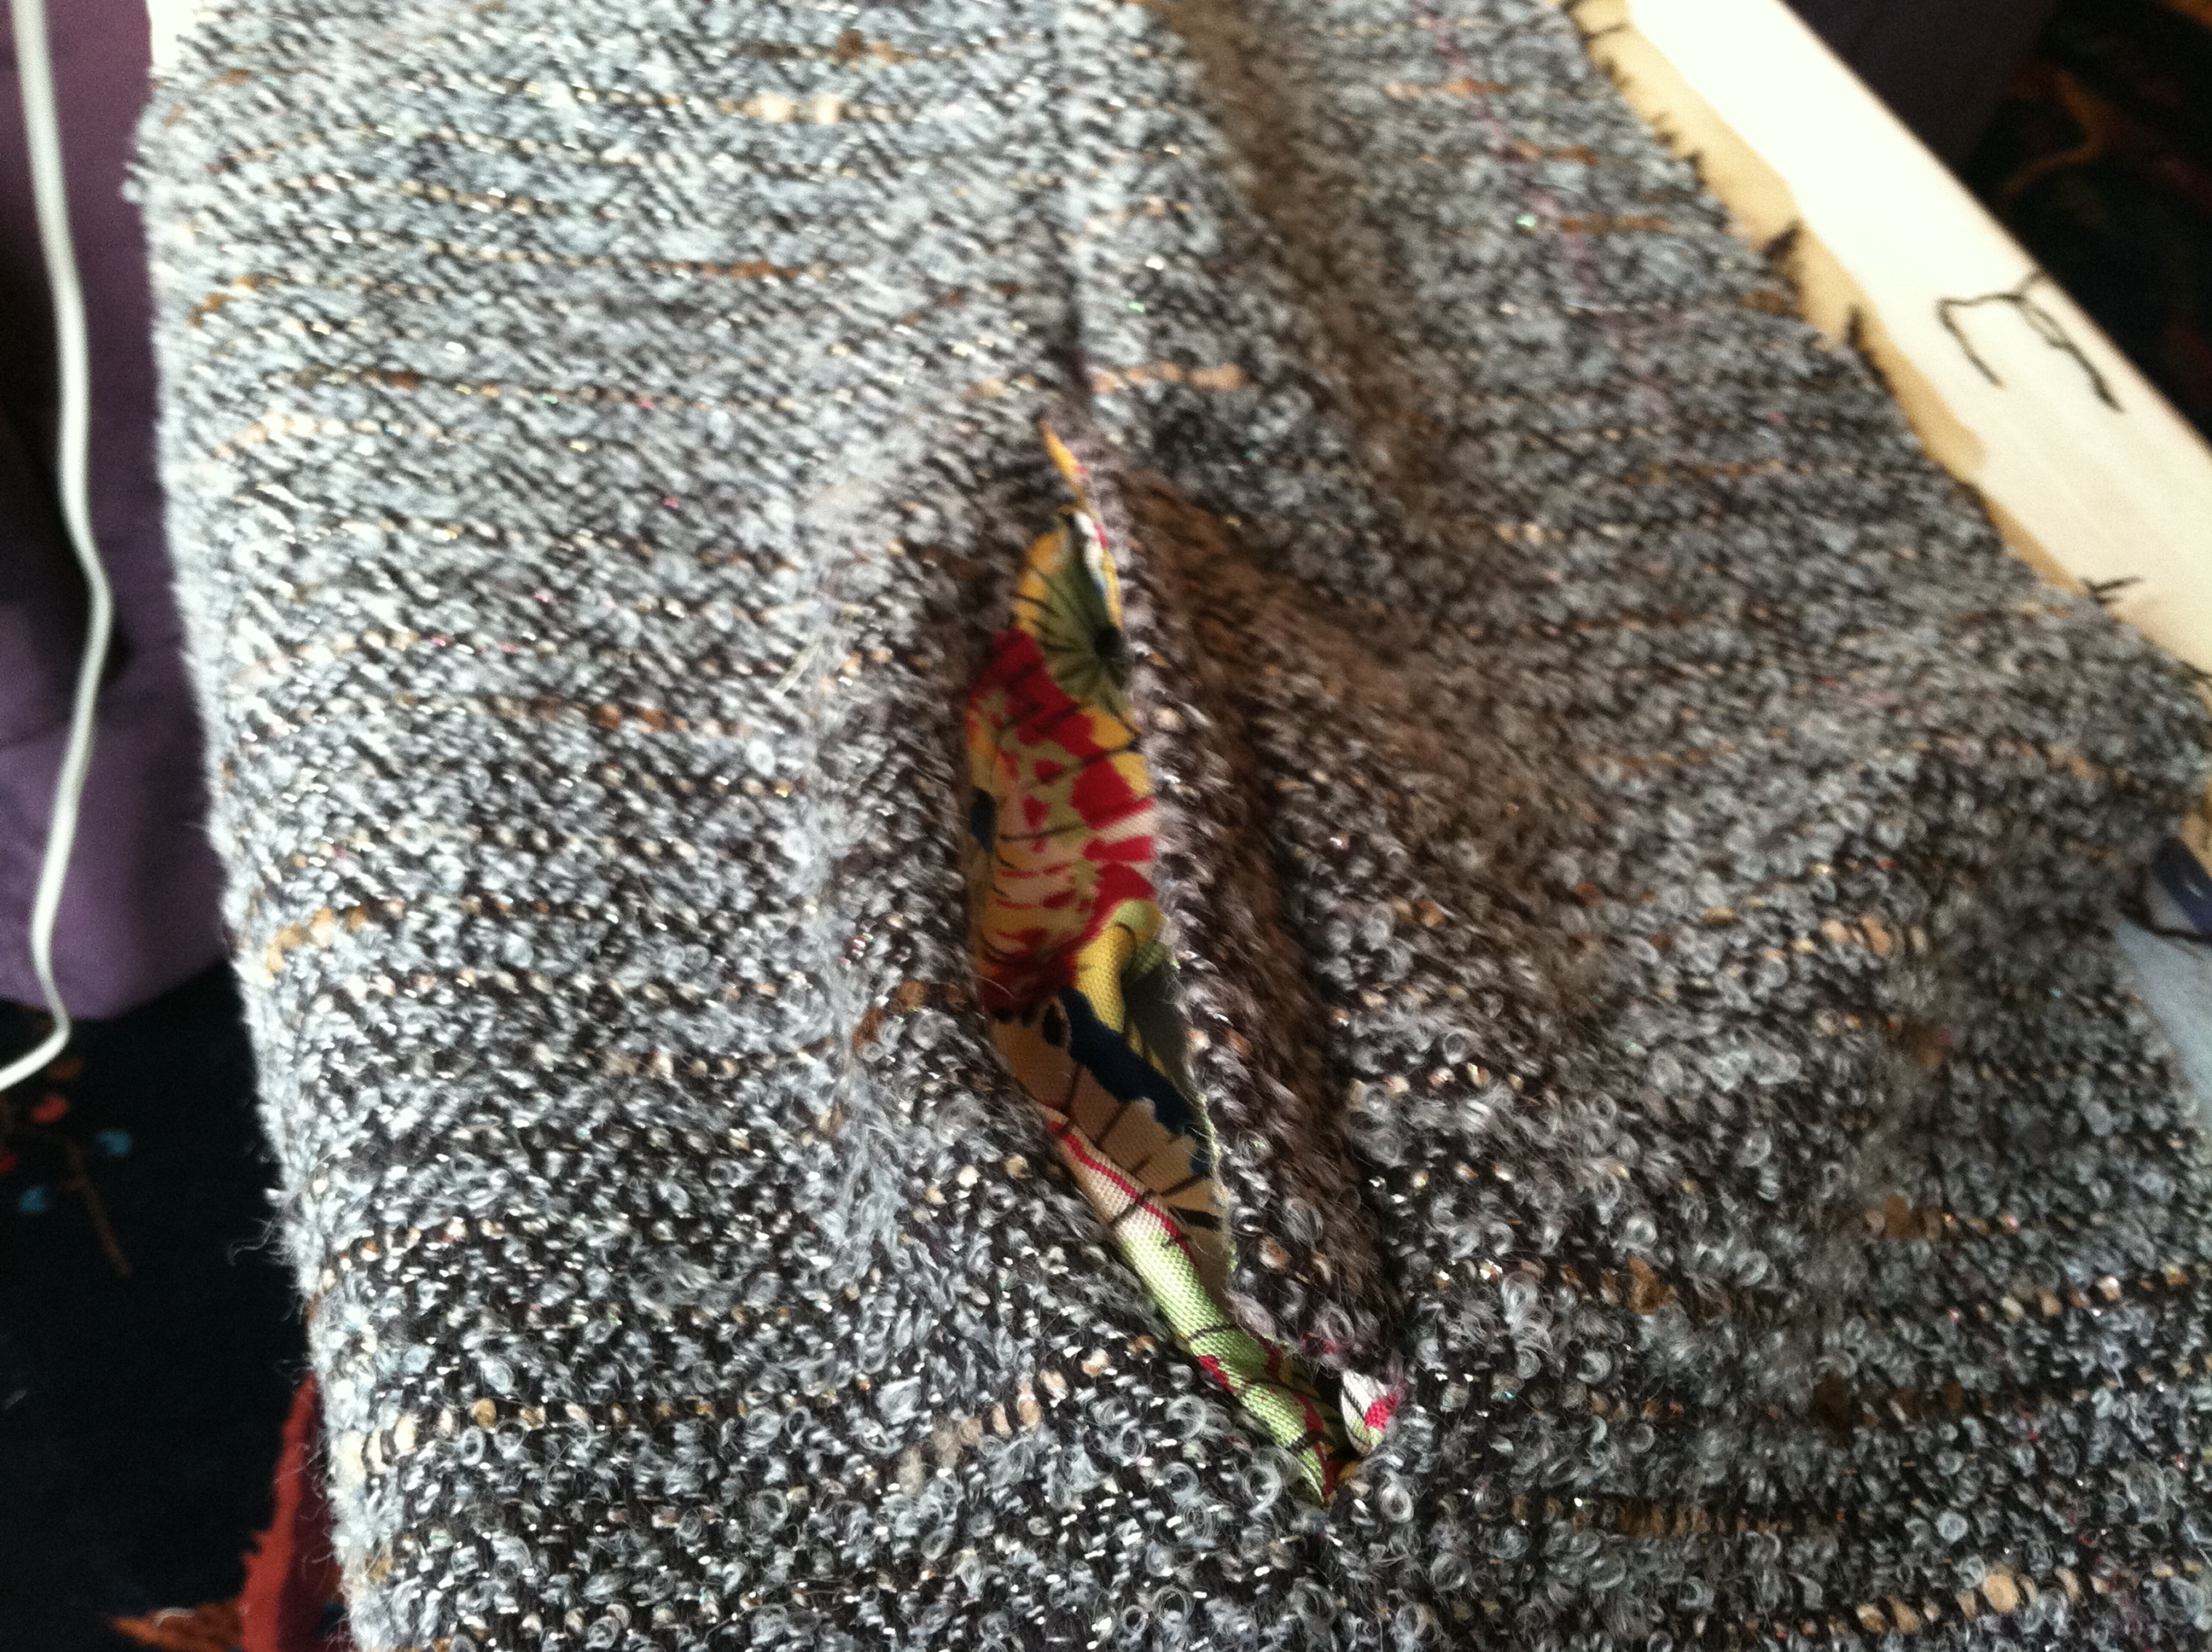
I basically jerry-rigged some vents on the upper sleeves by cutting a rectangle, about 3″ long and 2″ wide, on the cuff end of the sleeve back piece. I turned the rectangle in by 1″ (self-facing it), catch-stitched it down, and then attached the lining.

image At that point, nearing the freak-out zone, I remembered that I hadn’t done buttonholes in 30 years. We didn’t have a buttonholer when I was a kid, so I just went at them by hand. I like to think of the buttonholes on this jacket as “funky.” Note: you can avoid funky buttonholes and other pitfalls by consulting Claire Shaeffer’s book with DVD: The Couture Cardigan Jacket.

image
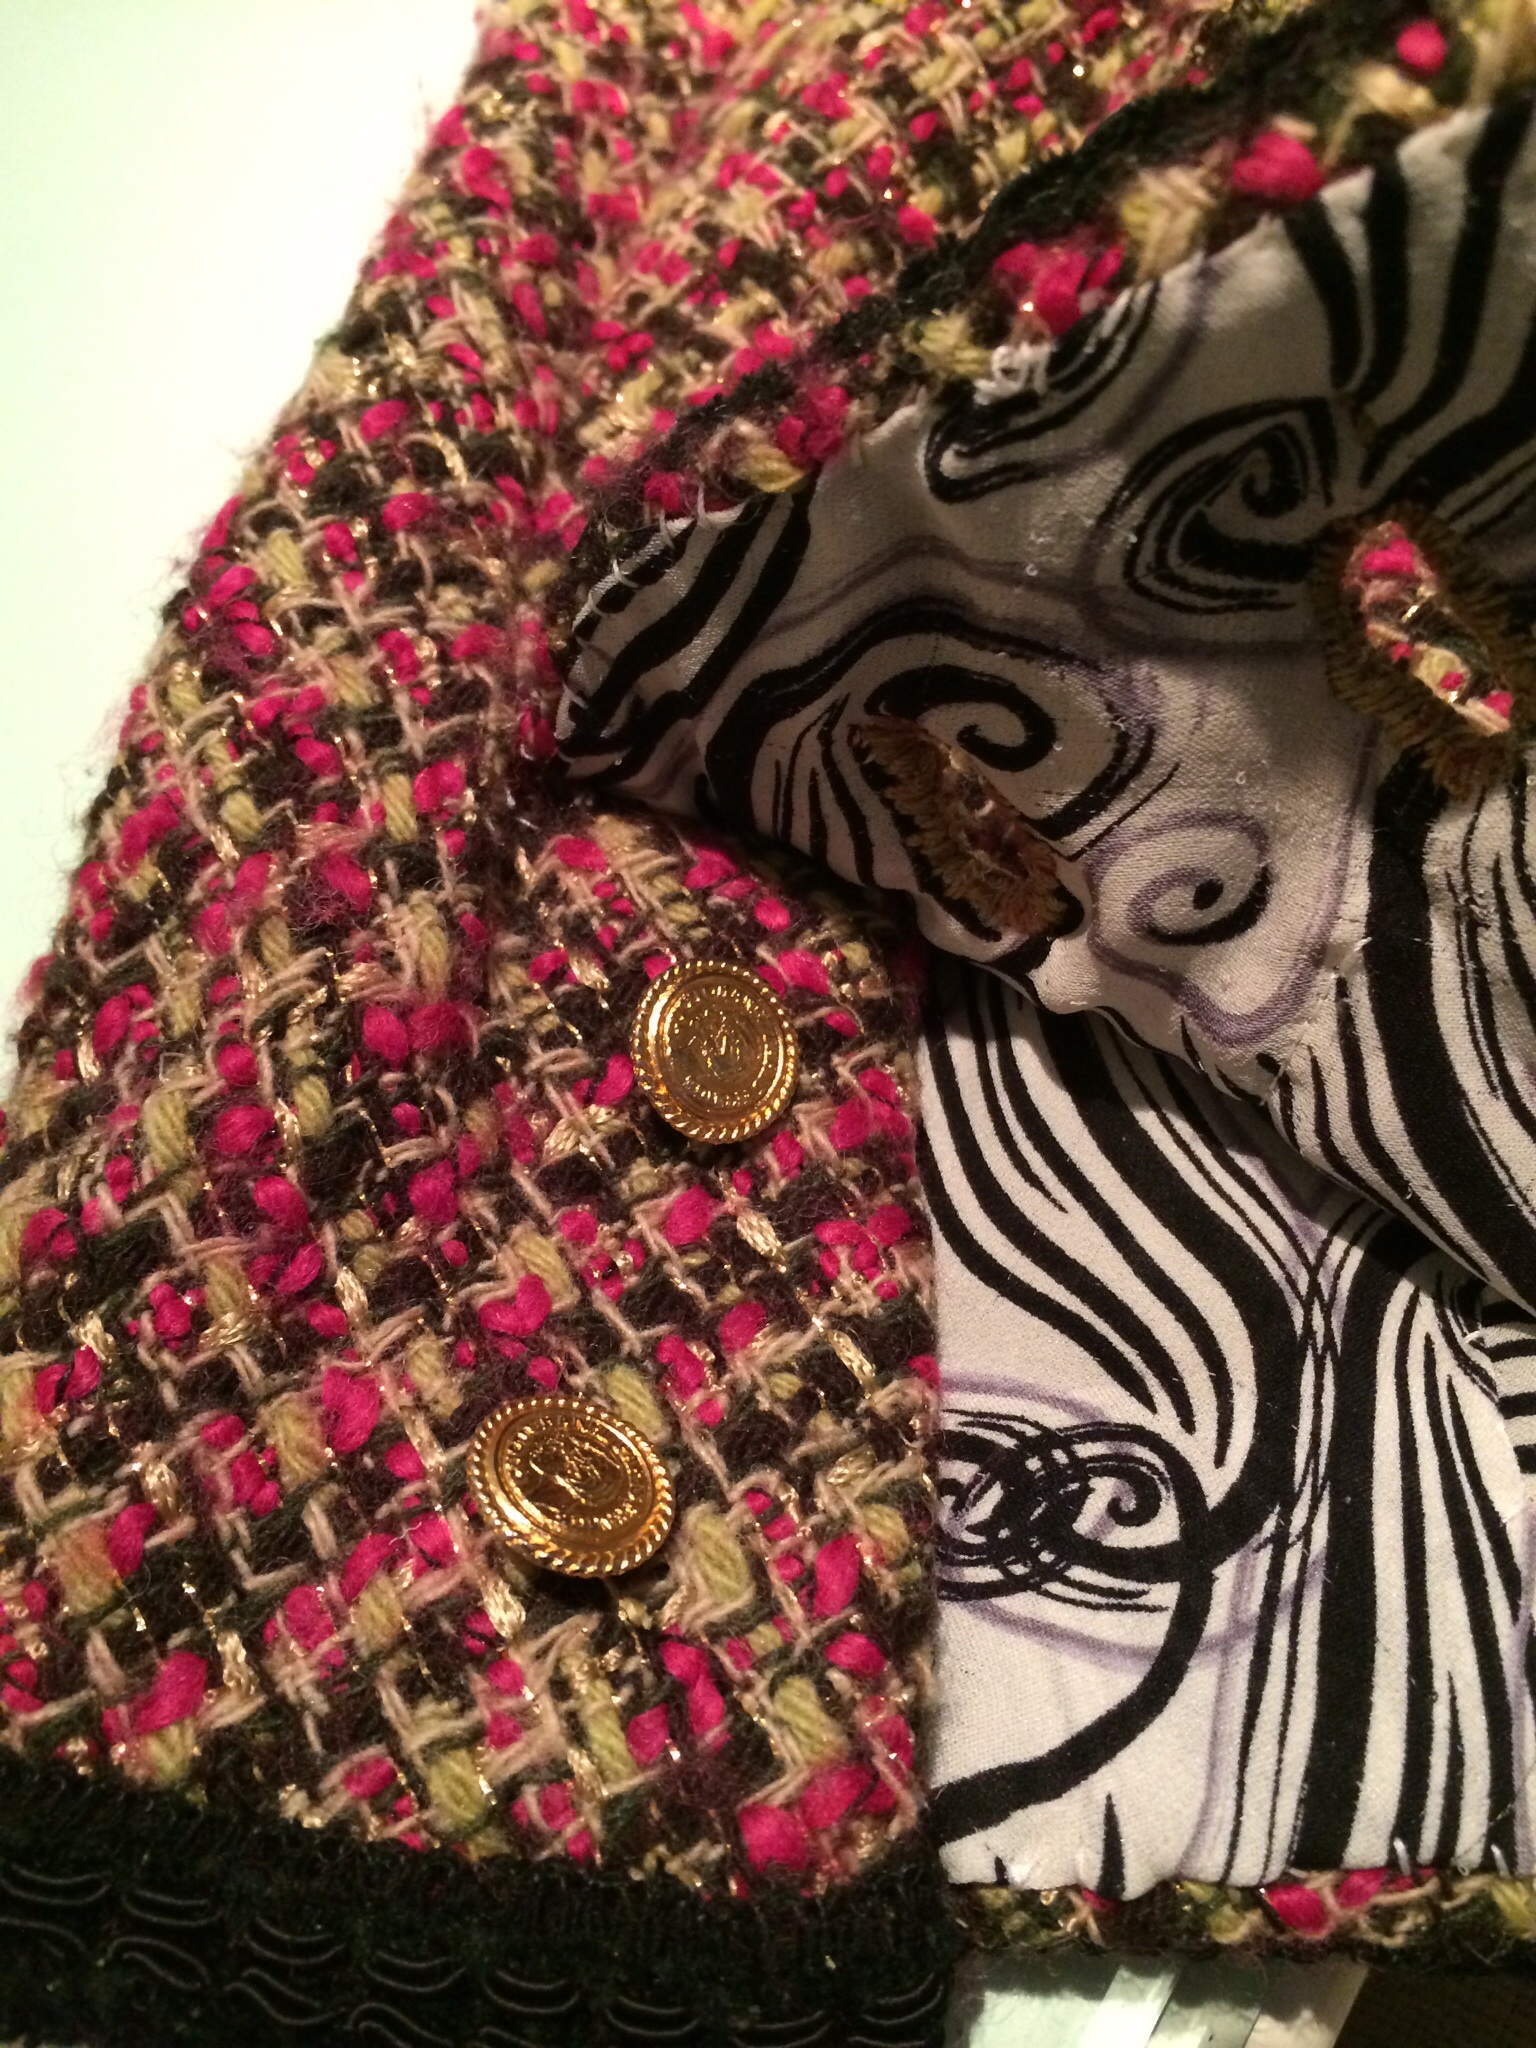
Yes, that is a picture of Coco Chanel on those buttons. I bought a trashed Chanel blouse on Ebay, cut the buttons off and sewed them on the jacket. Now when I wear this jacket, stupid Coco’s always giving me that look.

I wanted to make the jacket look 60s, so rather than the jewel neck, I made the neckline more bateau. However, I had to close up the ends of the neckline, as the bateau shape made the front hang in a weird way. I still like it, though.

image

I found a roll of those vintage “La Cote d’Azur” clothing labels on etsy. Now they’re my “private label”.

For pockets, I was inspired by this 60s jacket:

Chanel best look

but since I’m short-waisted, I didn’t want to do the upper set of pockets, which I assumed were for Coco’s ciggies anyway. More dastardly plaid-matching ensued while I created and lined two patch pockets and hand-sewed them on. (Basically cut a rectangle of fabric and one of lining, sew three sides right sides together, turn them right-side out, turn under the raw ends and hand-stitch, hand-sew on the trim, stick the pocket on the jacket and hand-stitch it on, repeat.)

Meanwhile, the exterior fabric was getting fuzzier and more played-out looking the more I stitched away, and the silk was getting tiny pulls all around the edge.

But as frustrating as it all was, I could see for myself why Chanel had added various design elements. The trim goes around the neck and center front to reinforce and stabilize that area without heavy tailoring. It keeps the neckline from flopping open, and it keeps the simple design from being too blocky and boring. Though I wasn’t using upper pockets, I could see how they would be useful on a princess-seamed jacket, to cover the place where the plaids don’t match at the bust point. The chain helps to keep the lightweight fabric hanging well so it won’t ride up, and the weight can counter-balance heavy buttons. The brilliant simplicity and wearability of this design has kept these jackets in vogue for more than 60 years.

I finally hand-sewed on the chain (time-consuming because you’ve got to get the needle around and through the metal loops) and hand-sewed on the trim and hooks and eyes. Then I put it in my closet until I recovered from the trauma ten months later.

Chaneljacket

France wrap up

15

Here’s the France style/sewing wrap up before I expire from aesthetic overload:

1. What would a trip to France be without a pointless pilgrimage? Recognize this staircase?

image

Yeah it’s this one!

Chanel on Staircase chanel-on-the-stairs-5

It’s Chanel’s atelier at 31 rue Cambon. Last time it I walked by it was locked, but this time the guard let me come right in and take some pictures. Wowza. Why didn’t I do a selfie?

But since Madeleine Vionnet won the Chanel/Vionnet Smackdown post, I also had to pay homage Vionnet’s first atelier, at 222 rue de Rivoli.

image

Kind of touristy now, but the view of the Tuileries across the rue de Rivoli remains the same.

image

2. A lot of formerly hot French guys are walking around wearing Wranglers. Wranglers! You don’t look like a cowboy, you look like Uncle Buck. Stop it. You’re bringing down Western civilization.

image

3. Though this looks like a picture of me eating lunch, drinking wine, and wishing that a magic carpet would transport me to my hotel so I wouldn’t have to ski down an entire Alp to get there, I’m actually testing a design by American Look creator Claire McCardell. She was a skier as well, and in the 40s she developed a wool jersey top with what was then called a “Superman hood” to keep her ears warm.

McCardell hoodie
This was back in the days when the concept of “separates” was very new, and jersey was just beginning to be used for “sportswear,” as before that women didn’t do sports because they were walking around in corsets trying not to get the vapors. (Okay, I’m skipping a few parts of fashion history, but you get the idea.) McCardell, on the other hand, was one of a new breed of sporty, independent women, so she created designs to fit that lifestyle.
You can see this example of McCardell’s Superman hoodie in the online archive of the Metropolitan Museum of Art’s Costume Institute. http://www.metmuseum.org/Collections/search-the-collections/157132?rpp=20&pg=1&ao=on&ft=claire+mccardell&pos=2 That archive is such a good time-waster.
The black Patagonia top I’m wearing in the picture (from their fall 2013 “collection” http://www.patagonia.com/us/product/womens-merino-3-midweight-hoody?p=37145-0&pcc=1147) is made of merino wool jersey, and has a hood that is virtually the same cut as McCardell’s. It’s easy to wear, not too hot, not too cold, and the hood works fine under my ski helmet. It’s ironic that merino wool jersey is now being touted as the miracle fabric for sports, (Insulating! Stink-free!) when McCardell was talking retailers into the same thing more than 75 years ago.

image

4. More bling from rue de Seine. The round compact that looks like a telephone dial is credited to the Surrealist Artist Salvador Dali, but it was from a 1935 collaboration with designer Elsa Schiaparelli. According to the New York Times, one of these compacts was recently listed on the website 1st dibs for $50,000.

At some point I’ll get around to writing about the single-sleeved Schiaparelli wrap I whipped up last winter, which I’m worn a lot more than my Chanel jackets. Something about it really wows people.My Spring Wrap

It’s a fun project, and the reissue of the pattern is available from Decades of Style http://www.decadesofstyle.com/vintage-patterns-1950s/5006-1950s-stole. Last spring, I won a Threads Magazine competition by creating this Pinterest page about the project http://www.pinterest.com/juleseclectic/make-your-own-schiaparelli-wrap/. For my prize, Threads sent me a Bernina Swiss Army “Ladies Knife,” full of sewing tools, which thrilled me beyond words, no joke.

Bernina Ladies Knife

5. Love the printed pattern on this light all-wool scarf from Ventilo.

imageimageEvery year when we come to Paris, the boxes of clementines in the outdoor markets are a bright spot in the winter gray. Thanks Santa.

6. Here’s what was in vintage dealer Didier Ludot’s shop window (in the Palais Royal, just north of the Louvre):

image After I go on my gluten, dairy and food-free diet, I’m going back for that ivory beaded Balenciaga with sleeves in the back.

7. You may recognize Paris’ Grand Palais from Chanel’s last few collections, when the giant hall, built for the 1900 World’s Fair, looked like this:

image For the holidays, the French set up an indoor amusement park inside this Beaux Arts wonder.

imageFifteen Euros covered admission and all the rides! My 12-year-old was in heaven. They also set up a temporary champagne bar in the hall with a chanteuse singing Piaf. So much better than Disneyland Paris.

8. Here’s American ballet star David Hallberg, (from South Dakota!) doing his curtain call for Nureyev’s version of Sleeping Beauty at the Paris Opera Ballet, with Svetlana Zakharova, prima ballerina with the Bolshoi.imageNo words for his perfectly executed and interpreted solo in Act 2. In the last act, the chorus’ costumes were all in a dusty palette of pink, yellow, peach and ochre, like the set, so that the soloists’ jewel-toned costumes popped out in front of them. Yes, I am a dance nerd, too.

9. And lastly, thanks to the egging on of a number of readers, I did fulfill my threat to go back to Janssens et Janssens and look for black tweed for Chanel #5, the punk meets steampunk little black jacket. I was the only one in there, and in the midst of a long French conversation with the unfailingly friendly saleswoman, I went into some kind of fabric trance, leading me to walk out with some lightweight, all-wool Italian tweed with subtle houndstooth texture (but dark enough that you don’t have to match it, um, I hope), black trim with gray flecks and leather(ette) tubes running lengthwise (punky!), and a black chain sewn onto black satin ribbon to speed up the boring chain application part (and it’s steampunk, really, or clockpunk. One of those). Lining TBA.image
Word up about Janssens, they hate doing the paperwork for tax-free shopping, so if you ask for the “detaxe” they’ll tell you it’s a problem (for whatever reason), but because you’re so “nice” they’ll give you a discount.
I’ve dubbed this project “The Kaiser” because that’s what people call Karl Lagerfeld, though probably not to his face. I’ll be working on Chanel jacket #5 in the fall, although at this rate it could end up being fall 2020 after my son graduates.

But now that I’m back from Paris when it drizzles to Boston when it’s a slush heap, I’m thinking about projects for my next trip, an early March long weekend in Los Angeles. This light Italian wool with printed sequins that I got at Janssens will be just right for LA’s “winter” weather.

image And I need to bust my fabric stash before I go to LA’s newish mega Mood Fabrics store and the third floor vintage fabrics room of International Silks and Woolens.

Less blabbing on my blog, more sewing!
What are you working on in your part of the world?

Chanel Jacket #2 comes out of the closet.

10

I’ve had a love/hate relationship with Chanel Jacket #2 since I started making it over a year ago. Even in this picture I look iffy about it.

image

Originally I was planning to wear it in Paris last Christmas, and it did come with me–but it was still in pieces. At that point I was in denial about whether the fabric was “me”. Though it was authentic Chanel Tweed from Elliot Berman Textiles (Chanel Tweed)  it was made of fuchsia (fuchsia!), grass green and black wool, with very sparkly gold mylar threads through the whole thing. So then  I found some black trim with more sparkles from Janssens et Janssens on that trip. Viva Las Vegas!

Though I finally finished the jacket last February, since then it has been hanging in my closet  unworn for months, basically saying “you’re never really going to wear me, right? Too glitzy?”

I live in Boston nowadays, which to me is the US’s most European of cities. Boston is small and walkable, with old (for the US) buildings and well-maintained parks, and it’s cosmopolitan. It has a couple of the best universities in the US, a number of research medical centers, and thriving tech and financial industries, so it’s filled with upscale grad students and smart employed people, with a lot of foreign ex-pats. The symphony and ballet are world-class, and a number of movies are shot here, including the recently released “American Hustle.” It’s a classy, well-mannered city.

Here’s Boston’s Public Garden, a half a block from us. So lovely.

Boston's Public Garden

Though Boston style has a dusty reputation for preppy J. Crew meets “Love Story” duffle coats and weejun loafers, in reality the look is mostly understated yet sophisticated fashion, that goes from the black-clad urban boomers like me, to the glossy-brunette students in skinnies and Uggs, to the sharp suits of the North End Italian, uh, I won’t say “mobster” look, though there is a bit of a reputation for that, to the Michelle O sheath and boots many women wear to work.

The look you don’t have around Boston, over the age of 4, is “pink and sparkly”, and that’s how Chanel jacket #2 looked to me. When I finished the jacket, I was happy and relieved, since 100+ hours had gone into it, and I’d learned so much making it.

But after I took the pictures and submitted my reviews of it (Chanel #2 Review) ,    I didn’t wear it. It seems too fancy for movie night and too out there for dinner with friends. Spring was around the corner and then fall was balmy. Thanksgiving with family was too casual.

Packing for Paris, I knew I needed to travel light to cram in city and ski stuff, so in went four pairs of black pants and a stack of black tees and sweaters. But it was the holidays, and Paris. I needed something unique and distinctive.

On a whim, I pulled out jacket #2, and tried it on over my ubiquitous black jeans and tee. I’d forgotten how softly it fell and fit. It looked funky and festive. And it wasn’t perfect (just look at the buttonholes), which is key to the current French Jane Birkin/Boho look. I threw the jacket in my carry-on and headed to Logan Airport. They don’t wrinkle, people!

image

When I got to Paris, I realized that the problem wasn’t with the jacket, it was with the city. I had made this jacket to wear in Paris during the holidays and that’s where it worked. The jacket fit right in with the festive but not-too-dressy atmosphere of Le Vaudeville, the 30s Art Deco brasserie where we had dinner on Christmas Eve. That’s where I wore it for the first time, with black waxed jeans.

image

As they say in Boston, now I look “wicked” happy.

In an upcoming post, I’ll give details about how this jacket was constructed. Happy new year! Any new projects in the hopper?

Fabric shopping in Paris and…Steampunk Chanel?

11

Hello again, friends. Having been forcibly removed from Paris by train and coerced by family members into days of sliding down an Alp on a couple of laminated boards, which was then followed by slumber-inducing 5-course French meals, I haven’t had the opportunity to update you about the Paris sewing outpost that puts the FAB! in “fabric”.

image

In a previous post, I wrote about last year’s visit to Janssens et Janssens during which I pounced on the remnant table and then attempted to move into the place permanently, as I had basically spent the mortgage before I left.image

Like mecca, I had to return. Feast your eyes on those delicious tweeds.imageimageimage

Silks and Italian wools:

image

The fancy stuff’s in the basement.image

And the trims!image

I found a couple of trims that have chains woven into them. So much easier to sew on if you’re making a French jacket:

image


All of these things pictured can be found at Janssens et Janssens, at 3-5 rue d’Anjou, at the corner of rue Faubourg St. Honore (janssensparis.com). While I was there, I bumped into another American blogger and fellow Chanel jacket obsessor, Mary, of the blog “Cloning Couture.” She’s already whipped up a pretty spiffy tweed jacket, and I’ll be watching her blog to see what she makes from her Janssens haul.

So now after my nightly couple three glasses of wine, I’ve had time to reflect on the year ahead. I’m going to move on to American Look designers! I’m going to make things that are easy and fun! I’m going to endeavor to make a dent in my massive fabric stash, and in the meantime, not buy anymore!

But really what I’m thinking is…the minute my feet hit the ground back in Paris, I am running to Janssens et Janssens, to get me some black tweed. See, I bought some antique brass snap tape at Bon Marche, and the grosgrain with brass chain imbedded in it at Janssens (above), and well, I think it’s time to bring the funk to Chanel.

I’m talking a Steampunk Chanel jacket. Steampunk is a look cooked up by people who got tired of being punk or goth or anime or whatever and came up with this Buck Rogers meets Wild Wild West (60s TV show that’s impossible to explain) look where they dress like Edwardian aviators or motorists and decorate their iPads with antique watch  parts. It’s a great look for the guys, though the women tend to look more like Liza Doolittle (pre-makeover), “Little House” schoolmarms or Miss Kitty, the saloon girl from Gunsmoke, and I say this knowing I’m going to get in trouble with the entire Steampunk community for this post. Just google it. I’ve got to hand it to the Steampunk people, though, they really get their sewing on.

As a vintage sewing hack I was thrilled when my son wanted to be Steampunk for Halloween, and in the midst of cranking through Chanel jacket #4, I powered down and made him a Steampunk vest, in the course of which, I learned to bag a lining. From a Big Four costume pattern!

image

Chanel herself was plenty Steampunk, what with the Liza Doolittle hats and layers of hardware. And Lagerfeld, well, all you have to do is make his outfit sepia-toned and he’s good to go.

So the jacket of my reverie is going to be black, with antique brass snap tape to hold it together, and a brass chain tape at the bottom. It will need a lining that’s either Beaux Arts flowery or maybe 20s Singapore Chinoise. Will I try to bag it and then quilt it? Or stitch the whole thing together wrong sides together and fringe the raw seams then quilt it? (like I did in Chanel jacket #3, my “fake it till you make it” Astronaut Wives Club raw silk job) And the trim, the trim, hmmmmm… this is how I get in fabric trouble.

Was I dreaming? I believe that if you’re in your mid-fifties and still doing vintage (and honey, I was a 40s pin-up in the 70s, when old clothes first became “vintage”, and young Bette Midler was singing “Company B”), vintage needs to be a) wearable in public, and b) not too costumey. And it can’t look like it’s still in your closet from way back when.

And when you make a Chanel jacket repro, you do run the risk of looking like granny having brunch at the country club. So you’ve got to funk it up.

Steampunk Chanel. Of course! All of those chains and faux baubles, so Machine Age. Another glass of wine and I’ll have figured out that trim. What do you think; should I go for it?

I’m tired of Coco, how about you?

10

Okay, here are a few last details of the construction of Chanel Jacket #4 that I’d like to add before moving onto my next, much more fun topic, a Coco Chanel vs. Madame Vionnet Smackdown! Are you working on a Chanel-style jacket right now? If so, leave me a comment; I’d love to hear about it.

1962 Chanel pattern released by Spadea

1962 Chanel pattern released by Spadea

As I mentioned before, this Spadea Chanel pattern from 1962 was drafted from a retail jacket, the design of which was licensed from Chanel by the US company Suzy Perette. This was a common practice back in the days before off-shore manufacturing. In fact, the pink suit worn by Jacqueline Kennedy on the tragic day of the assassination, though often attributed to Chanel, was actually a copy made in a New York haute couture boutique. Here’s a story about the historic preservation of that suit from the New York Times:

The instructions from the 1962 Spadea Chanel pattern I used were very thorough and old school in terms of construction. Though I had never made welt pockets before, by following the instructions they were a breeze.

Pocket welts

Pocket welts

I created the flaps, attached the pockets, sewed up the side panel seam, and voila, a pretty little pocket made of colorful lining. Though Chanel jackets don’t typically have vertical pockets like this, I have seen examples from this era.

Completed welt pockets

Welt pocket in progress

Let’s talk about the obsession with 3-part sleeves, shall we? The two godmothers of haute couture, Susan Khalje and Claire Shaeffer, both have their disciples make 3-part sleeves for their home-made Chanel jackets, so the sleeve has a graceful bend at the elbow and the vent is high enough on the cuff to show off the trim and buttons.

But the truth is, not all Chanel jackets have had three-part sleeves. In Claire Shaeffer’s new book, for example, she shows several vintage Chanel jackets with two-part sleeves. The Spadea pattern I used cleverly fakes the three-part sleeve with a one-part sleeve by putting some ease in the seam to give it the bend at the elbow. Then the vent is added by cutting a slash in the sleeve and adding a facing that goes around the cuff.

Sleeve facing

Sleeve facing

Whether this is the original Chanel design, or a change made by Suzy Perette for US manufacturing, we’ll never know. But it does work pretty well. It’s still time-consuming, but probably not as much of a hassle as building a three-part sleeve.

My last comment on the sleeve is that I added sleevehead under the sleeve cap and then steamed it on a sleeveboard like this, to give the sleeve cap a nice, round shape.

Shaping sleeve cap

Shaping sleeve cap

After lining the jacket, I added the trim, chain (cleverly woven into a 5/8″ tape–much easier to sew on), buttons, and button loops, then collapsed.

Finished cuff and chain

Finished cuff and chain

My blog has been visited by people from around the world and I appreciate you all. Even the spammer guy from Korea! What projects are you working on? Please leave me a comment and let me know.

Working with a vintage unprinted pattern, if you’re lazy.

0
1962 Spadea/Chanel unprinted pattern

1962 Spadea/Chanel unprinted pattern

If you sew from vintage patterns, you may have been nonplussed to open that package and see absolutely nothing printed on the pieces, like in the photo above. Printed patterns only came into vogue in the 50s, and before that people needed to follow the notches and dots cut into the pattern to find their way. The Spadea company continued to hand-cut their unprinted patterns well into the 60s.

Above is a piece of the Spadea/Chanel jacket pattern I wrote about in a previous post. The instructions included with the pattern explain what the markings mean.  Each pattern piece has a letter made of small dots punched in it, to identify the back, front, sleeve etc. The notches are small “v” shapes on the side, three large dots indicate the fold, two large dots indicate the grainline, and medium and small dots are used in the instruction to indicate buttons, buttonholes, ease lines etc.

Marking pattern on to "Kwik Trace" muslin

Marking pattern on to “Kwik Trace” muslin

The first thing I do when I open an unprinted vintage pattern is write the pattern number, name and original bust size measurement on each piece so they don’t get mixed up with other patterns. Since I was using a rare vintage pattern, I traced it onto tracing paper and put the original away. Then I compared the pattern piece with a pattern from a previous jacket I made to make some fit adjustments. You can do this with a pattern block or sloper if you have one. (Those are basic fitting patterns some people make for themselves to fit patterns more quickly. So far I’ve been too lazy to make one.)

I then used a large piece of tracing paper (from the http://www.richardthethread.com/  website in LA) and a tracing wheel to copy the pattern onto my “muslin” version of the jacket. (Though in this case I’m using Kwik Trace tracing fabric rather than actual muslin, again being lazy.) The downside of Kwik Trace is that it’s unwoven and doesn’t have a grain, so I wouldn’t recommend it for projects where you need to know how the fabric will behave, such as a bias cut dress.

Completed "muslin" of jacket

Completed “muslin” of jacket

I cut out the pieces and constructed the muslin loosely using the method outlined in Susan Khalje’s “Couture Dress” course on Craftsy. (Okay, I skipped a few steps, but you get the idea.) I’ve recommended that course in previous posts, and it really helps with vintage projects like this. http://www.craftsy.com/class/The-Couture-Dress/53?_ct=sbqii-sqjuweho-qbb&_ctp=53,1

Once I tweaked the fit, I marked any changes on the Kwik Trace with a sharpie and took the “muslin” apart. Those pieces now became my pattern. At this point I wrote the pattern number and name on each piece and indicated that it had been fitted for me, in case I wanted to reuse it.

Cutting the fabric with large seam allowances

Cutting the fabric with large seam allowances

I pinned the pattern pieces on my fabric and then cut loosely around them to leave plenty of seam allowance. Boucle like this unravels in a huge hurry, and by the time you’re ready to finish the seams, you may have already lost more than 1/2 an inch.

Thread tracing the seam line

Thread tracing the seam line

At this point, if you follow Susan’s Khalje’s instructions in the Couture Dress course, you are supposed to “thread trace” (loosely baste with contrasting silk thread) around all of the seam lines to mark the seams on the front and back. This is a great idea! But I can’t face it at this point in the construction! (Because I’m lazy.) So, despite the fact that Susan warns against this, I marked both sides of my fabric with tracing paper, which I then could not get out of the fabric. Fortunately my fit was pretty good, so I just stitched inside the line and the marks ended up inside the seam allowance. I did thread trace the armscye and sleevecap as it makes it a million times easier to line up.

How about you? Have you ever worked with an unprinted pattern? How did it go? Leave me a comment, and a link if you have one. I’d love to see your projects.

Till next time… (I used to work in TV so I feel like I need a sign-off line) “May your bobbins be full and your tension even?”

Why Chanel lining is like lingerie…

2
Chanel/Spadea jacket lining

Chanel/Spadea jacket lining

A quick look at the interior of the finished jacket. The lining is a silk crepe de chine by Carolina Herrera, found on emmaonesock.com, a website that offers, among other things, leftover yardage from high-end designers. After I finished the interior steps outlined in the previous post, I constructed the lining and fell-stitched it to the front facing, neckline, center front and hems, enclosing all of the busy work inside.

I always like the “surprise” of the bright linings stitched into these vintage Chanel jackets, which remind me of how chic, put-together French women have their look thought out down to their meticulously chosen, gorgeous (and mostly hand-wash only) lingerie.

I personally witnessed the French ritual of selecting lingerie one Saturday afternoon in the tiny, tony Eres shop on Paris’ rue de Cherche Midi. While I was attempting to squeeze my American behind into the largest size of their minimalistic beachwear, the saleswoman, in typical French fashion, would periodically throw the curtain wide open and loudly give her unvarnished opinion of how each style was or wasn’t working on me.

The scene was different in the neighboring dressing rooms, though, which all had men stationed outside. I finally realized that the French women in the changing rooms were all trying on various 200 Euro bras made of about 20 centimeters of tulle, then getting the yay or nay from their lovers outside the curtain, who were standing all of 3 feet away from me while participating in this discreet form of foreplay.

Um, where was I? The chain weight on the hem of the jacket is just the best cheat, which I found at Mood Fabrics’ new locale in L.A. It’s a chain that is cleverly woven into a twill tape.  So rather than the oh-so-laborious hours sewing on of the traditional Chanel chain weight, when you are so over making the jacket, you just machine the twill tape on about 1/2 below the unfinished hemline, then turn up the hem and catch-stitch it in place before fell-stitching on the lining right above the chain. It’s worth putting on the chain to counterbalance the lightness of the jacket, and this method makes it much easier.

All that’s left is a row of hooks and eyes down the front, then the joy of wearing it.