Okay, here are a few last details of the construction of Chanel Jacket #4 that I’d like to add before moving onto my next, much more fun topic, a Coco Chanel vs. Madame Vionnet Smackdown! Are you working on a Chanel-style jacket right now? If so, leave me a comment; I’d love to hear about it.

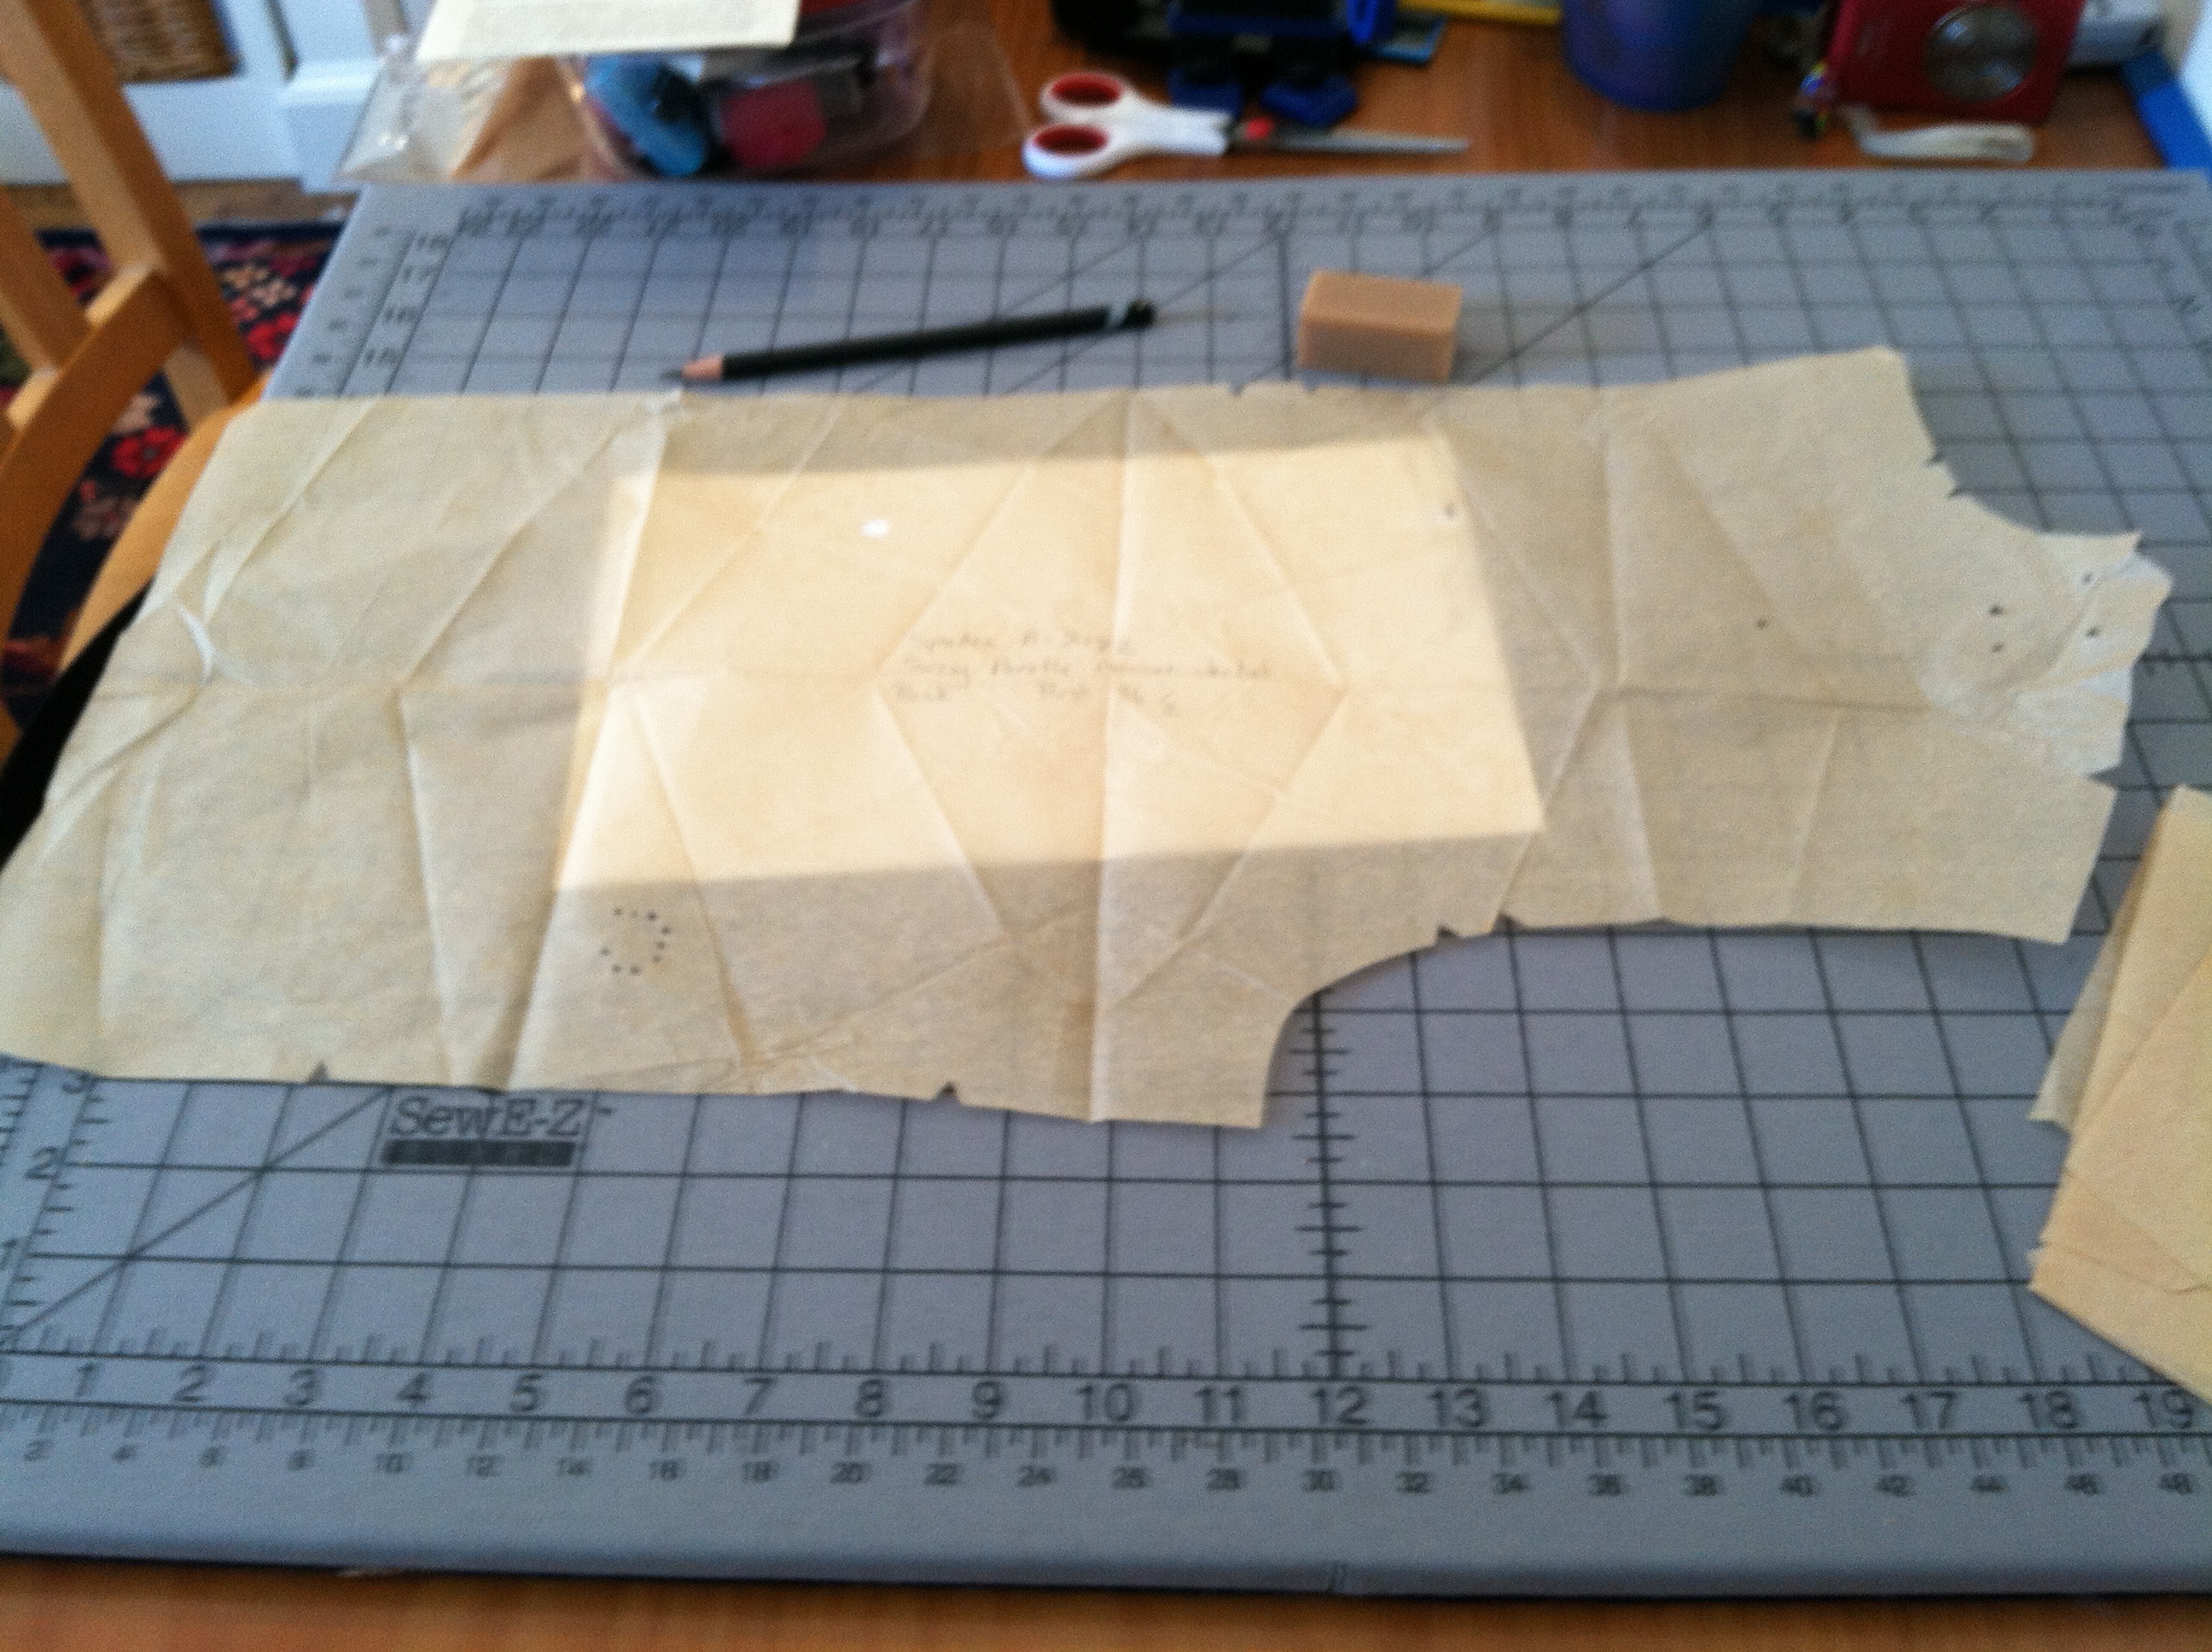
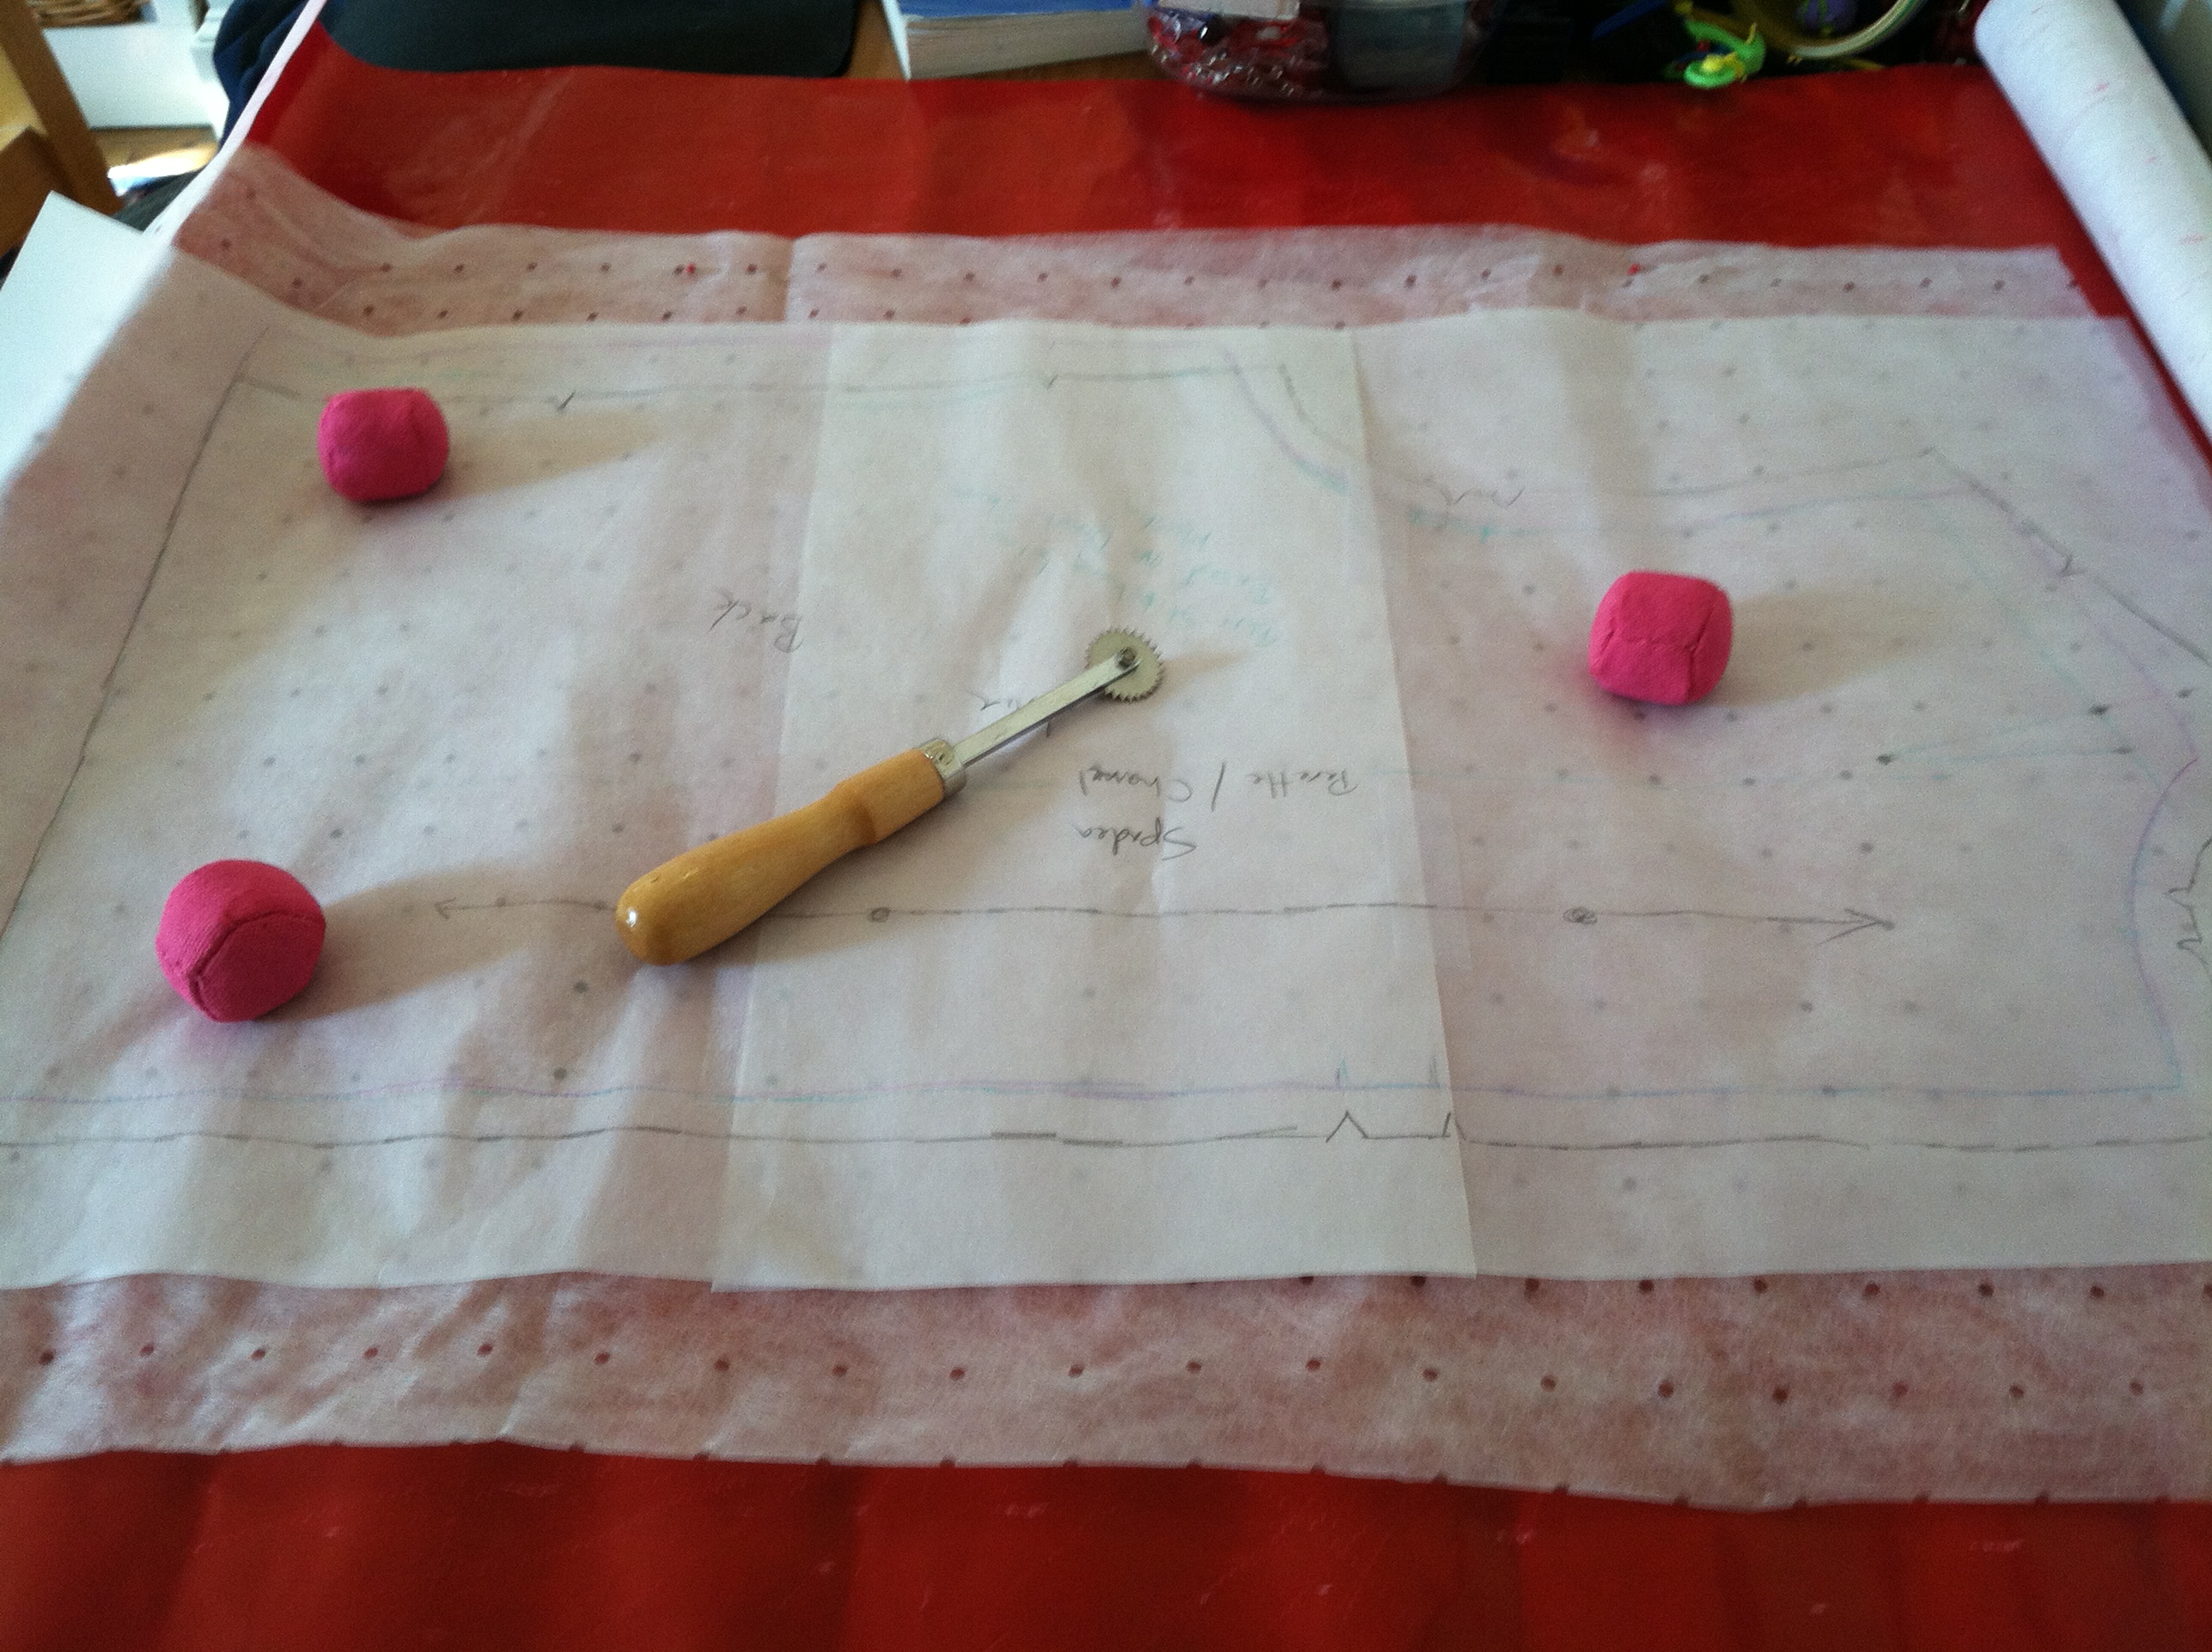
1962 Chanel pattern released by Spadea
As I mentioned before, this Spadea Chanel pattern from 1962 was drafted from a retail jacket, the design of which was licensed from Chanel by the US company Suzy Perette. This was a common practice back in the days before off-shore manufacturing. In fact, the pink suit worn by Jacqueline Kennedy on the tragic day of the assassination, though often attributed to Chanel, was actually a copy made in a New York haute couture boutique. Here’s a story about the historic preservation of that suit from the New York Times:
The instructions from the 1962 Spadea Chanel pattern I used were very thorough and old school in terms of construction. Though I had never made welt pockets before, by following the instructions they were a breeze.

Pocket welts
I created the flaps, attached the pockets, sewed up the side panel seam, and voila, a pretty little pocket made of colorful lining. Though Chanel jackets don’t typically have vertical pockets like this, I have seen examples from this era.
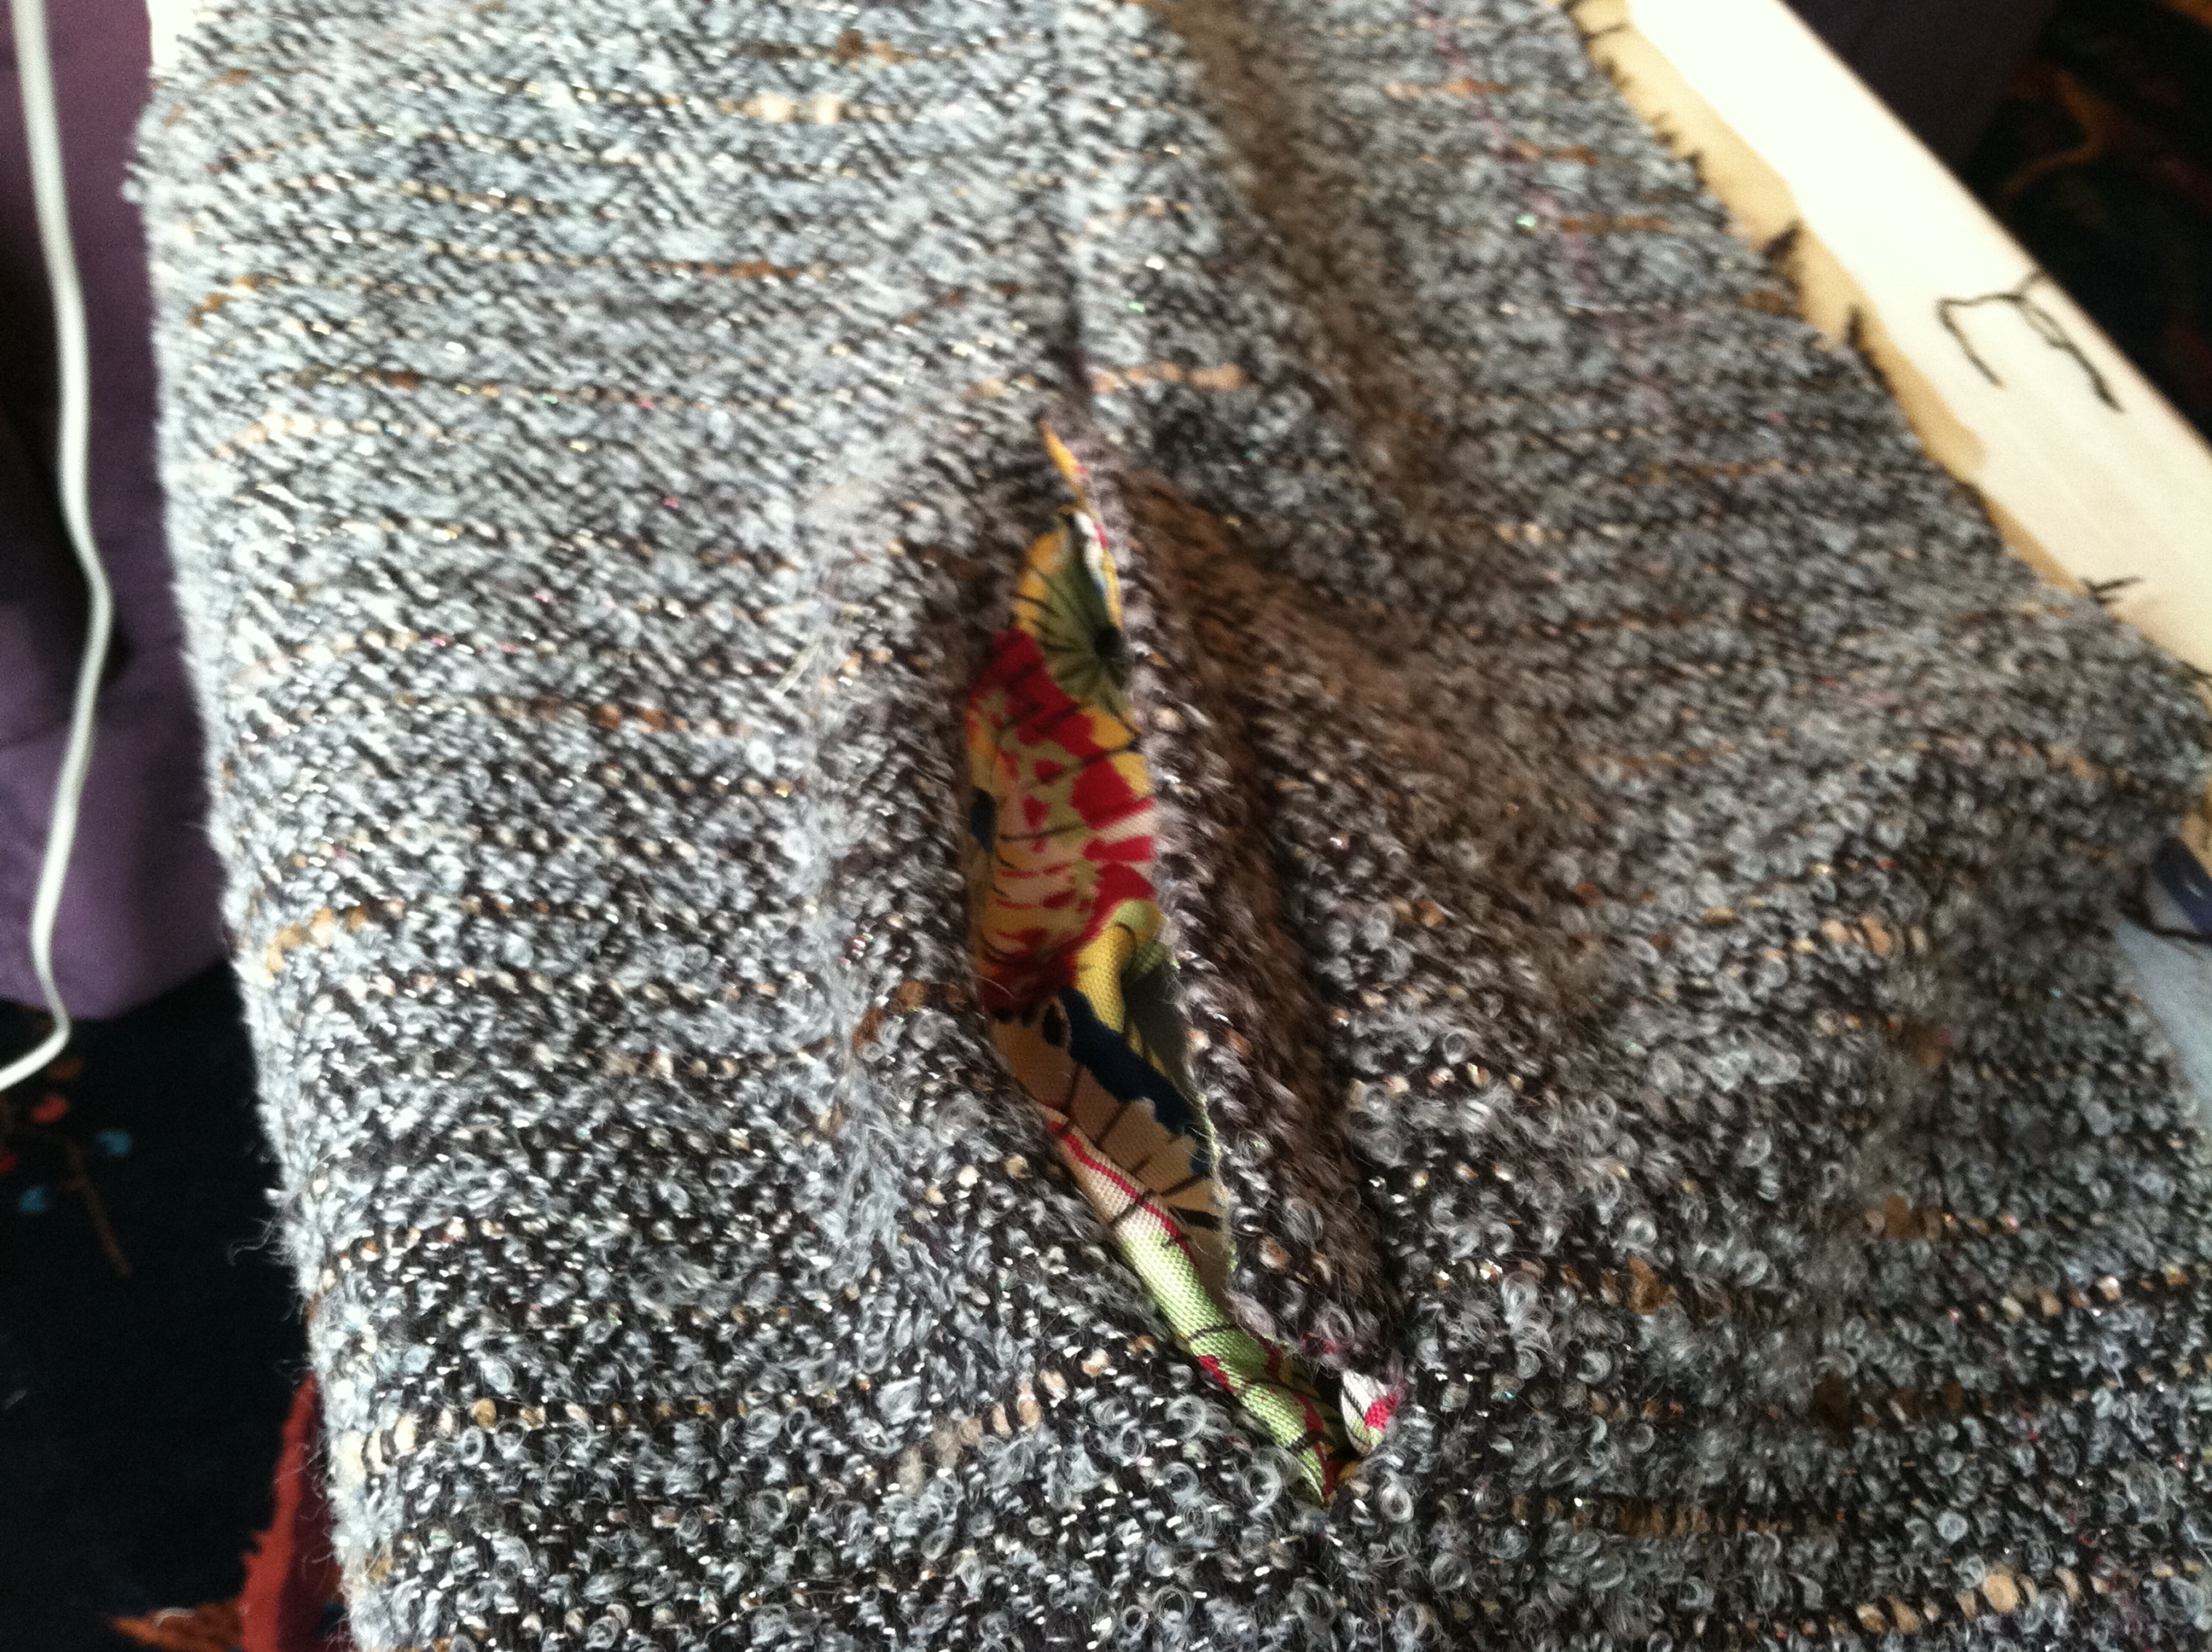
Welt pocket in progress
Let’s talk about the obsession with 3-part sleeves, shall we? The two godmothers of haute couture, Susan Khalje and Claire Shaeffer, both have their disciples make 3-part sleeves for their home-made Chanel jackets, so the sleeve has a graceful bend at the elbow and the vent is high enough on the cuff to show off the trim and buttons.
But the truth is, not all Chanel jackets have had three-part sleeves. In Claire Shaeffer’s new book, for example, she shows several vintage Chanel jackets with two-part sleeves. The Spadea pattern I used cleverly fakes the three-part sleeve with a one-part sleeve by putting some ease in the seam to give it the bend at the elbow. Then the vent is added by cutting a slash in the sleeve and adding a facing that goes around the cuff.

Sleeve facing
Whether this is the original Chanel design, or a change made by Suzy Perette for US manufacturing, we’ll never know. But it does work pretty well. It’s still time-consuming, but probably not as much of a hassle as building a three-part sleeve.
My last comment on the sleeve is that I added sleevehead under the sleeve cap and then steamed it on a sleeveboard like this, to give the sleeve cap a nice, round shape.

Shaping sleeve cap
After lining the jacket, I added the trim, chain (cleverly woven into a 5/8″ tape–much easier to sew on), buttons, and button loops, then collapsed.

Finished cuff and chain
My blog has been visited by people from around the world and I appreciate you all. Even the spammer guy from Korea! What projects are you working on? Please leave me a comment and let me know.