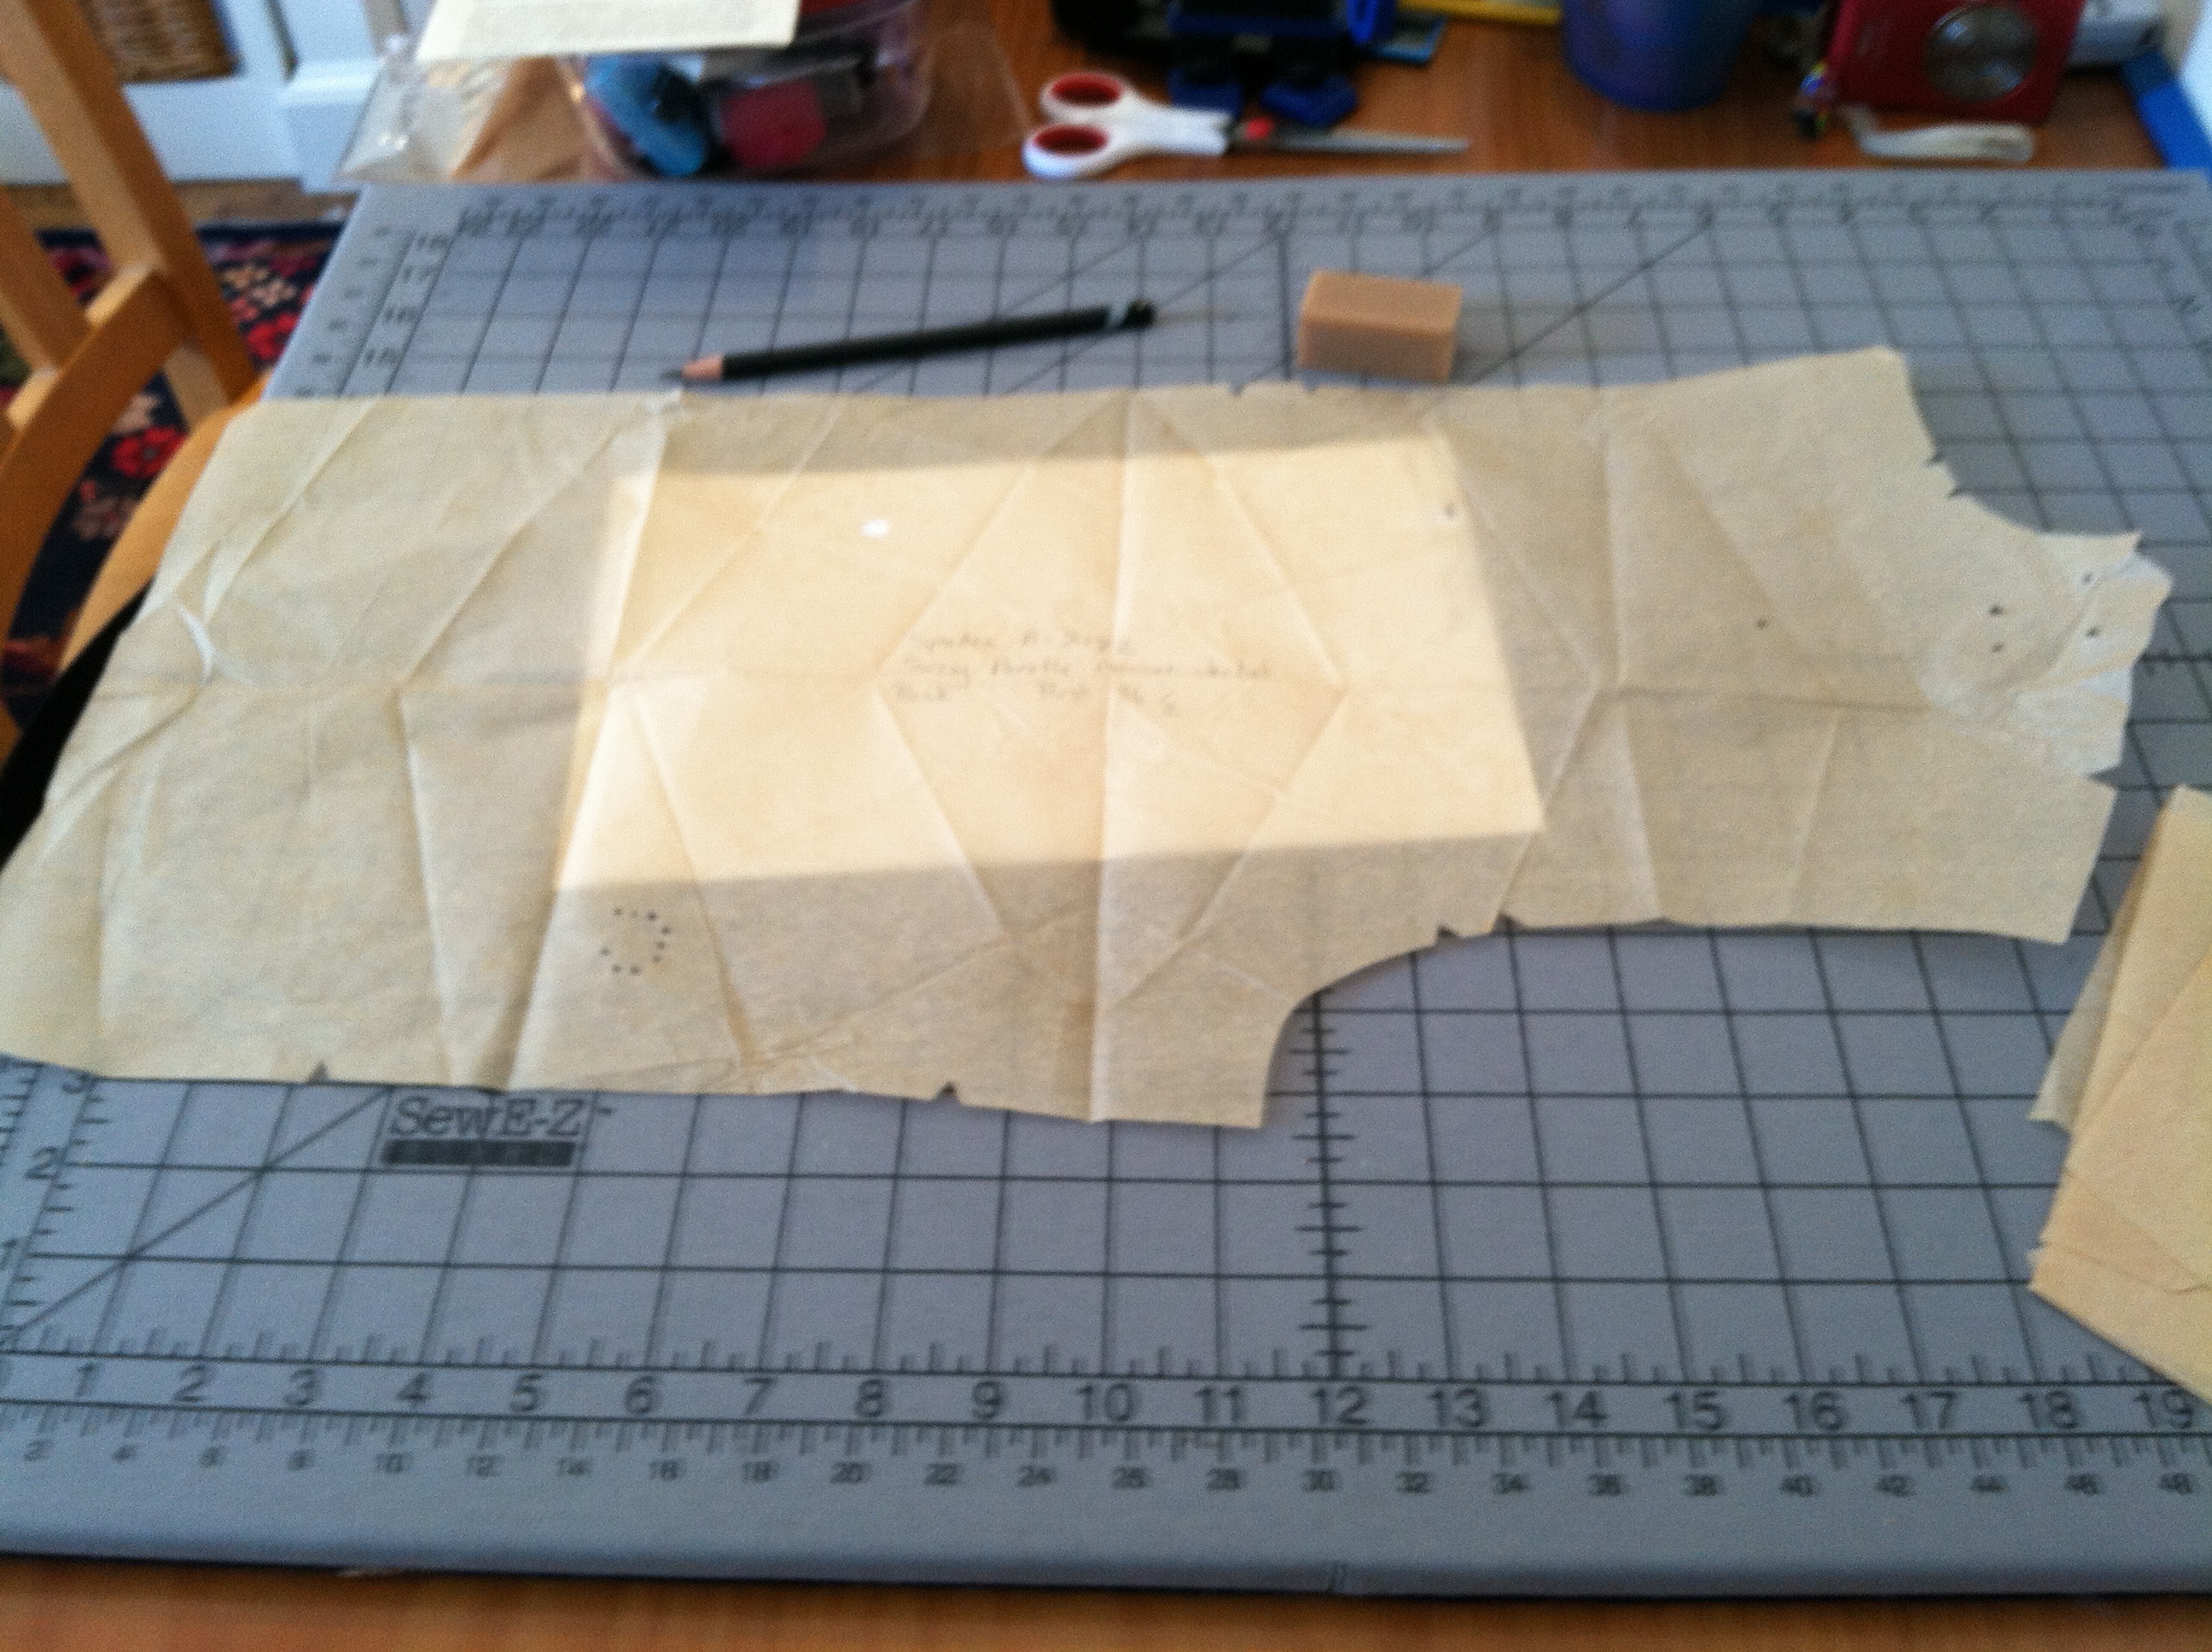
1962 Spadea/Chanel unprinted pattern
If you sew from vintage patterns, you may have been nonplussed to open that package and see absolutely nothing printed on the pieces, like in the photo above. Printed patterns only came into vogue in the 50s, and before that people needed to follow the notches and dots cut into the pattern to find their way. The Spadea company continued to hand-cut their unprinted patterns well into the 60s.
Above is a piece of the Spadea/Chanel jacket pattern I wrote about in a previous post. The instructions included with the pattern explain what the markings mean. Each pattern piece has a letter made of small dots punched in it, to identify the back, front, sleeve etc. The notches are small “v” shapes on the side, three large dots indicate the fold, two large dots indicate the grainline, and medium and small dots are used in the instruction to indicate buttons, buttonholes, ease lines etc.
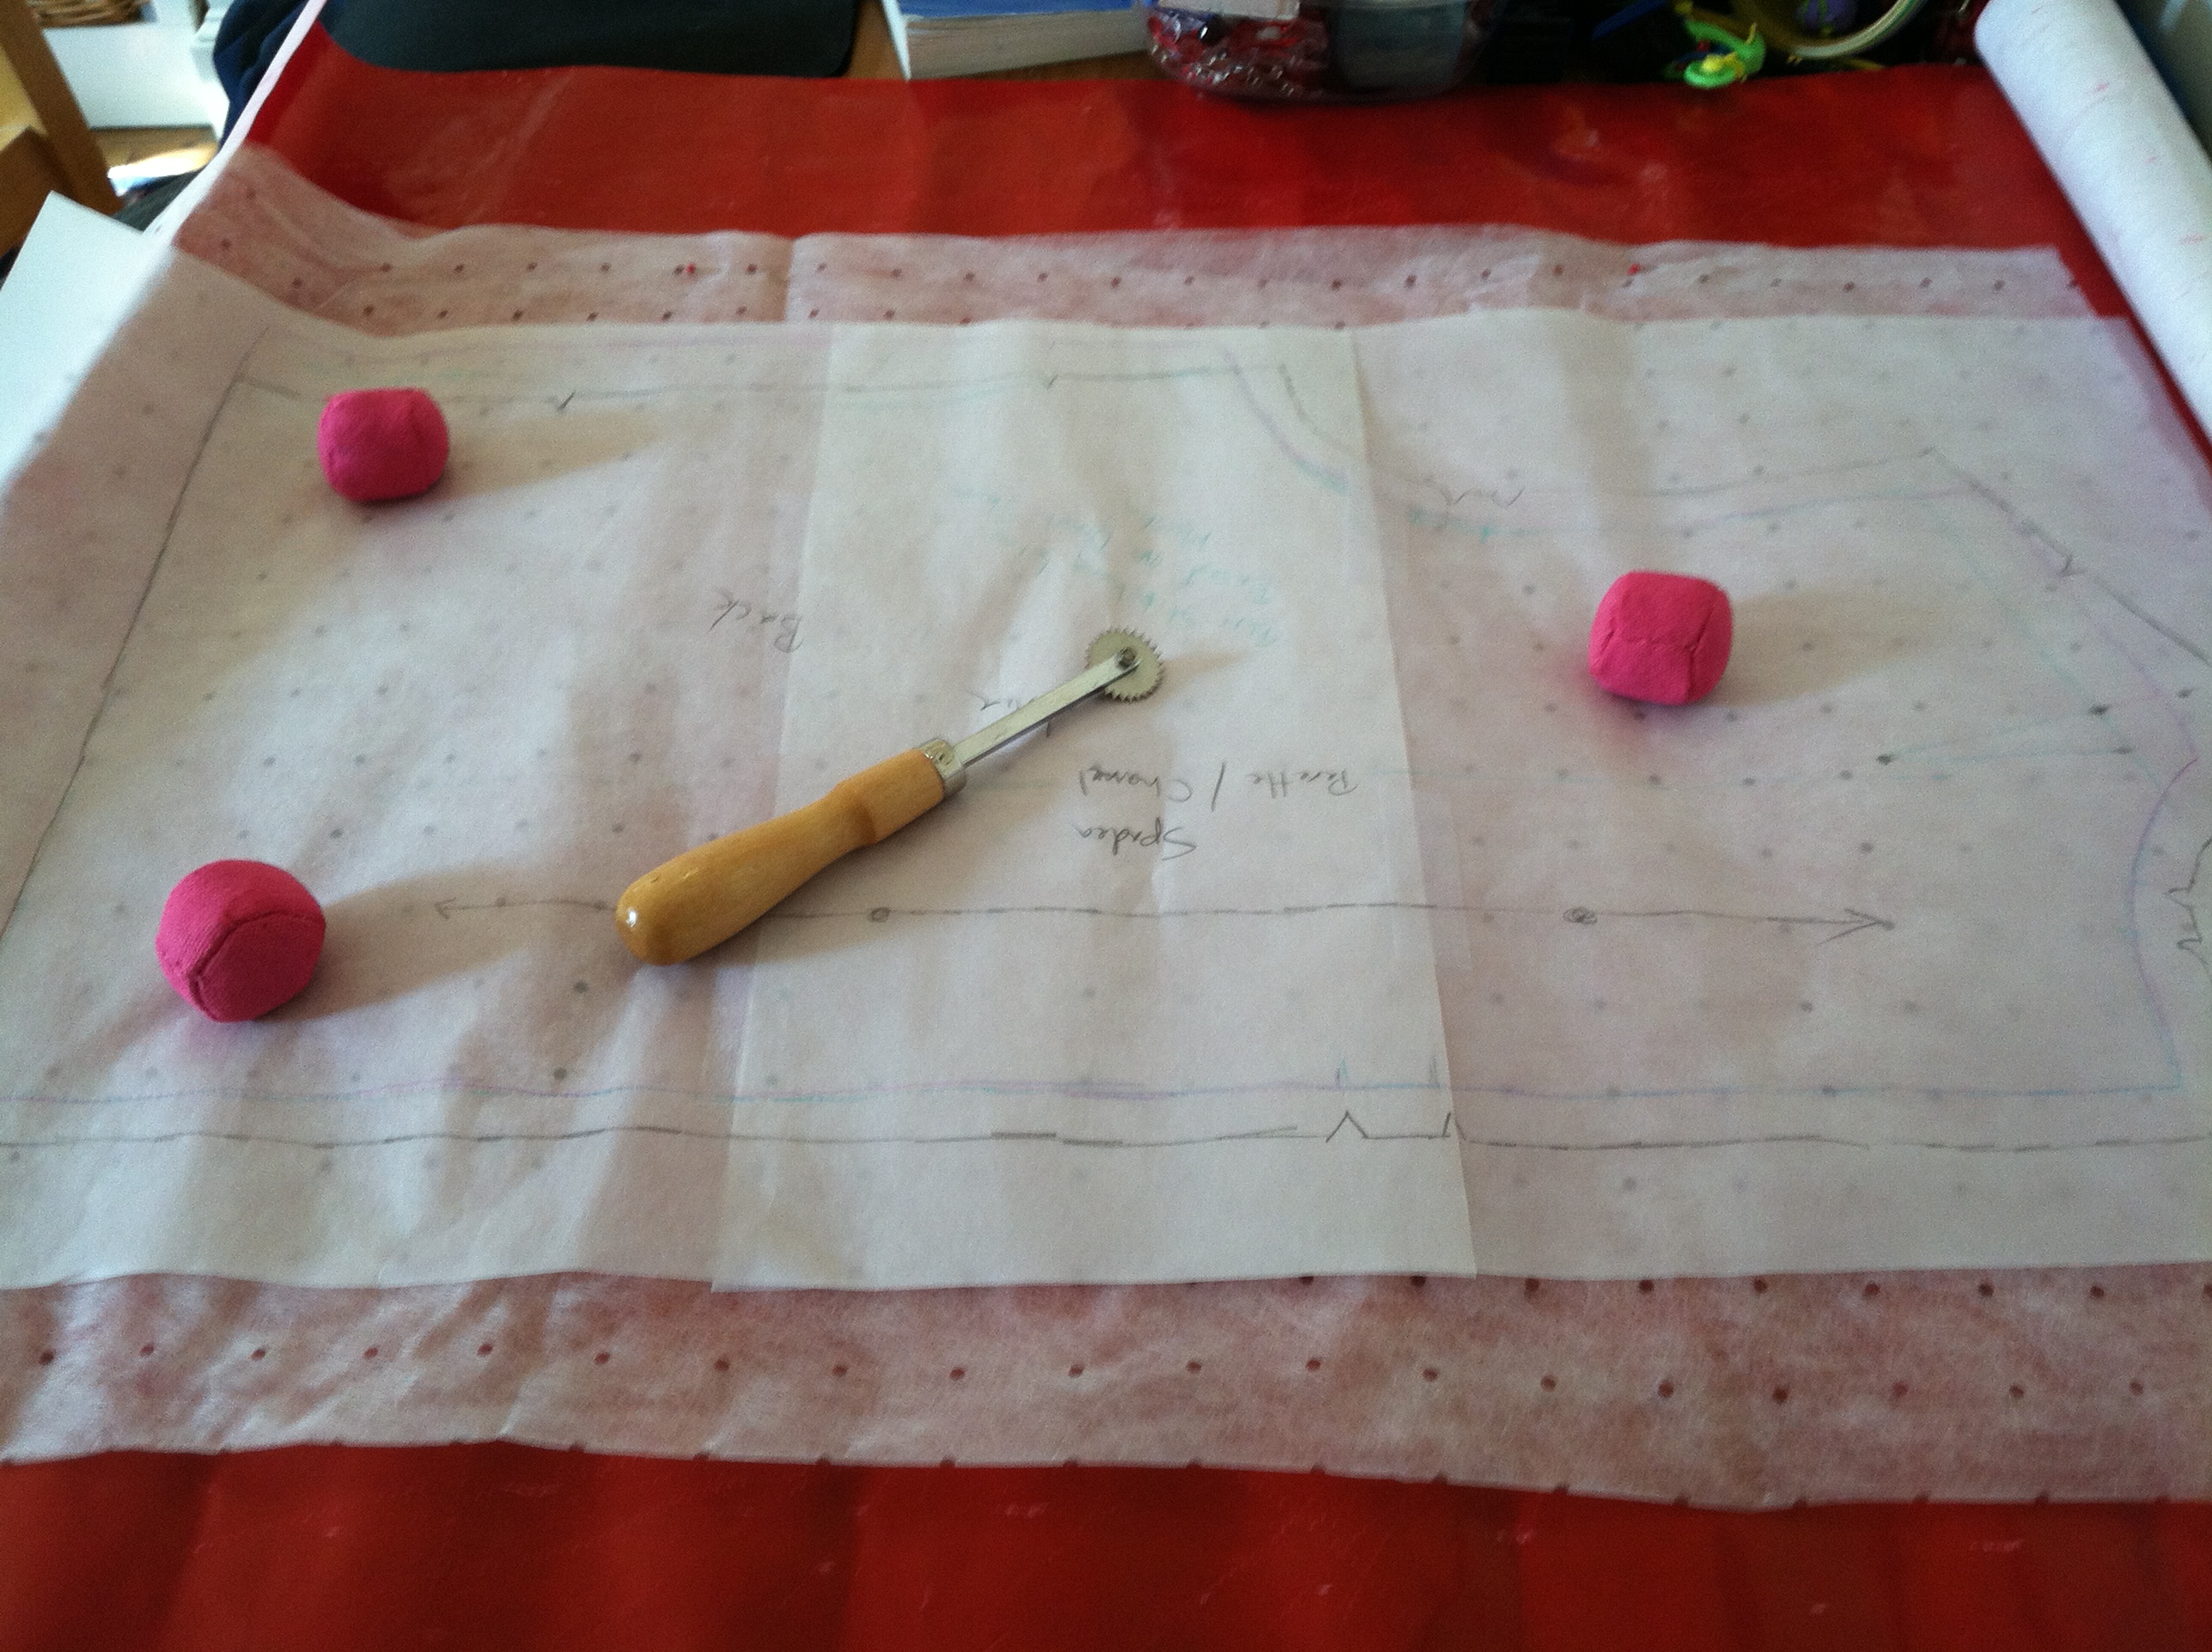
Marking pattern on to “Kwik Trace” muslin
The first thing I do when I open an unprinted vintage pattern is write the pattern number, name and original bust size measurement on each piece so they don’t get mixed up with other patterns. Since I was using a rare vintage pattern, I traced it onto tracing paper and put the original away. Then I compared the pattern piece with a pattern from a previous jacket I made to make some fit adjustments. You can do this with a pattern block or sloper if you have one. (Those are basic fitting patterns some people make for themselves to fit patterns more quickly. So far I’ve been too lazy to make one.)
I then used a large piece of tracing paper (from the http://www.richardthethread.com/ website in LA) and a tracing wheel to copy the pattern onto my “muslin” version of the jacket. (Though in this case I’m using Kwik Trace tracing fabric rather than actual muslin, again being lazy.) The downside of Kwik Trace is that it’s unwoven and doesn’t have a grain, so I wouldn’t recommend it for projects where you need to know how the fabric will behave, such as a bias cut dress.

Completed “muslin” of jacket
I cut out the pieces and constructed the muslin loosely using the method outlined in Susan Khalje’s “Couture Dress” course on Craftsy. (Okay, I skipped a few steps, but you get the idea.) I’ve recommended that course in previous posts, and it really helps with vintage projects like this. http://www.craftsy.com/class/The-Couture-Dress/53?_ct=sbqii-sqjuweho-qbb&_ctp=53,1
Once I tweaked the fit, I marked any changes on the Kwik Trace with a sharpie and took the “muslin” apart. Those pieces now became my pattern. At this point I wrote the pattern number and name on each piece and indicated that it had been fitted for me, in case I wanted to reuse it.

Cutting the fabric with large seam allowances
I pinned the pattern pieces on my fabric and then cut loosely around them to leave plenty of seam allowance. Boucle like this unravels in a huge hurry, and by the time you’re ready to finish the seams, you may have already lost more than 1/2 an inch.

Thread tracing the seam line
At this point, if you follow Susan’s Khalje’s instructions in the Couture Dress course, you are supposed to “thread trace” (loosely baste with contrasting silk thread) around all of the seam lines to mark the seams on the front and back. This is a great idea! But I can’t face it at this point in the construction! (Because I’m lazy.) So, despite the fact that Susan warns against this, I marked both sides of my fabric with tracing paper, which I then could not get out of the fabric. Fortunately my fit was pretty good, so I just stitched inside the line and the marks ended up inside the seam allowance. I did thread trace the armscye and sleevecap as it makes it a million times easier to line up.
How about you? Have you ever worked with an unprinted pattern? How did it go? Leave me a comment, and a link if you have one. I’d love to see your projects.
Till next time… (I used to work in TV so I feel like I need a sign-off line) “May your bobbins be full and your tension even?”
