Let’s talk about fashion and status. And making yourself a Chanel(ish) bag. I just did.

You can’t walk half a block down tony Newbury Street in Boston without practically getting hit by a Chanel 2.55.

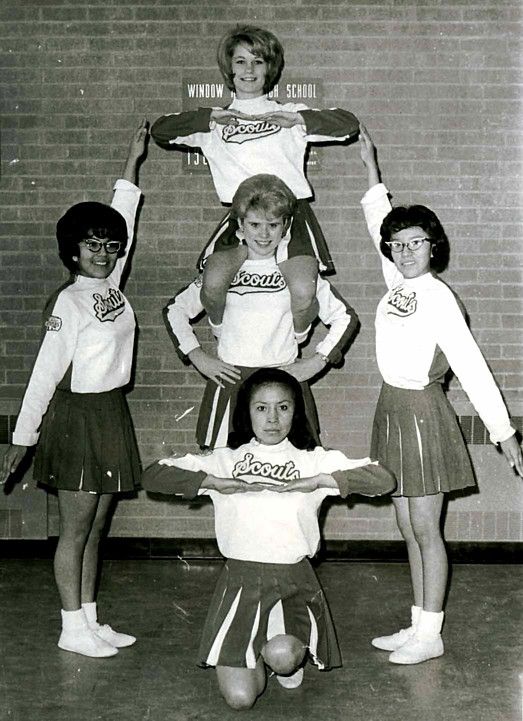
In the U.S., our culture is less “melting pot” and more cheerleading pyramid.

You know that blonde’s going to get thrown off of the top of the heap at some point. They always are.
For those who came here via Ellis Island, or in my great-great grandfather’s case, on a “coffin ship” from the Irish potato famine to the east coast of Canada, then somehow, without a cent, to Detroit, the U.S. was a place to completely reinvent yourself.
If you grew up in Michigan in the 50s and 60s, as my husband and I did, the wealth of the auto industry made it possible for whole generations to elevate their status in giant leaps, so that my grandfather, son of blacksmith, could send my mother to college by selling wall-to-wall carpeting to soldiers returning from WWII.
 My gorgeous Mom and handsome Dad in the 40s.
In these culturally shifting sands, the things that were signifiers of wealth and class in the old countries were completely out the window, so everybody had to grab onto new ones. I think this created a herd mentality when it comes to style that has gripped the U.S. for a lot of years. Having recognizable products that people know the cost of (a Cartier Tank watch would be a current upper-middle class example) demonstrates where you stand in the U.S. social system.

You have no idea how many of these I see at the beach in Martha’s Vineyard. (Meanwhile, I’ve been running around wearing a Timex from Target because I like the style.)
The only problem with status dressing is that everyone’s style gets really boring, because people will buy something highly recognizable to show off their wealth (like a Chanel bag) or to fit in with their clan (earth mama, power-suiter, goth chick) instead of picking out something really interesting and different. So then the stuff in the stores is boring.
I was tired of boring, so I started sewing again. Now my closet’s pretty zesty.

So anyway, I was looking Chanel ads, and even though I’m not a fan of their bags (because, let’s face it, they are pretty repetitive and boring and “rich chick at the country club”) I noticed that lately they’ve been made of festive things like painted canvas with unfinished seams.
 For $5,000.
I saw this one in particular and thought, “I could totally make that.”

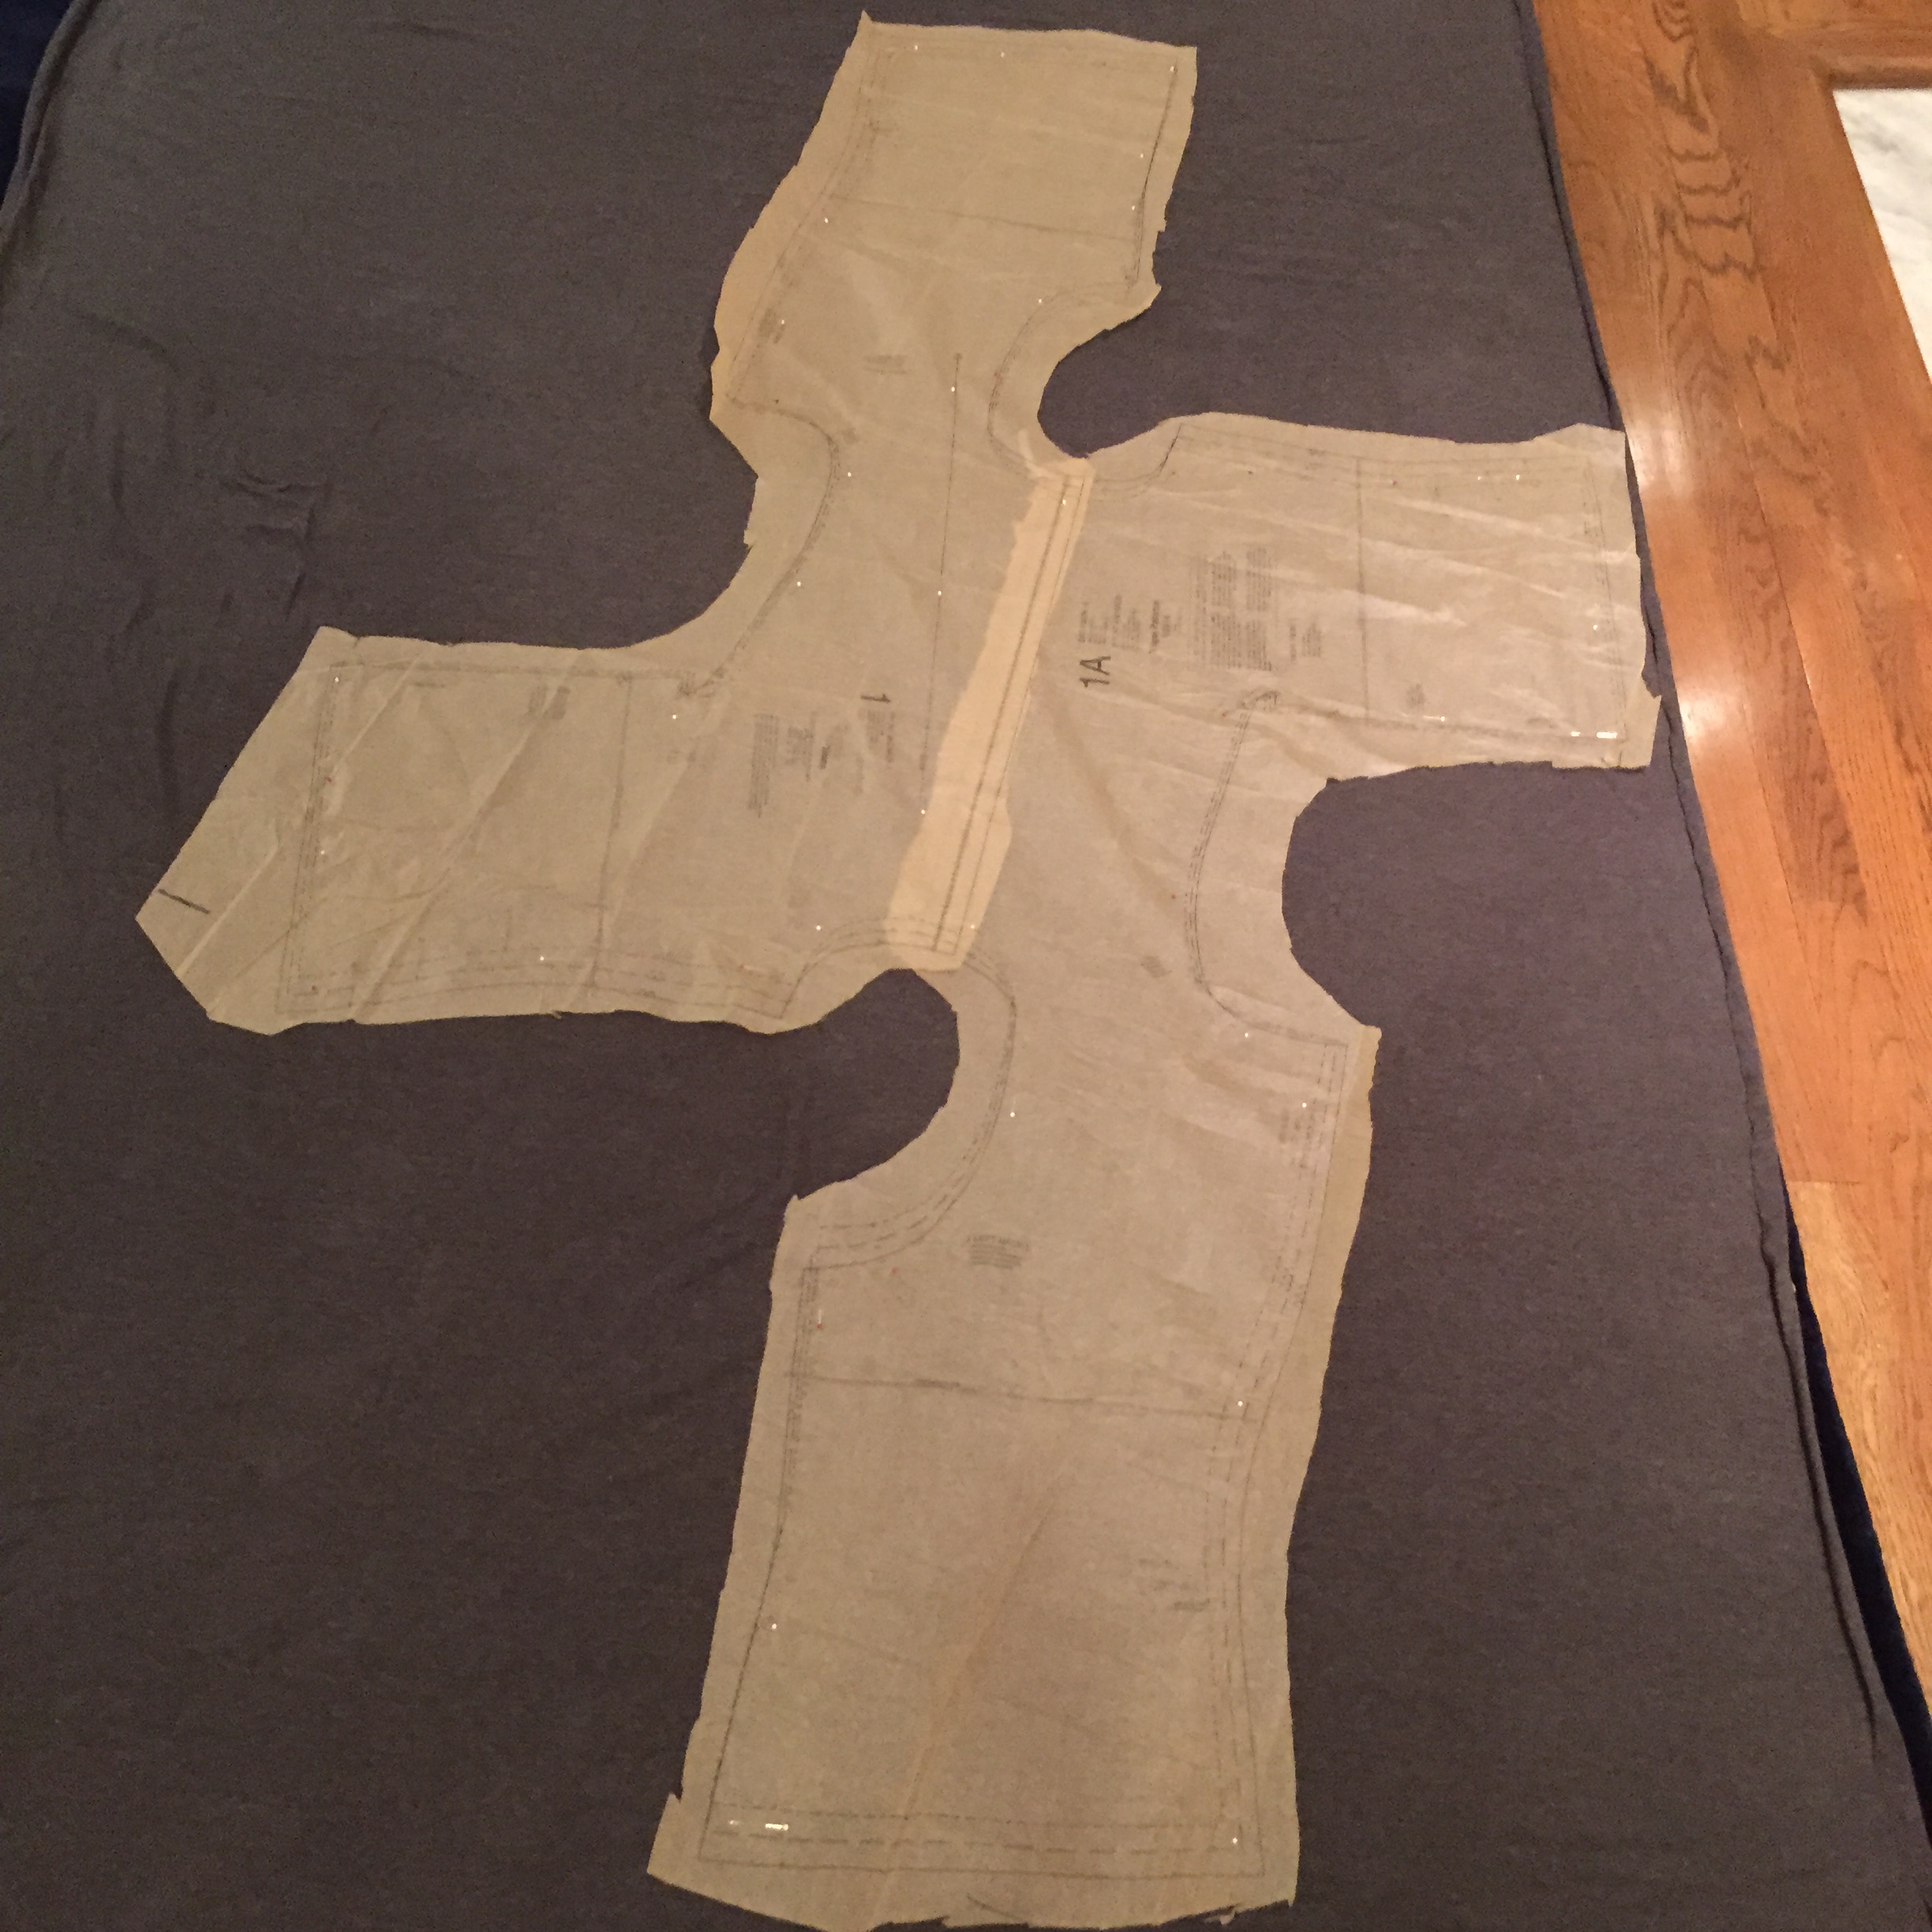
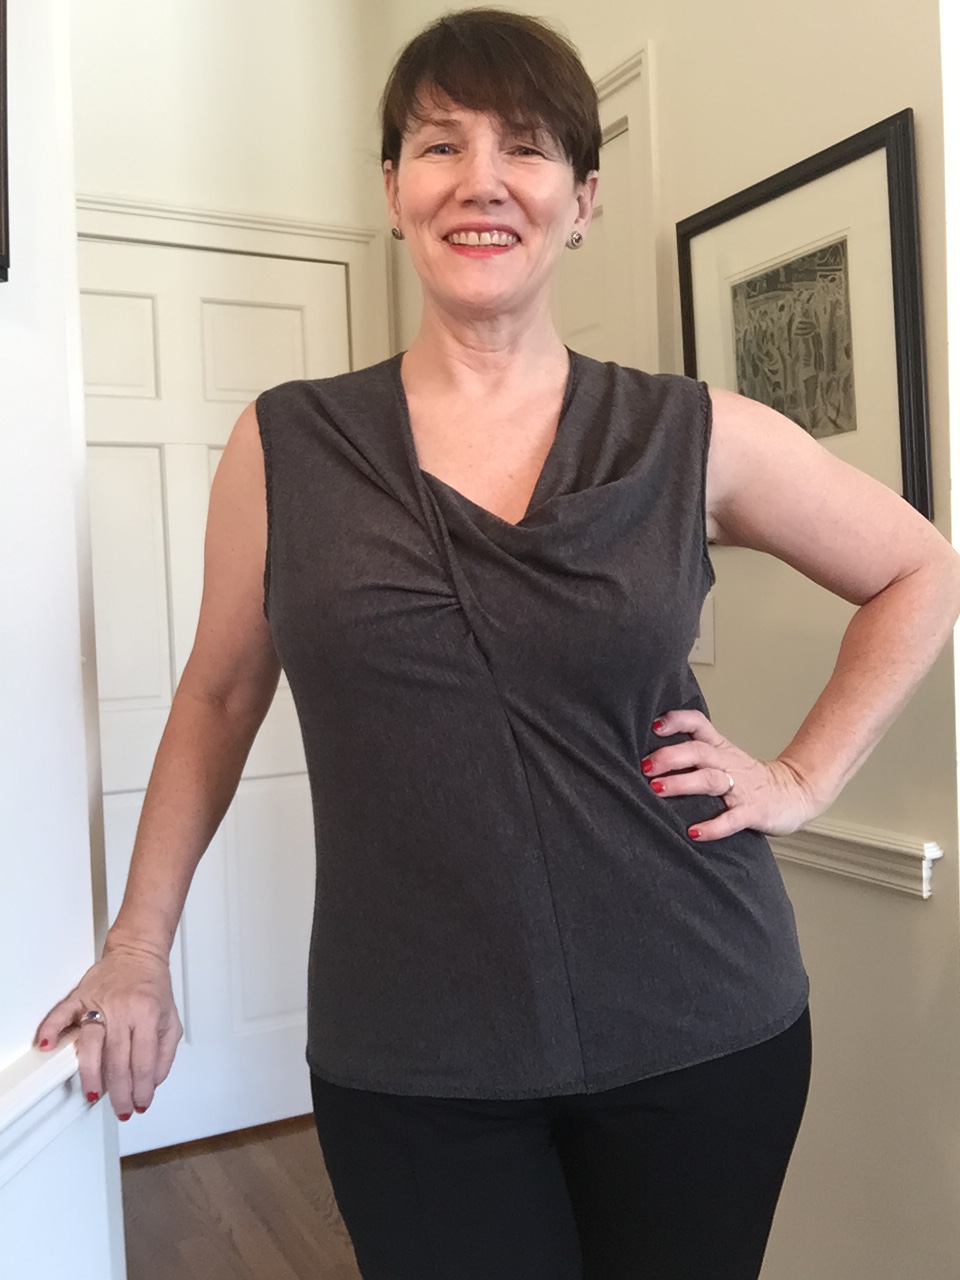
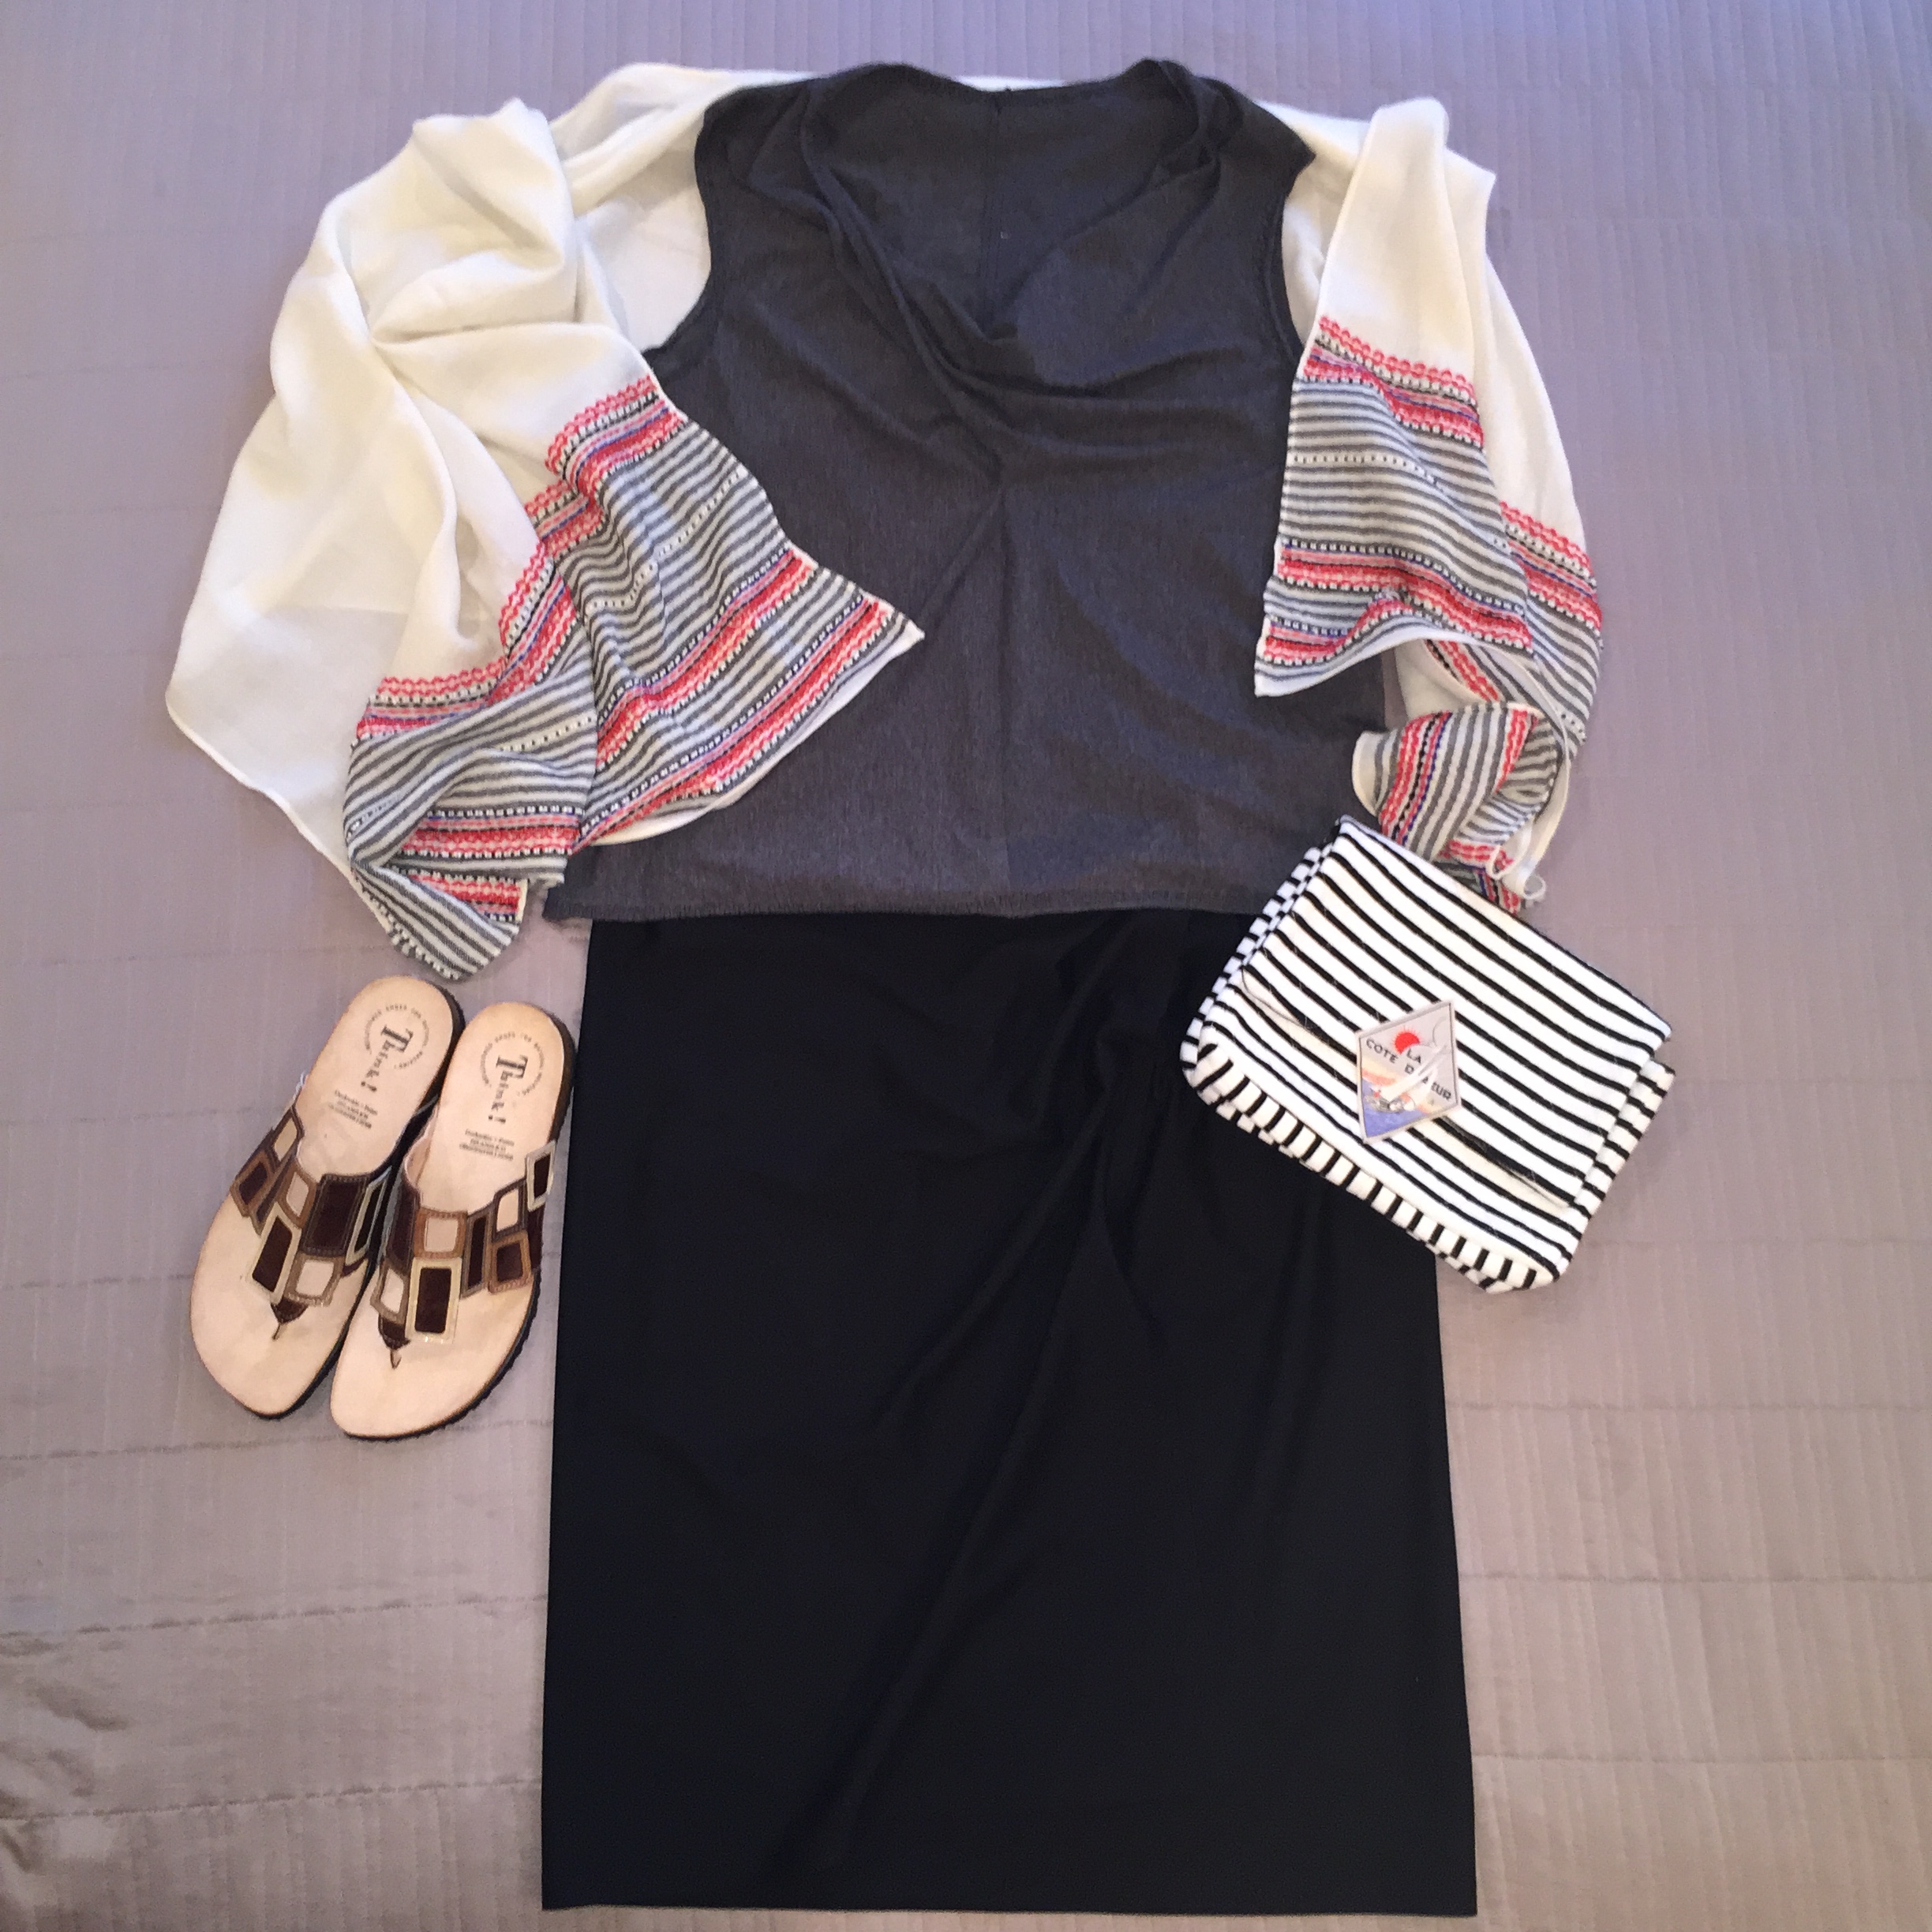
I was making a Breton shirt anyway, from the frankenpattern muslin (Muslin Madness) for the crushed bateau-neck I just made (Bateau-neck Top, fait accompli). Speaking of boring style statements, I have a tendency to default to Breton shirts and jeans about 90% of the time when I’m kicking around, as I’m in the “boomer gal who likes France” clan. So I figured I’d ought to start making my own. If you want to see a lot of old Hollywood types in Breton shirts, as well as some good Breton shirt sewing patterns, check out my pinterest page (Breton Shirt Pinterest Page).
I ordered some fabric made by the French brand St. James, who make and export the traditional Breton shirts, or Marinieres, to groovy middle-aged Americans like me. I’ve had a bunch of St. James shirts and they last for years. I found the fabric at Hart Fabrics (hartfabrics.com) . This fabric is medium weight viscose/poly, and though it’s not the typical heavy cotton jersey, it’s easy to wash and sew.
I thought making the shirt would be a breeze. Then I remembered that I had to match all of those stripes.

I got a little obsessive, but it worked. You can match the stripes part way up the sleeve cap, but when you get to the top half, forget it.

I think that’s why a number of these shirts have white at the top instead of stripes.
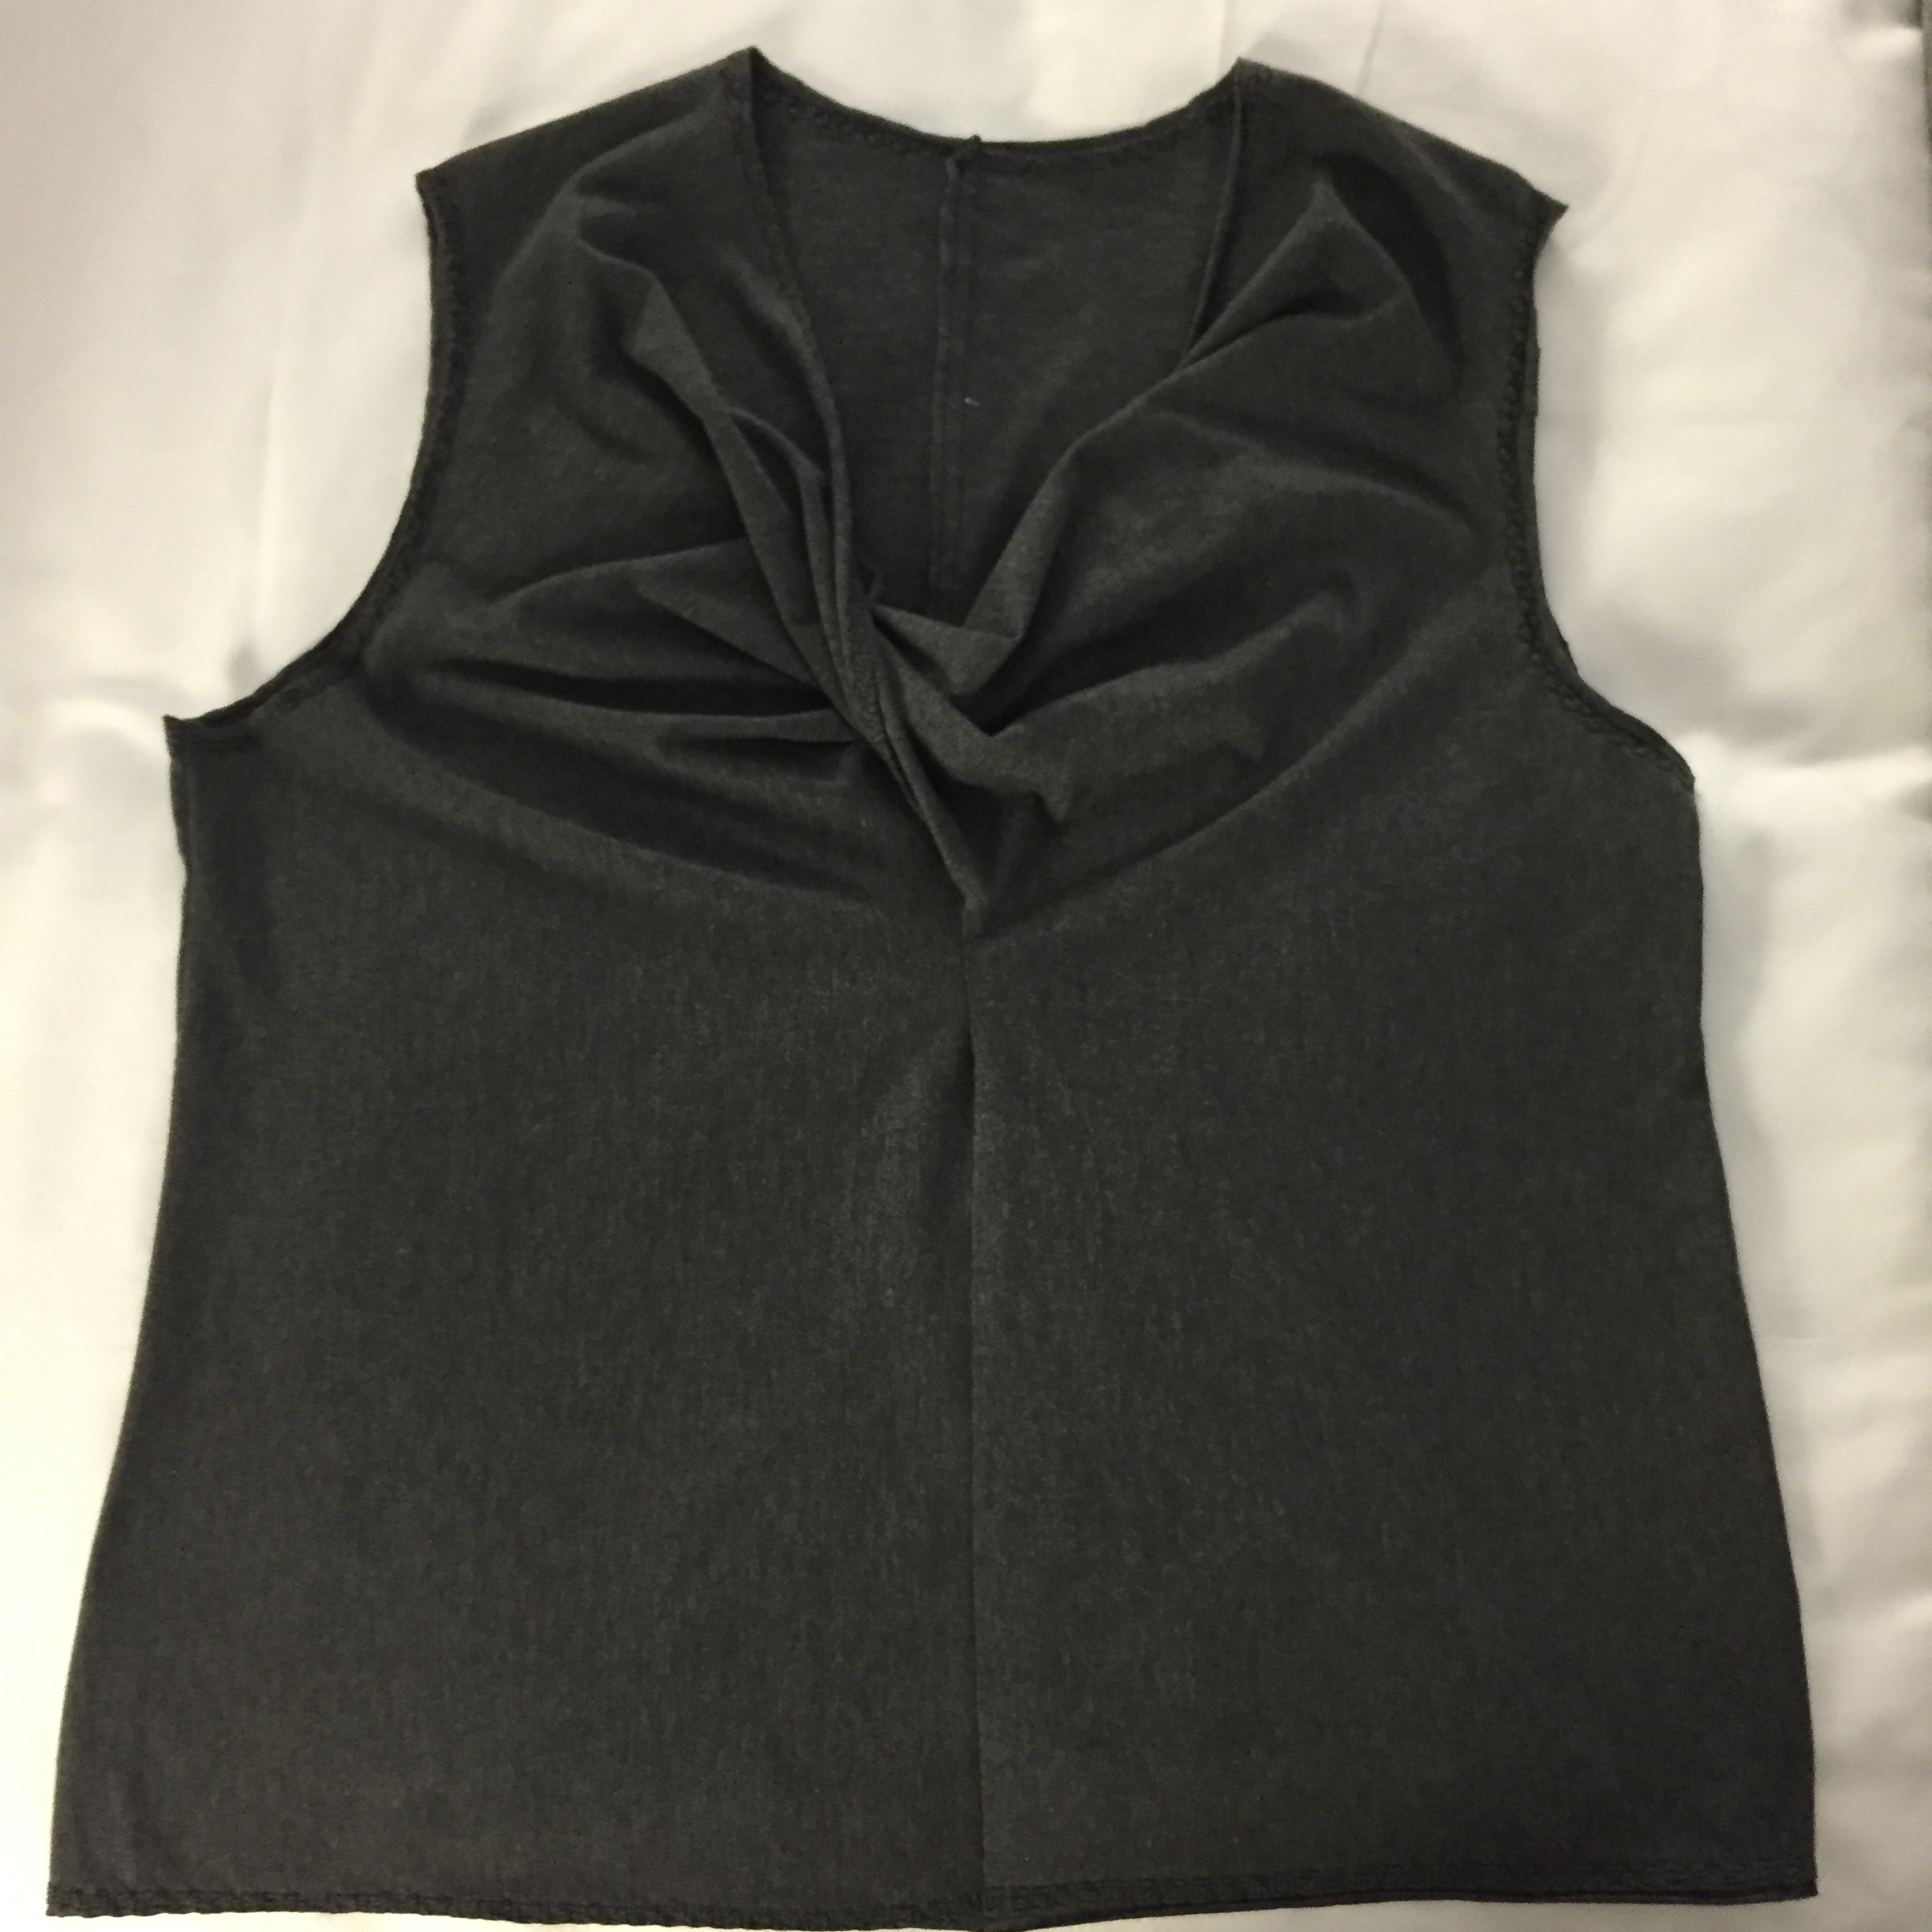
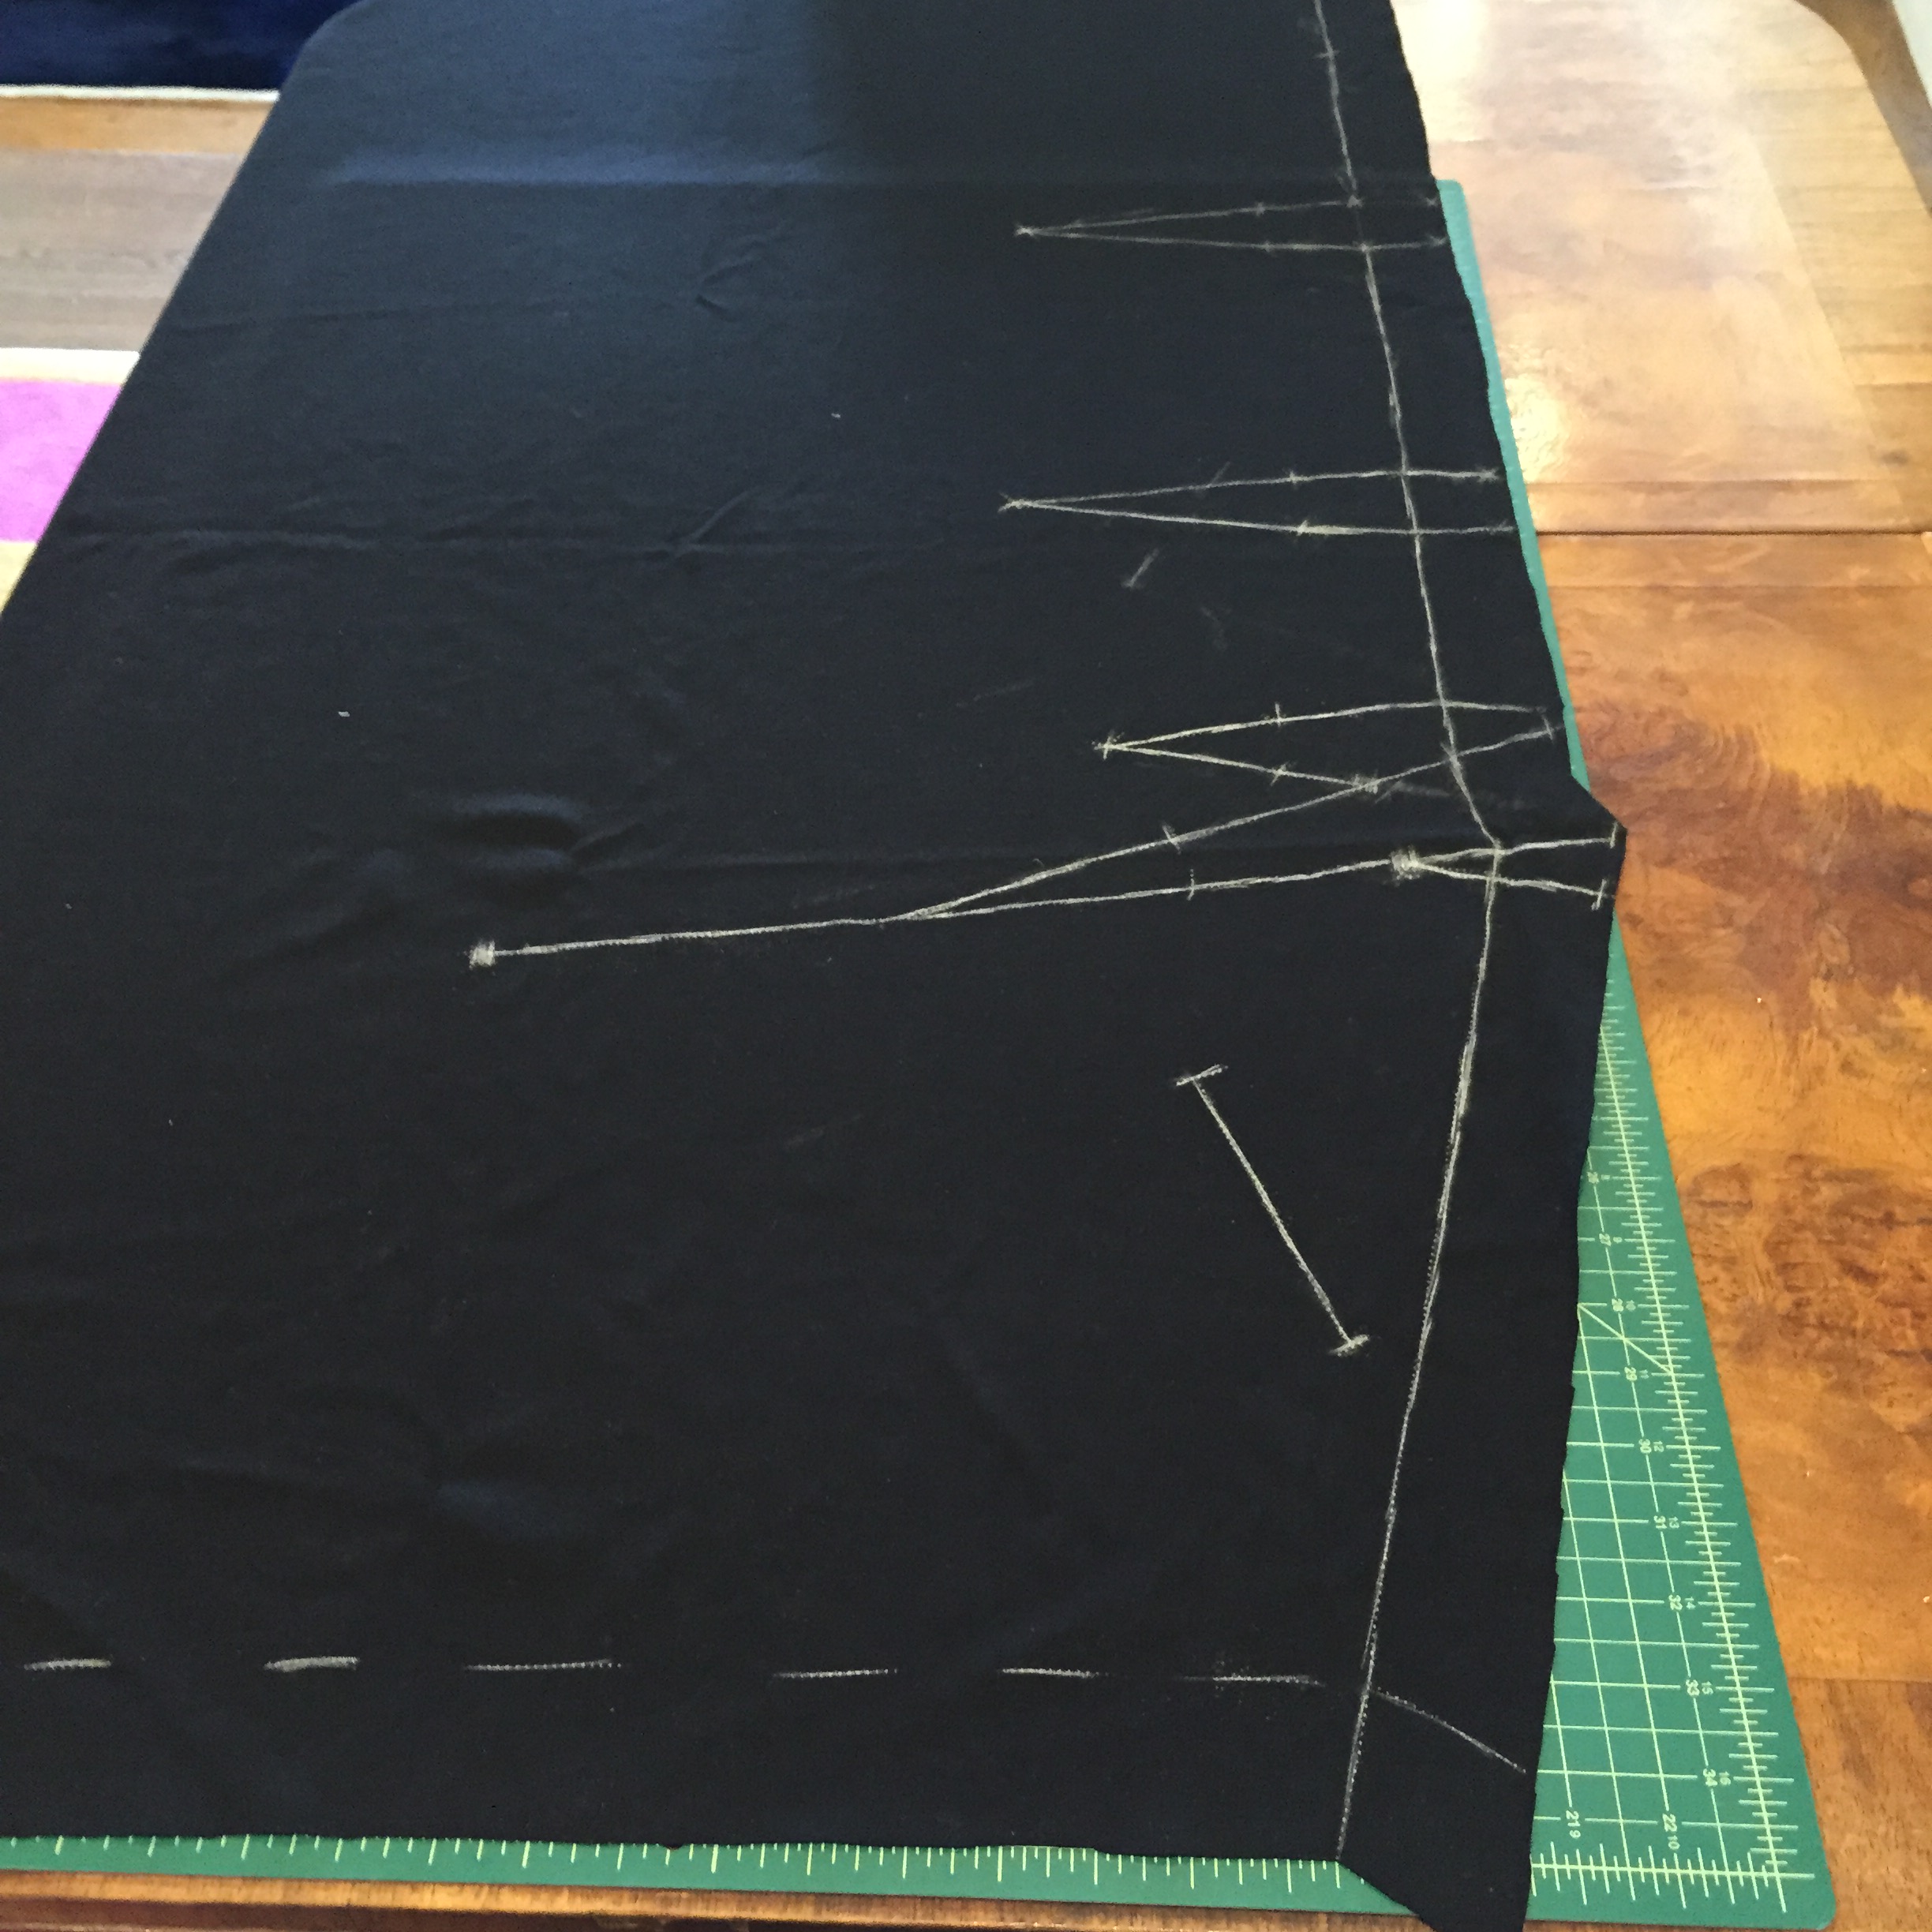
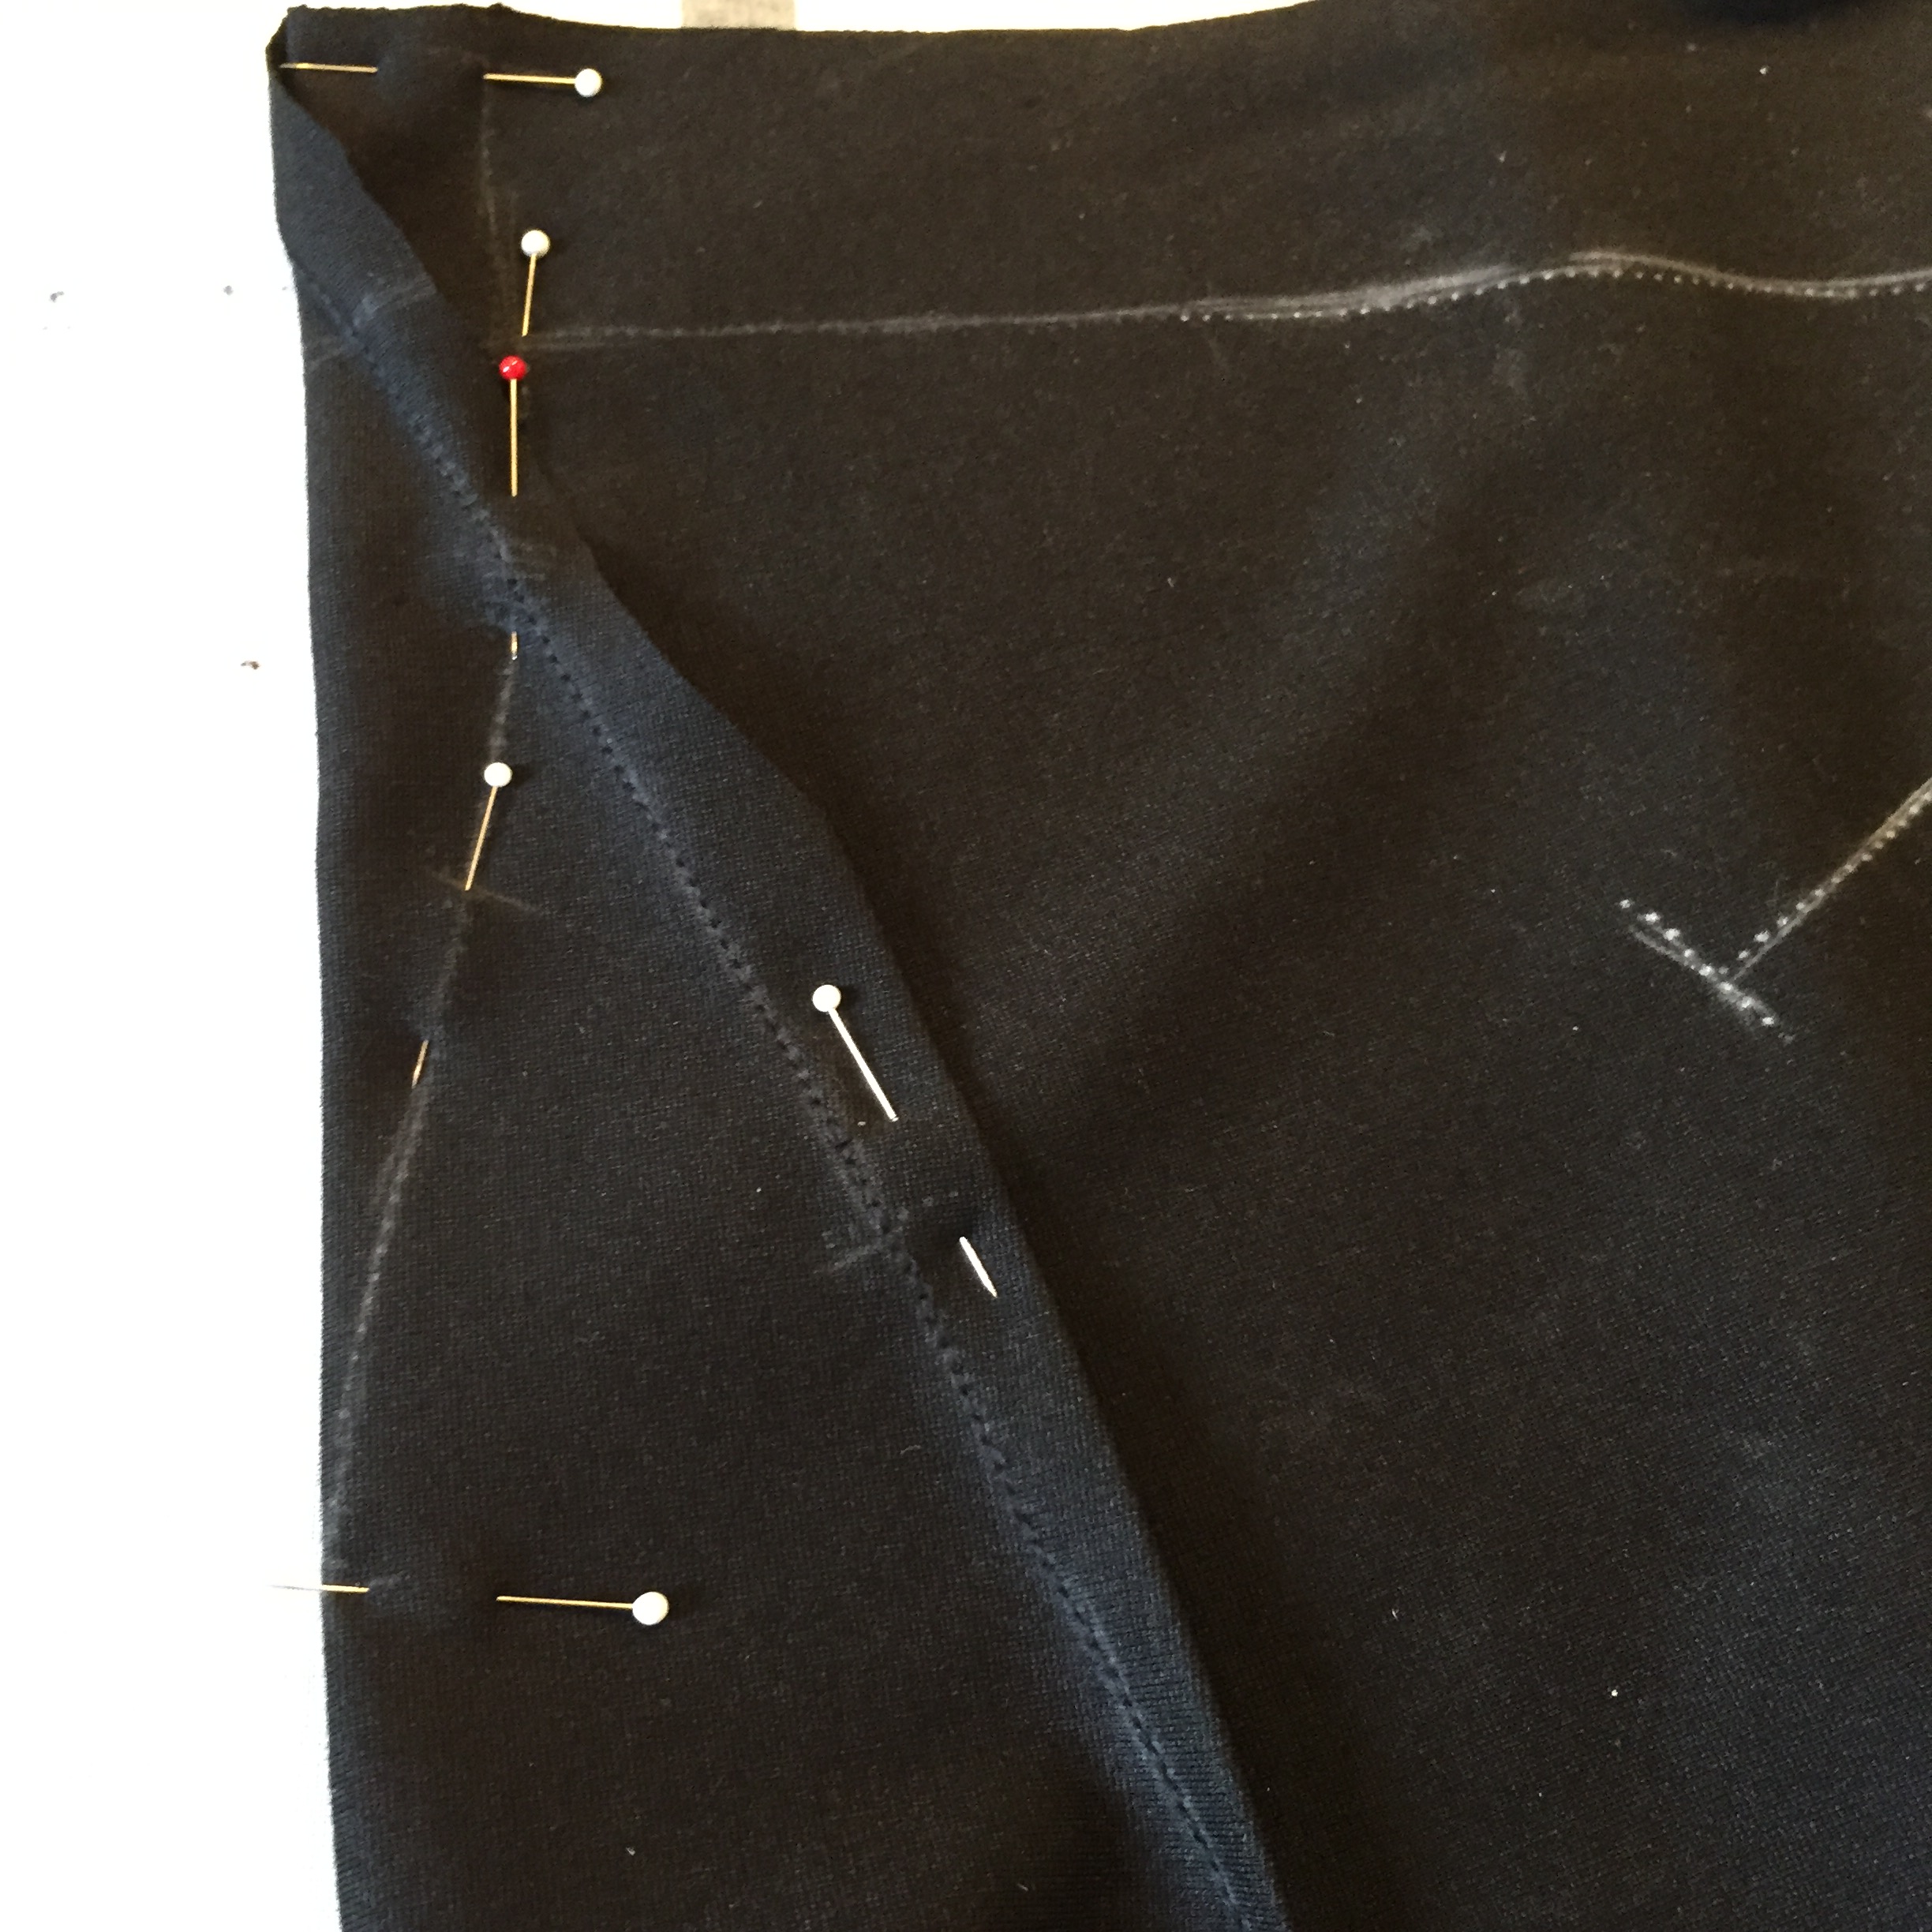
For those of you who expressed interest in how the shoulder tuck is constructed in the crushed bateau-neck design, here’s a look at the inside:

and the outside. 
You make the front shoulder seam about an inch longer than the back seam, and make a tuck in the middle of the front shoulder. Then the neckline goes straight across from one shoulder seam to the other. (If you add an extension of about 1 1/2 inches to the top of the neckline, it folds inside to become a self-facing.)
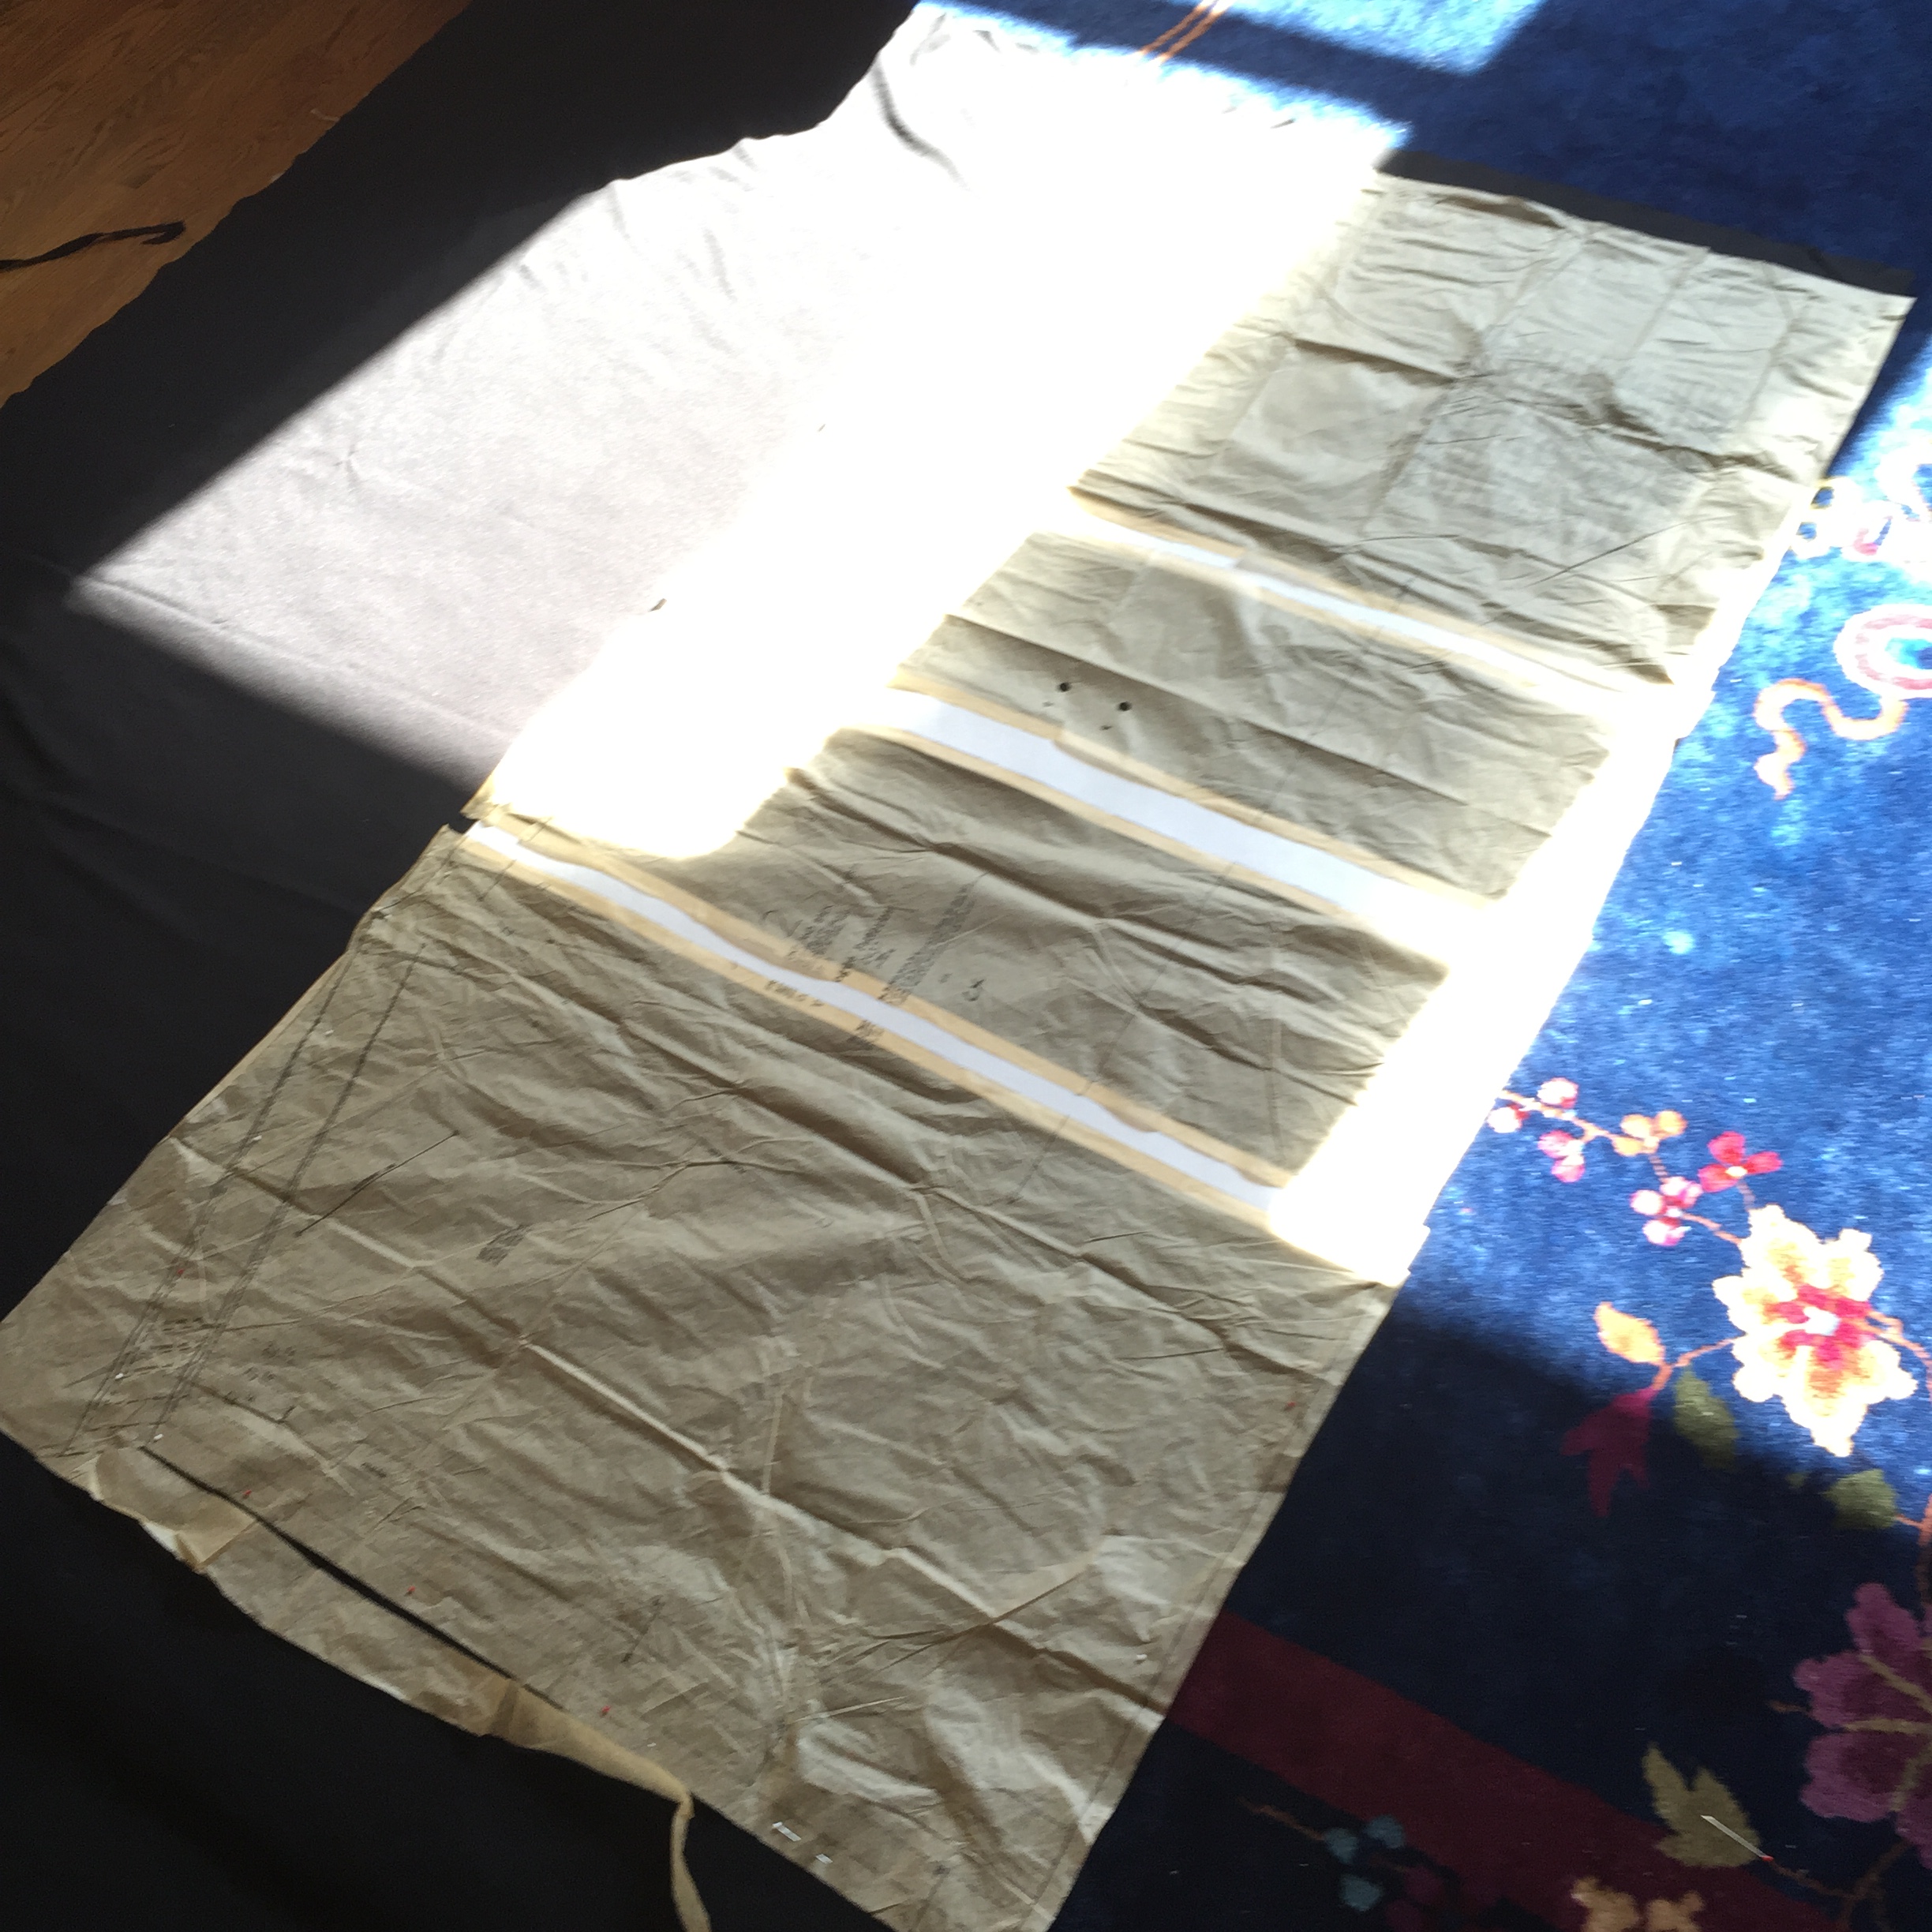
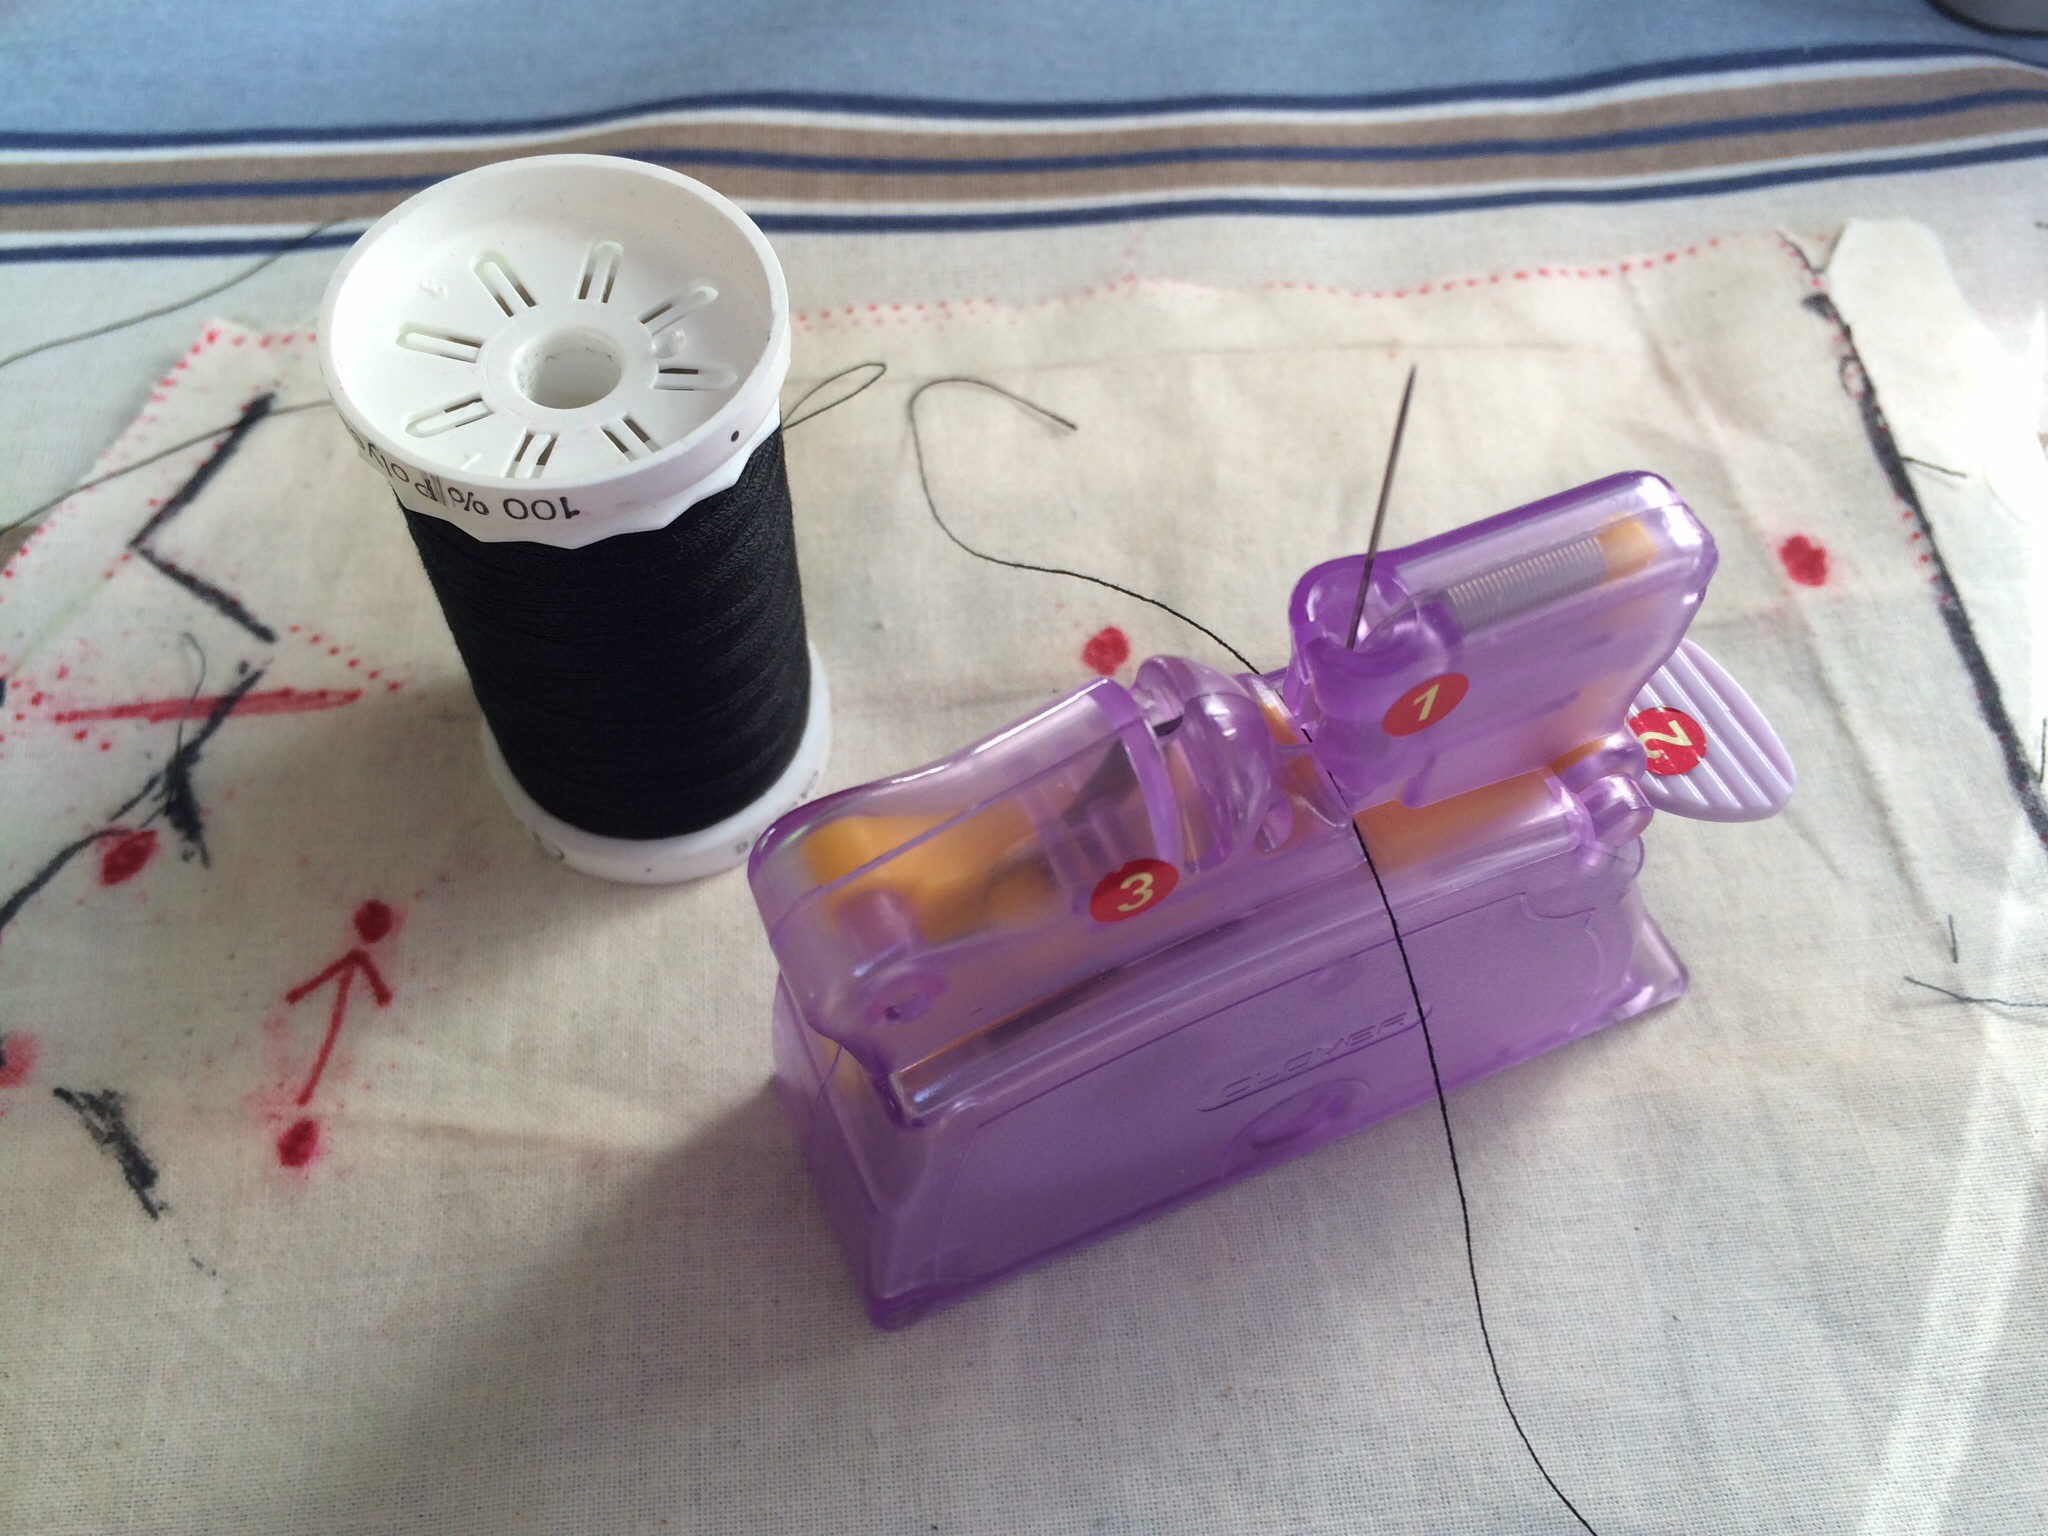
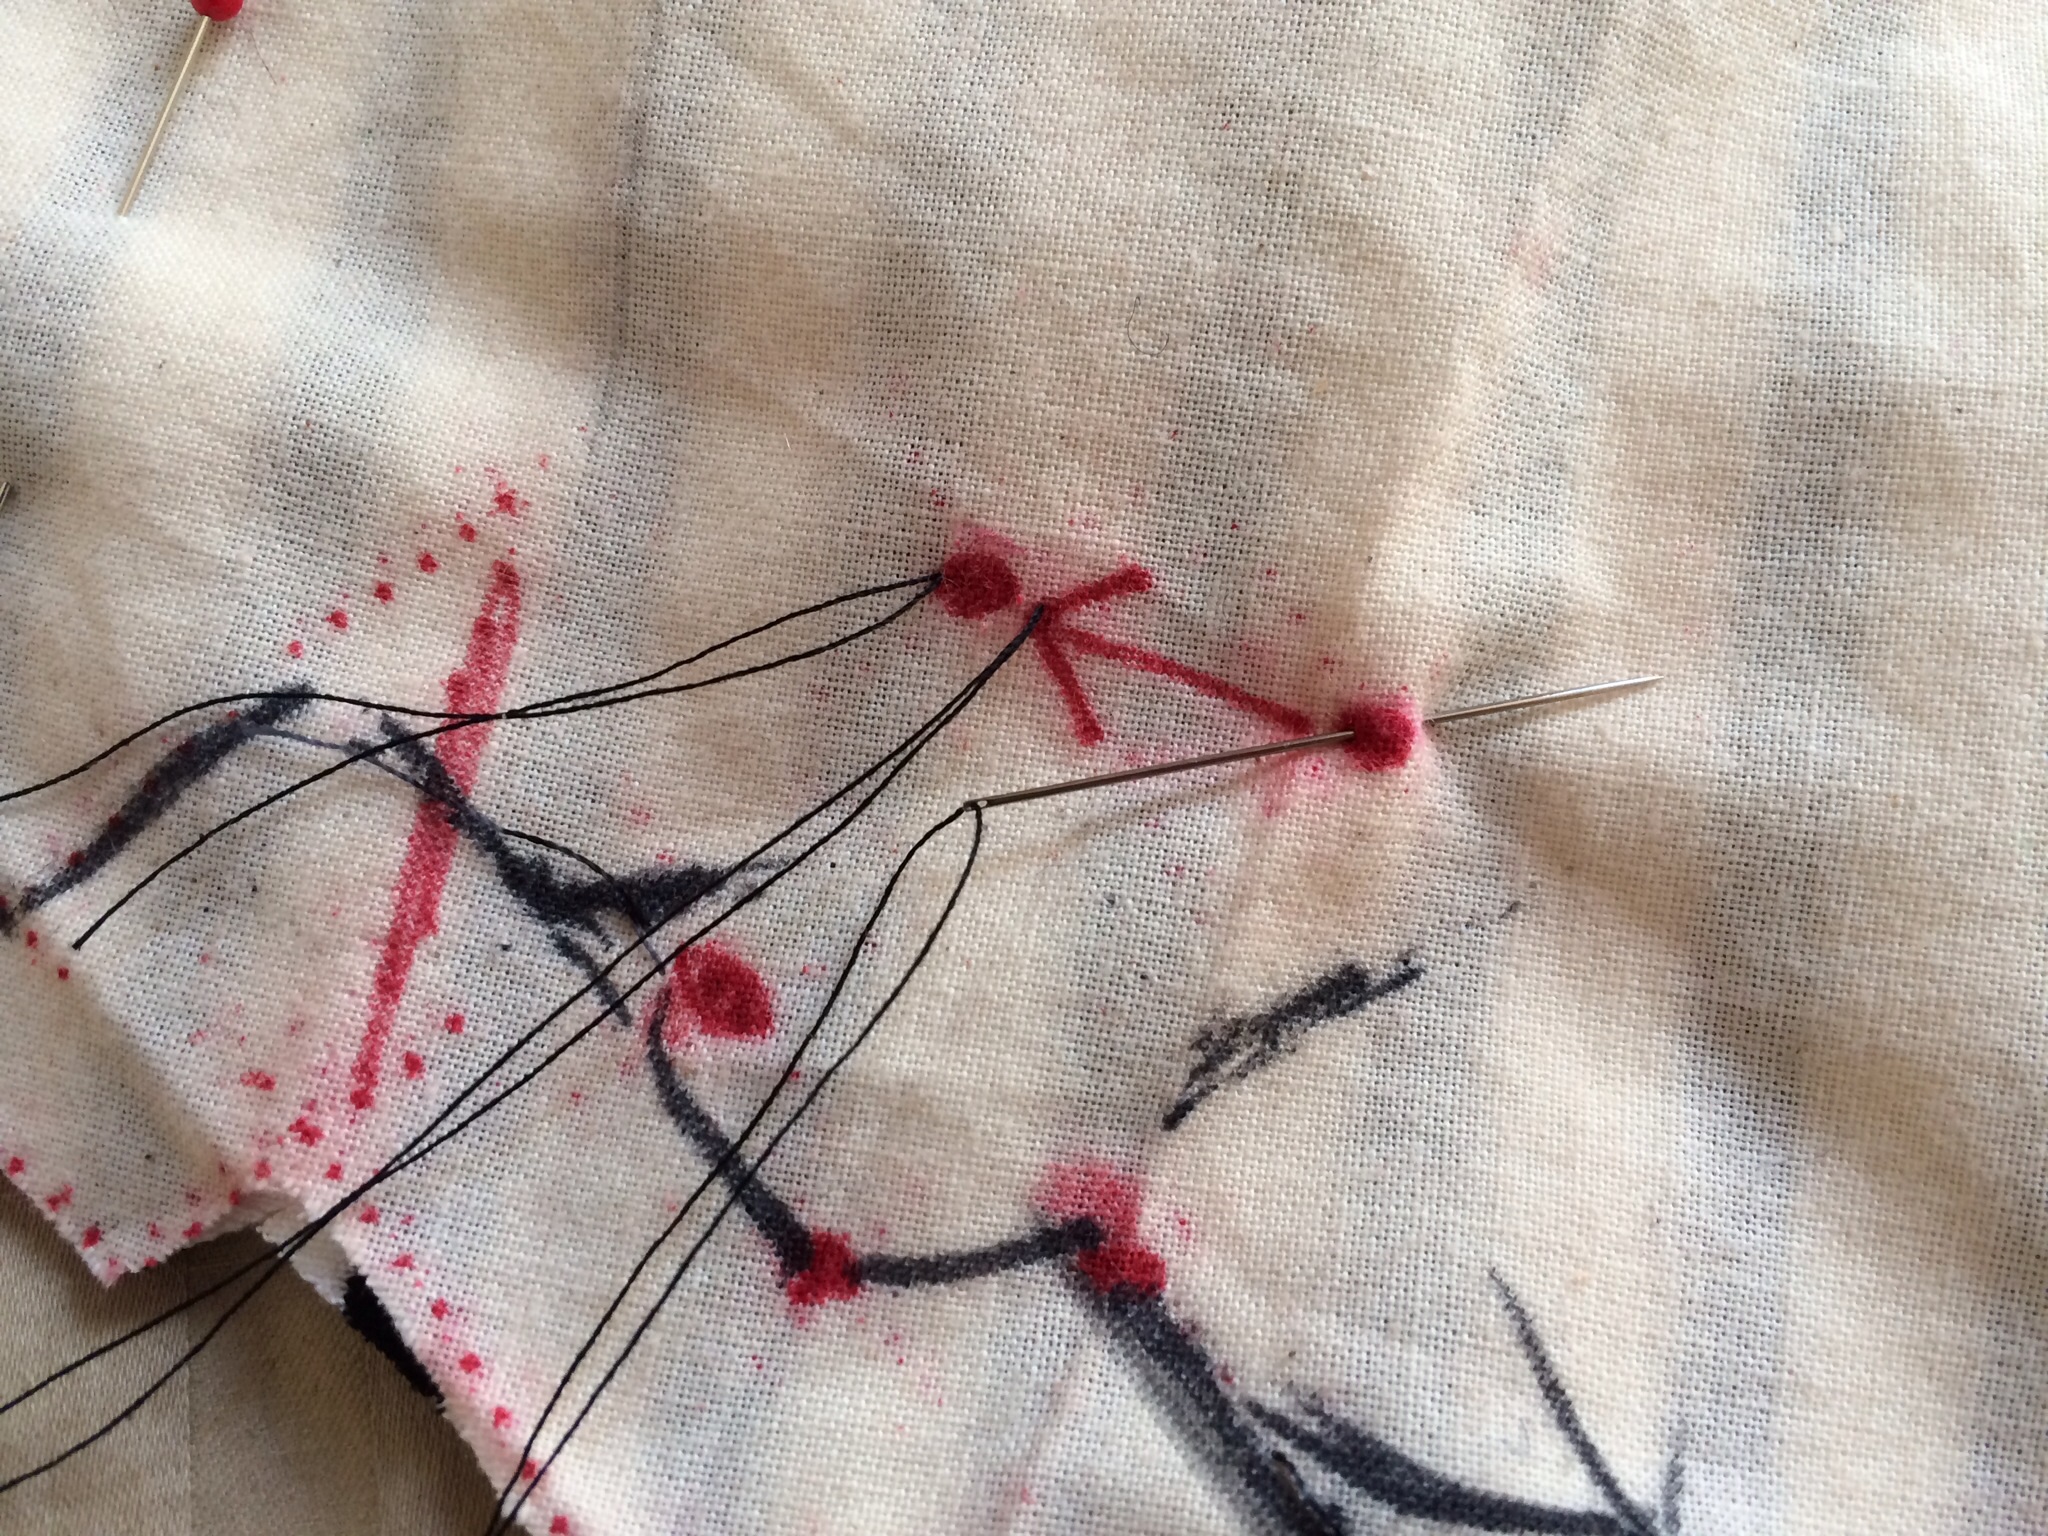
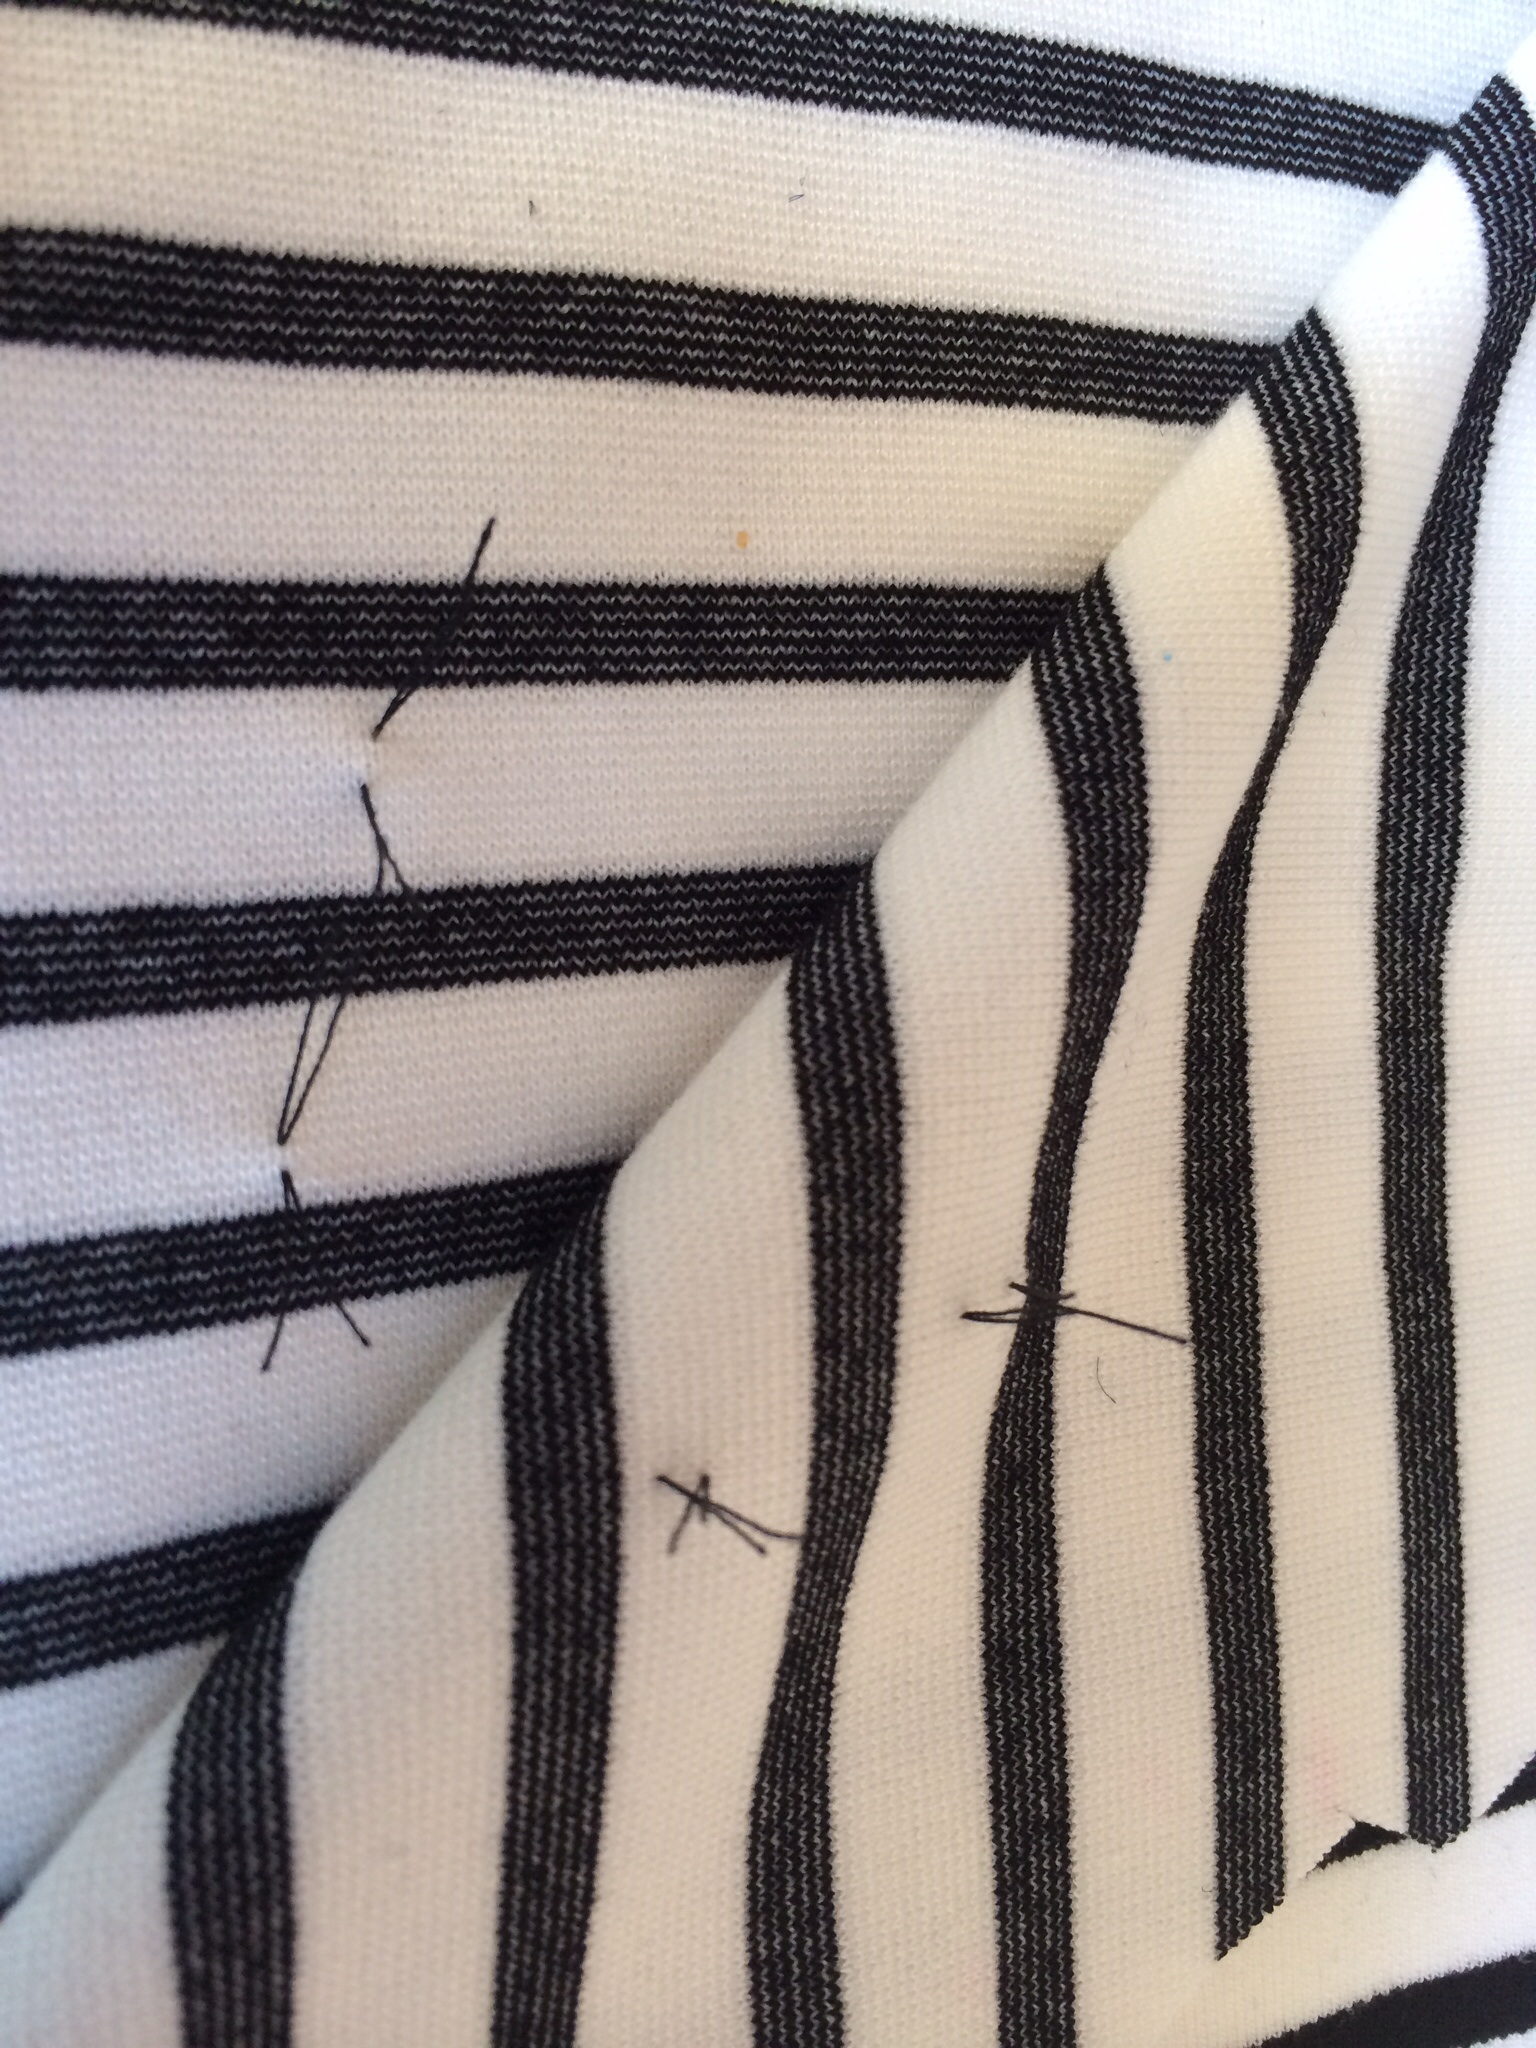
I also decided to try “tailors’ tacks” on this project, a vintage method of marking fabrics without chalk or tracing paper. I thought it would be a pain, but it was fast and easy.
I doubled a long thread on a needle (do you have one of these automatic needle-threaders from Clover? I’d be blind without mine…)

I sewed large thread loops through the muslin pattern and both layers of fabric, at places that I had to mark things like gathers and dart points:

Then I gently separated the layers of fabric and clipped.

Now I had precise markings on both sides of the fabric, but didn’t have to worry about the fabric being discolored.

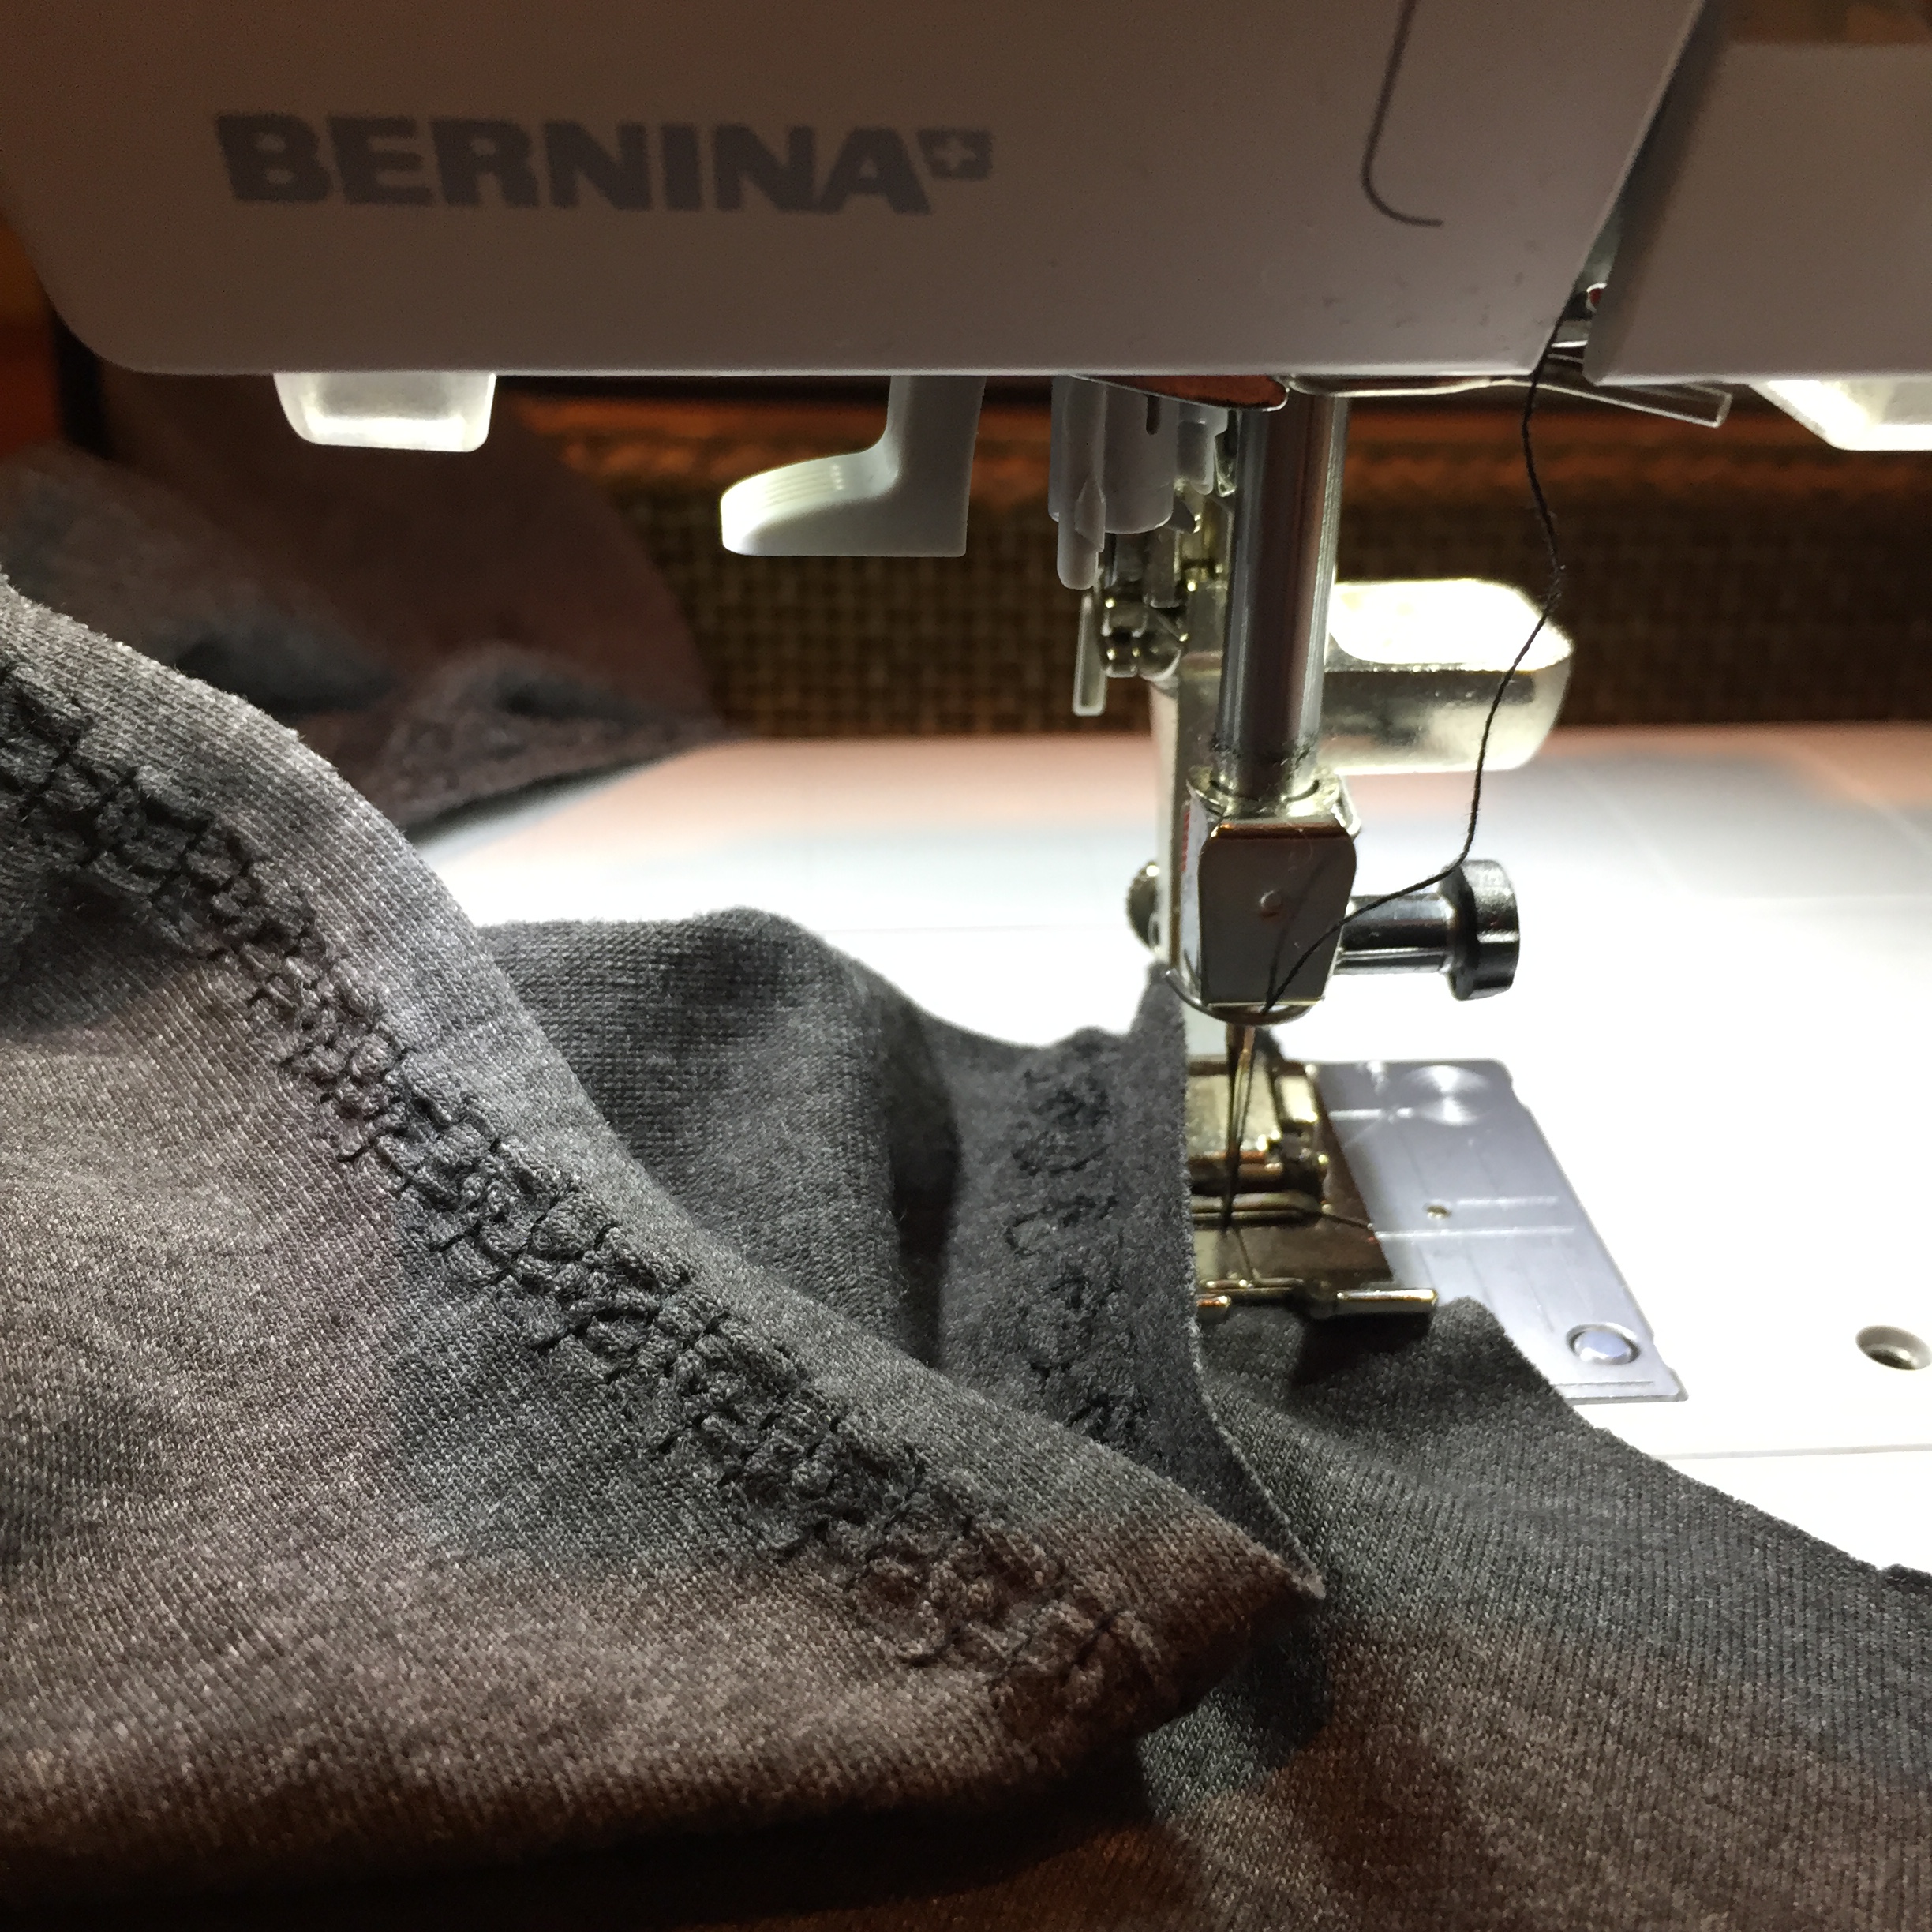
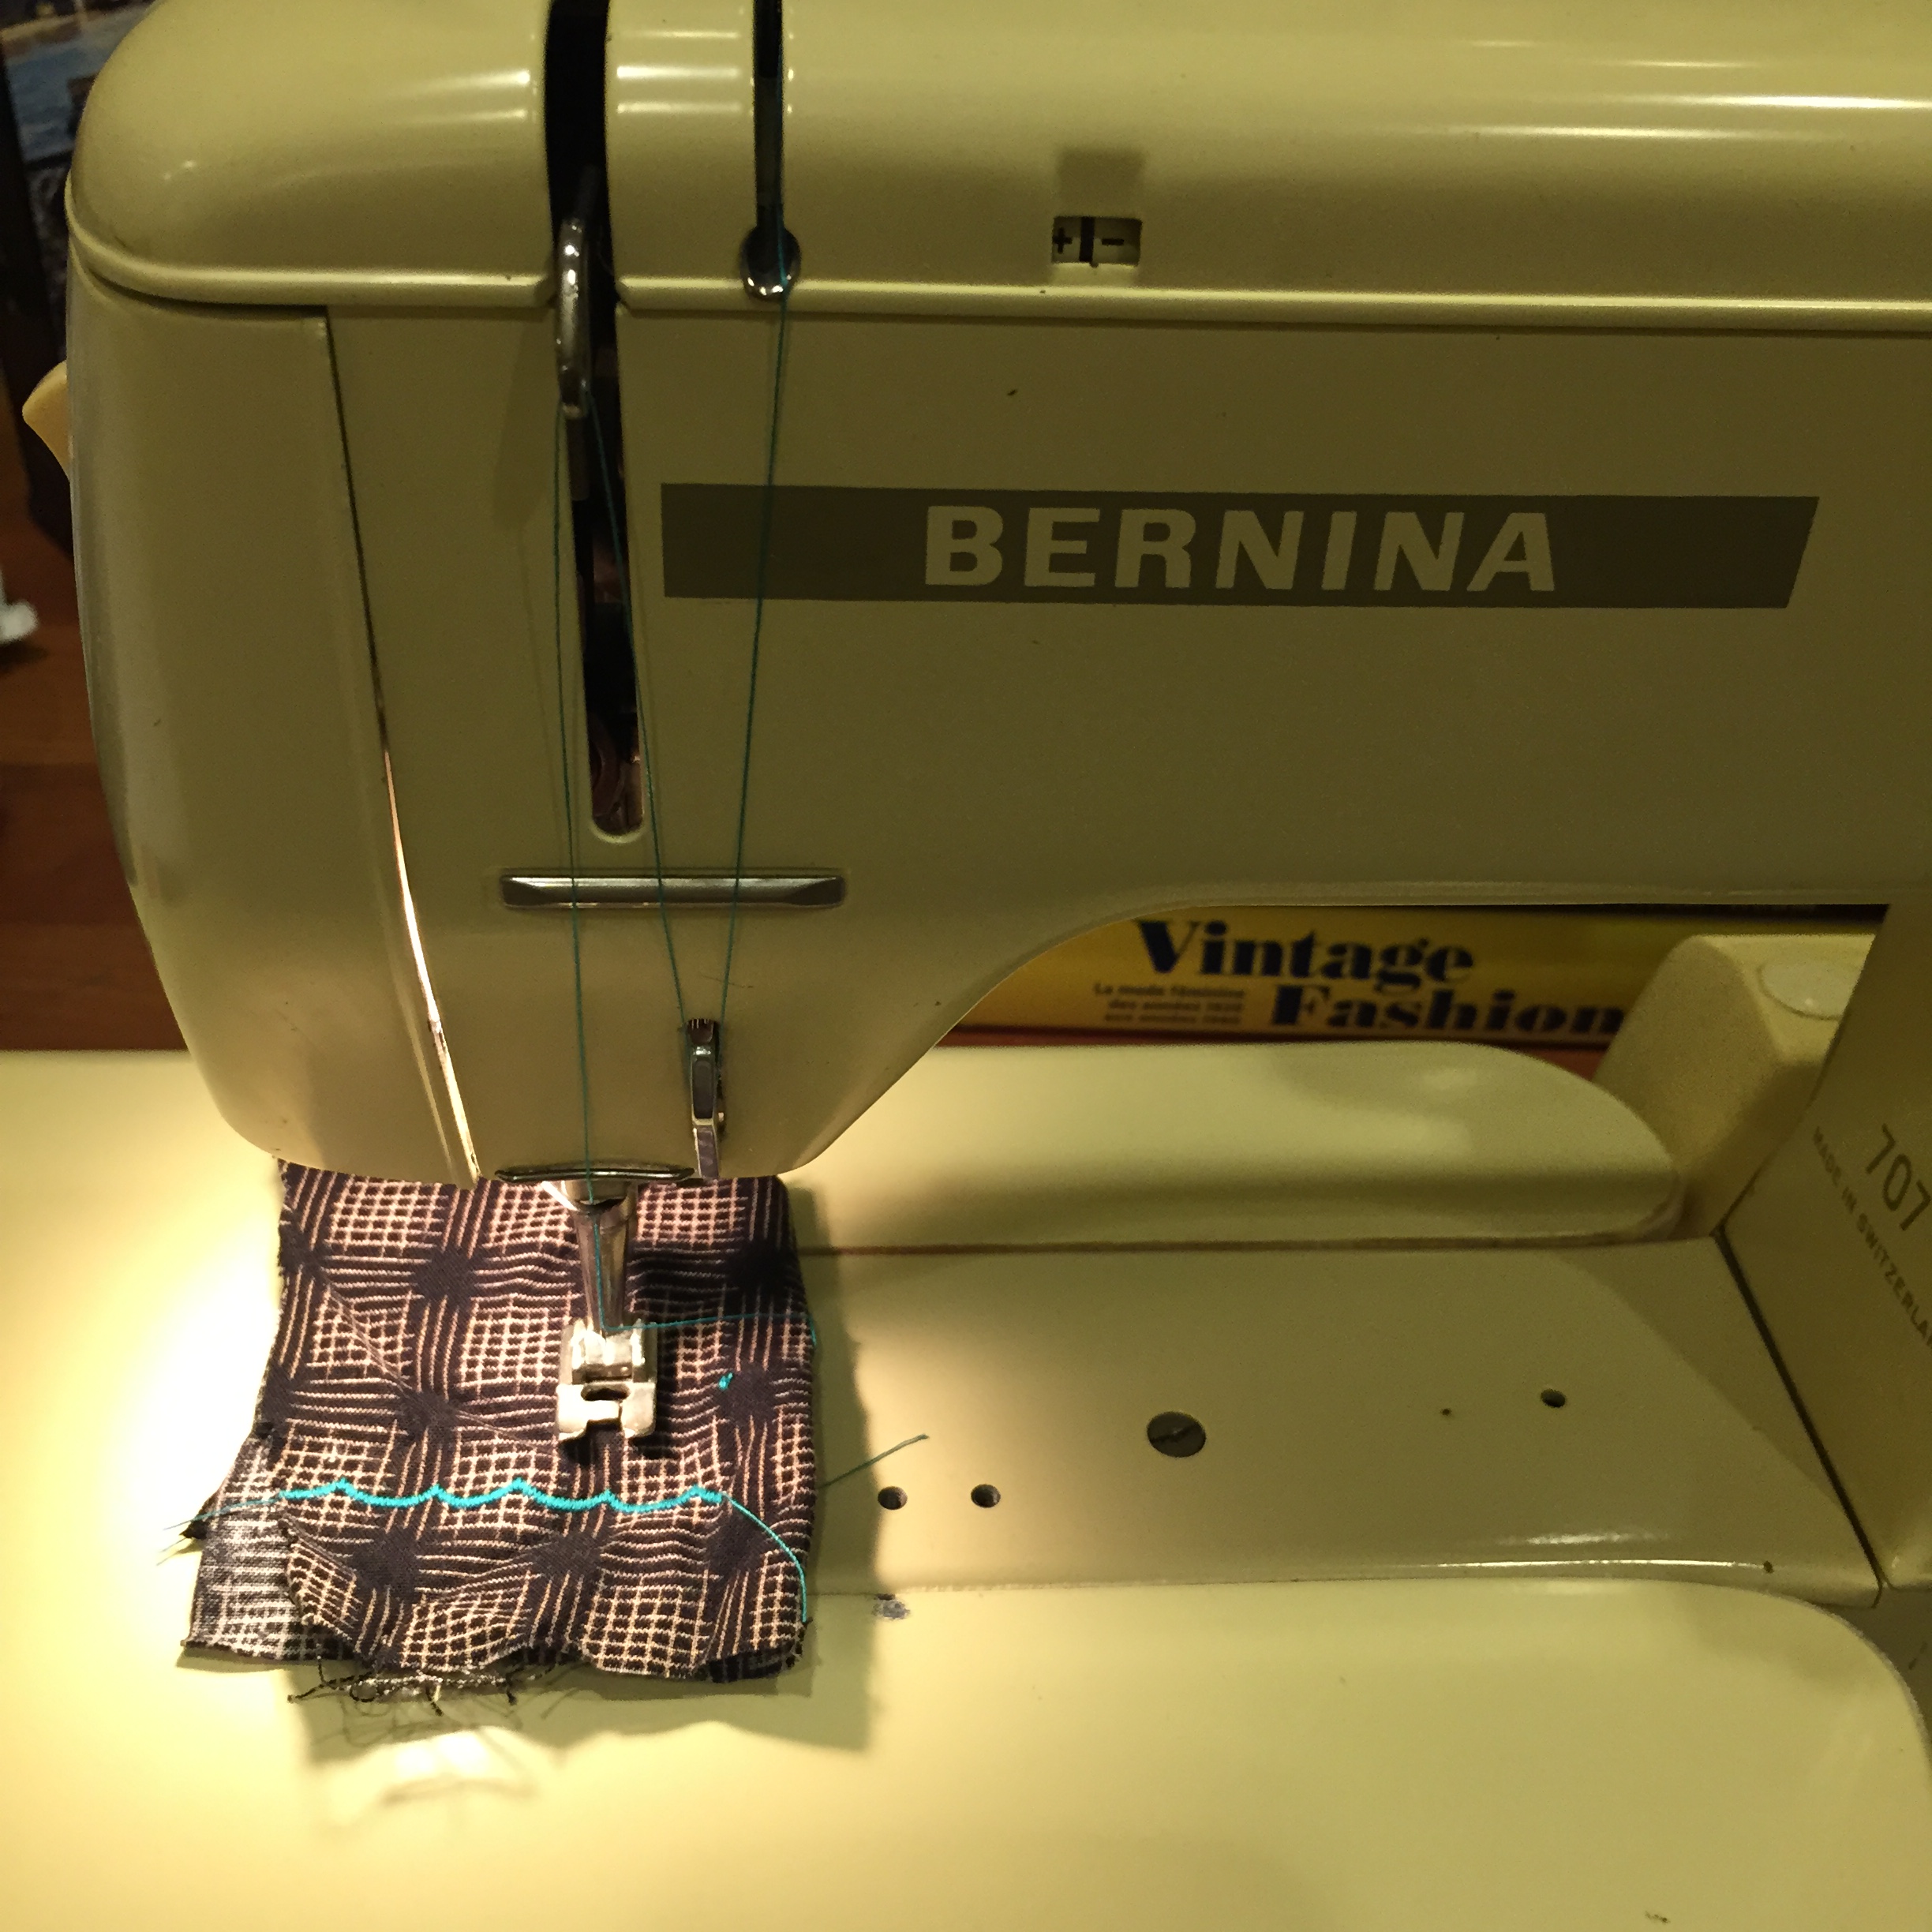
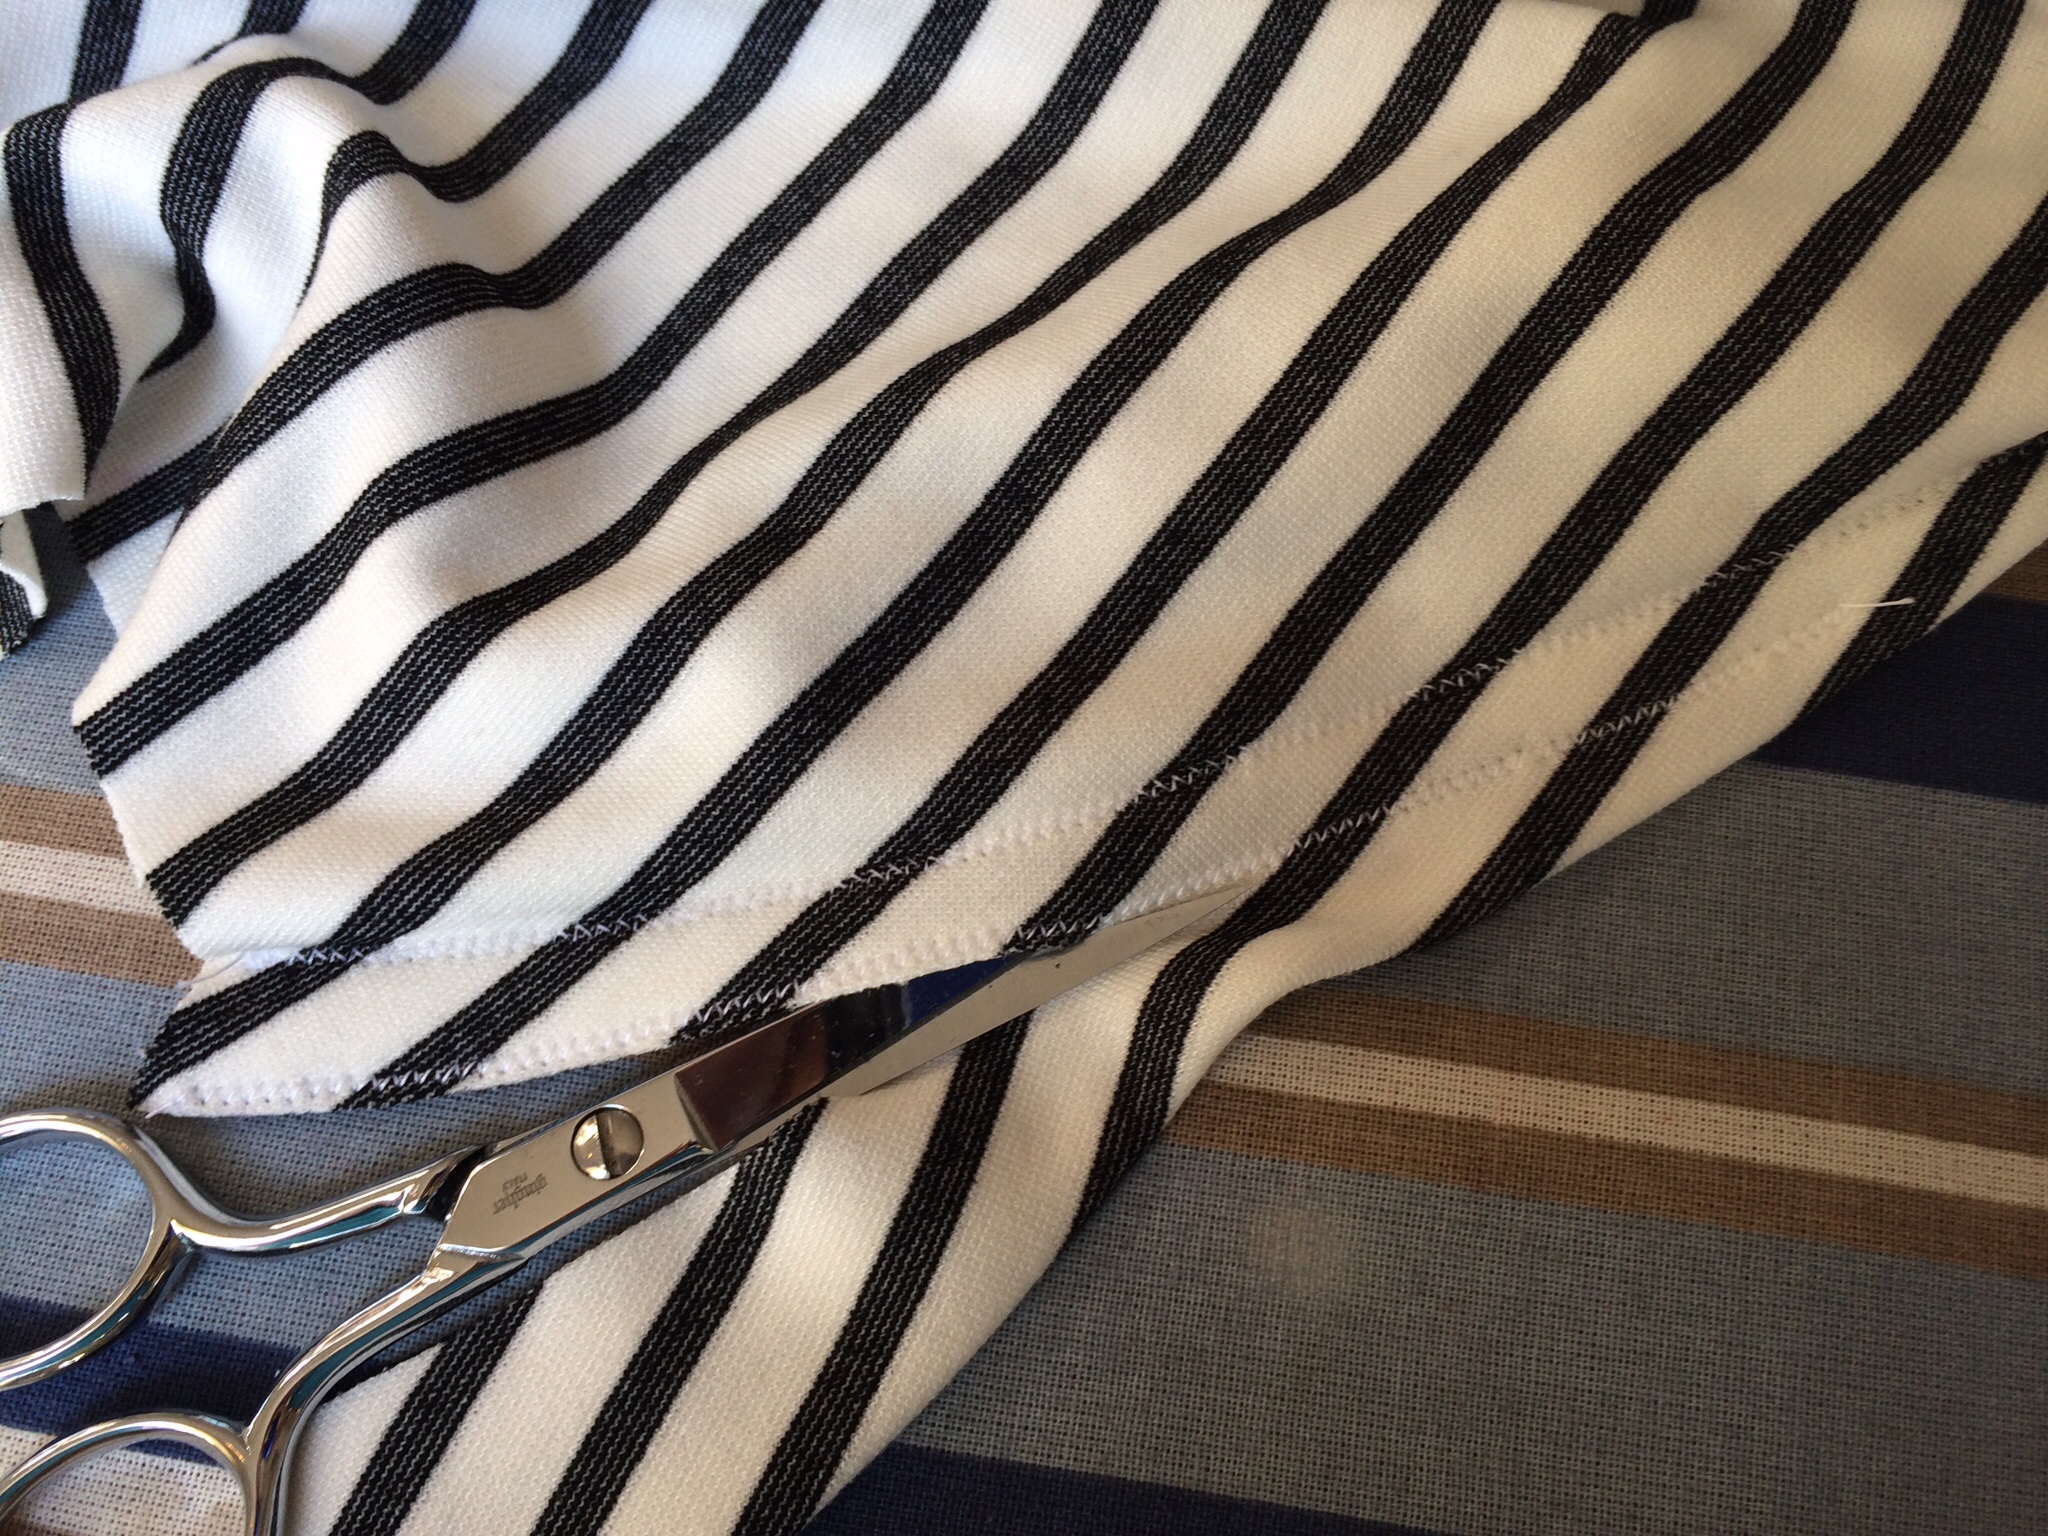
To finish the seams, I decided it was time to get out of the 50s and use the stretch stitch on my Bernette 20. It worked fine and didn’t pucker, so I made another row of the stitches 1/4 away and then trimmed the seam.

So I had enough fabric left over to make a bag, and this crazy pattern that Vogue released for about two seconds in the early 2000s.

Make your own Chanel 2.55, Hermes Kelly or Birkin? We’ll show you how! (I love the notes I get from sellers when I buy patterns on Ebay.)
I measured out the pattern pieces and saw that they were the exact dimensions of the Chanel 2.55’s I saw online. So did the Vogue pattern editor put a Chanel, Kelly and Birkin bag in her budget to draft the pattern? Somebody get legal on the phone!
I thought that it would be a lark to make a knock-off, and put on the chain and hardware and blog about it, and how hard would it be to make a bag, right?
So I headed down to Winmil Fabrics in Boston’s Chinatown to get the “fusible fleece” required, and ordered hardware on Ebay to look like the rectangular “Mademoiselle” toggle closure that was on the bags before Karl tarted them up in the 80s with the tacky double “C”s. I even got a grommet-setter so the chain could go through grommets.
 I was pumped!
There are all sorts of design legends surrounding this bag, which I read about in this blog: (history of the Chanel 2.55 bag); that the chain handle was inspired by the key chains carried by the nuns at the orphanage where Chanel lived as a child, that the garnet color of the lining was the same as her school uniform, that the zipper pocket was where she kept her love letters, that the interlaced “double C’s” of the logo were taken from a church window, and blah-dee-blah-dee-blah. For more on the Chanel mystique and why it’s creepy, check out my recent post: Chanel/Vionnet Smackdown! My only pattern modification was to bring the edges of the front flap down on either side to look more like a 2.55 bag.
An hour or two into cutting fabric, lining, fusible fleece, and an interlining of fusible hair canvas, I started thinking maybe this wouldn’t be so easy.
You’re supposed to fuse the fleece onto a 26″ x 26″ square of fabric, and then quilt it into diamond shapes, coming up with perfectly spaced 45 degree lines that cross. But they don’t tell you how to mark the lines. I couldn’t use tracing paper or chalk, because it would show. So I cut out the pieces, and used this quilter’s ruler and painter’s tape to mark the lines and then quilt them.


This was tedious, but I’d already cut the stuff out and fused it, so I wasn’t quitting. When it came time to quilt the sides, I decided to go in parallel lines in the style of the quilting on a Chanel jacket, because there was no way I was marking off any more diamonds.
As I quilted, I thought a lot about the people in off-shore factories who sew the same seam on a “fast fashion” hoodie or bag, day after day, twelve hours a day, for maybe $35 a month. A lot of them are scarcely older than my 12-year-old. Apparently factories that make black market bag knock-offs are even worse.
I got the fusing and quilting done, and stuck fusible hair canvas on the back of the fleece.

Then I realized that I had to match the stripes to put it all together. AAAyyyyyeeeeeiiiiii! First of all, the fusible fleece, which is one of the most disgusting and artificial things known to man, was completely gumming up my needle and making my machine skip stitches. And I wouldn’t be able to see the stripes to match them as I sewed anyway. And I was completely over the whole thing.
Reader…I resorted Steam-a-Seam. That’s right, I glued my Chanel bag together. I was turned on to Steam-a-Seam Lite 2 watching a craftsy.com class with Sandra Betzina, which had a lot of helpful hints about sewing on the bias that I’ll be using in my constantly upcoming Claire McCardell projects.
As I was watching her throw stuff together and thinking “she’s the laziest gal in town” I also thought, “I should get me some of that Steam-a-Seam.” It’s a fusible webbing that you can use to line up your seams, then glue them for good with a steam iron. It works well to secure bias hems without puckering, and in this case, those stripes matched up like a dream. I stitched through after that to reinforce the seams, stopping frequently to scrape the fusible crud off my needle as I went.

At that point, I started thinking, “this looks kind of good,” so I decided that rather than go full jokey knock-off, I would make the bag into something I wouldn’t be embarrassed to use. I lined it with quilting cotton, and rather than the Ebay hardware, put on a vintage label (with Steam-a-Seam).
The bag turned out pretty well, don’t you think? (Please note the matching stripes in this lousy picture taken by my crabby husband.)

I’m never doing THAT again.
I still can’t see spending $5,000 for a bag that’s made from jersey or canvas (or leather, for that matter), but you can make your own for about, oh, thirty bucks. I have some gold Tyvek in my stash…maybe a Birkin?
After I first posted this, I heard from fellow blogger Karin of “Karin’s Chamber” about her own “re-make” of the Chanel 2.55. Take a look; she did a great job and managed to figure out the design and pockets through internet research. (Karin’s Chanel 2.55 Bag)
And lastly, here’s a take on the whole Chanel international marketing juggernaut, from designer Jeremy Scott’s Autumn/Winter collection for Moschino:

Big Mac, anyone?