What is it about late summer that cranks up my obsession with blanket coats? Last year I whipped up two: the 50s “Blancoat” that made a groovy bathrobe, and a very hacked version of Vogue 8930, the oversized-collar coat with the naughty name.

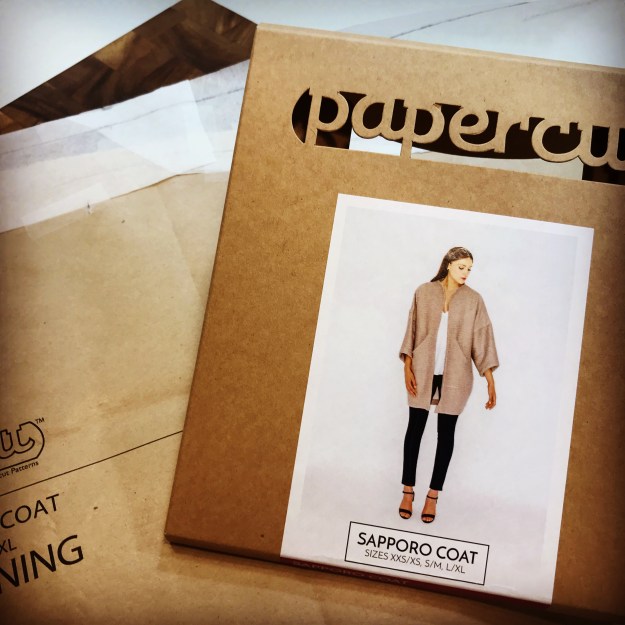
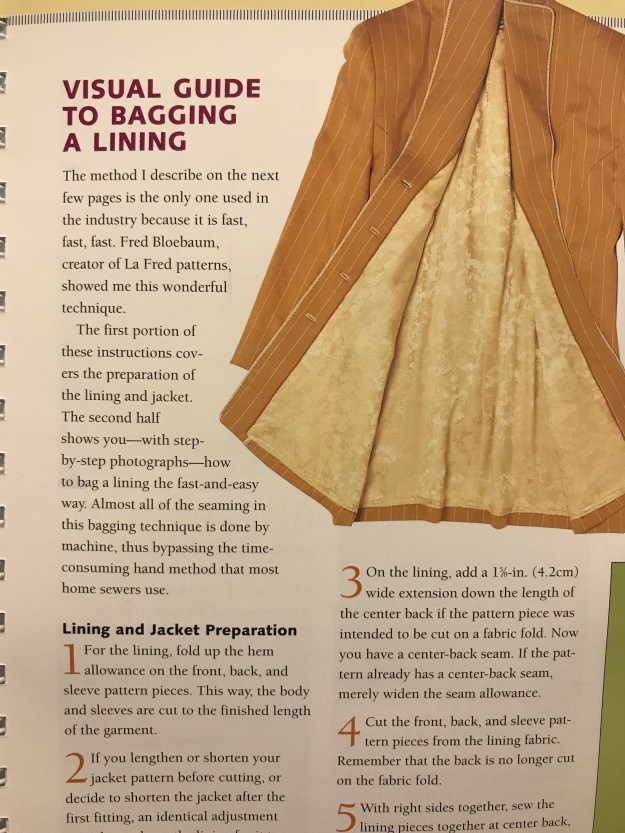
I usually don’t sew from modern patterns, but was intrigued by the new Sapporo Coat from Papercut Patterns, an indy company based in New Zealand known for their fashion-forward designs. The pattern has the air of “20s cocoon coat meets 50s balloon coat” that’s appealing.
The coat has sleek style lines and a relatively simple construction, allowing sewing newbies to make a lined coat without a lot of hassle. Searching online and on Instagram, I saw a number of people happily modeling their warm, cozy coats made from the pattern.
I decided to go for a more couture-ish version that would give the feeling of the light, luxurious Italian coats I see in the windows of Loro Piana and Max Mara on Boston’s tony Newbury Street. You know, an “investment piece” that softly whispers “I had $5,000 lying around, so I thought I’d spend it on this jacket.”
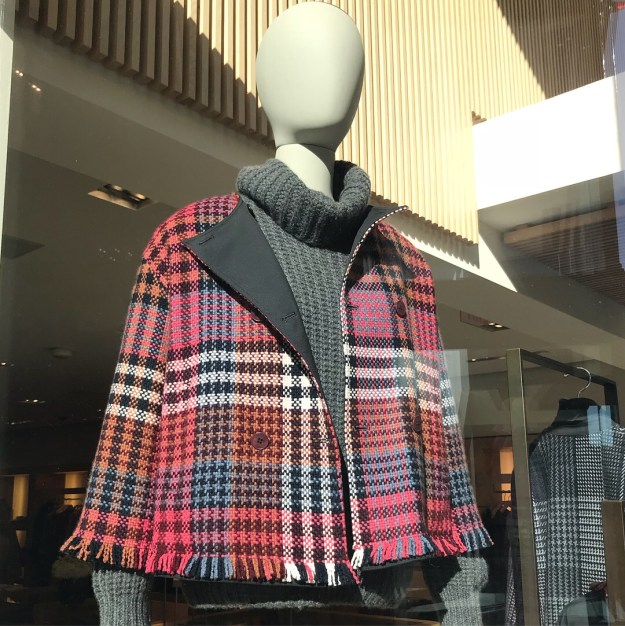
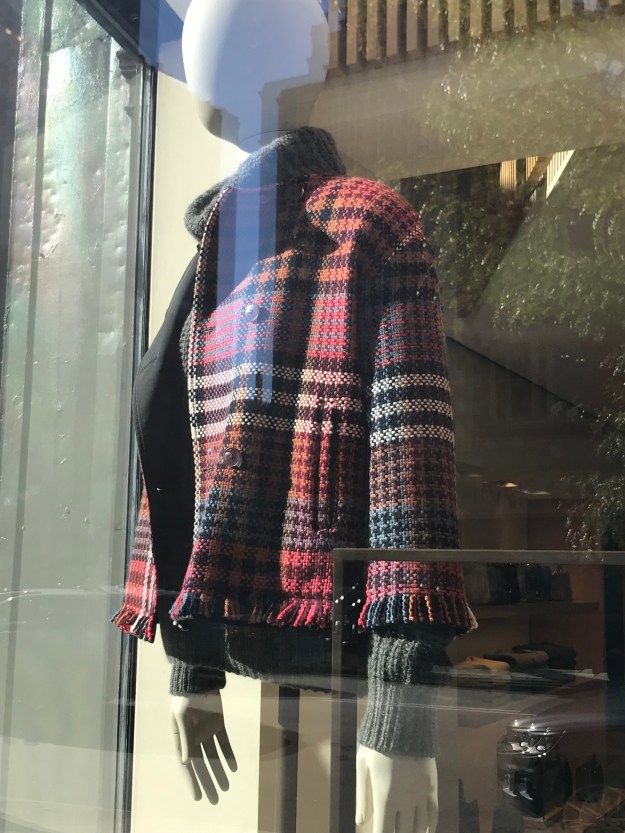
(That’s one I’ve been lusting after at Loro Piana. Unfortunately, Santa doesn’t shop there.)
I started ogling some wool/cashmere fabric on the Emma One Sock website, but was on the fence and left it in my cart. Then the next morning I saw that Carolyn from the blog Diary of a Sewing Fanatic was offering a discount code to EOS that week, as part of national sewing month! Sold!
I read through the instructions and decided to make a couple of modifications. I don’t like to have wool next to my neck or wrists, so I redrafted the lining to come all the way to the neckline and wrist opening. And I sized down from my usual retail size L/XL to the Small/Medium size of the pattern, as it’s really oversized.
Let’s get on that floor and cut!
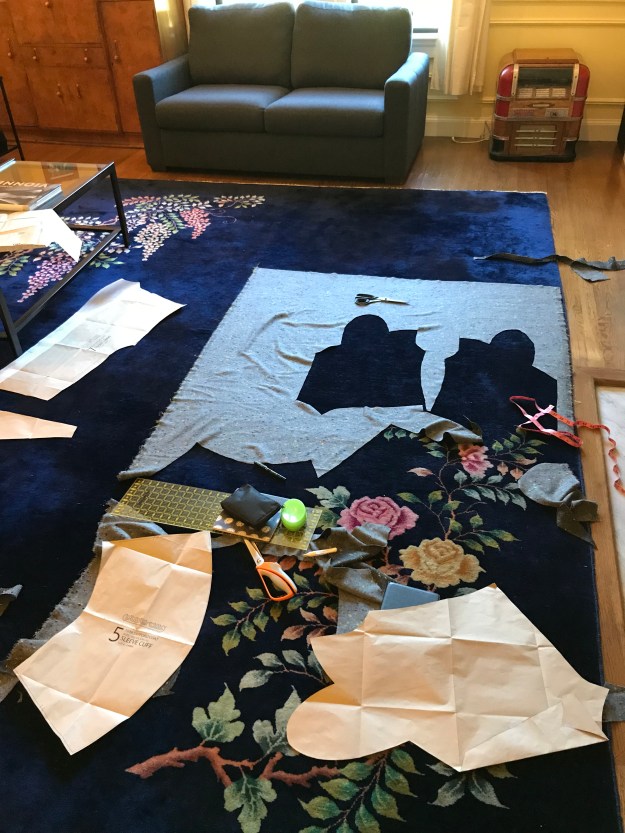
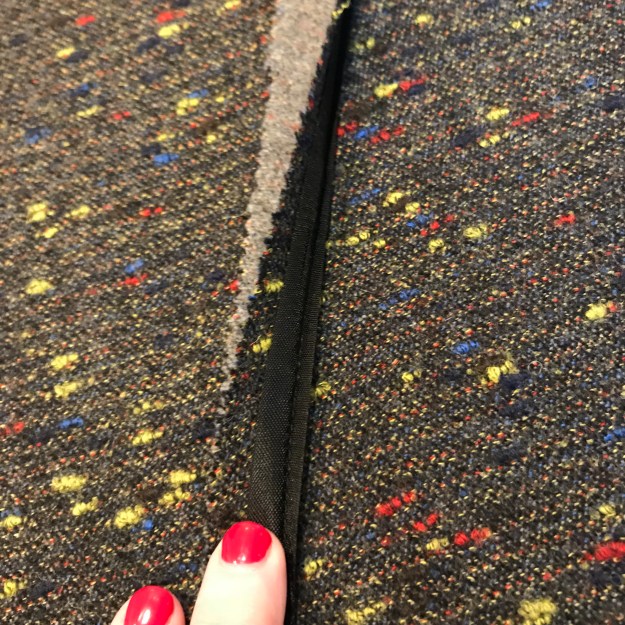
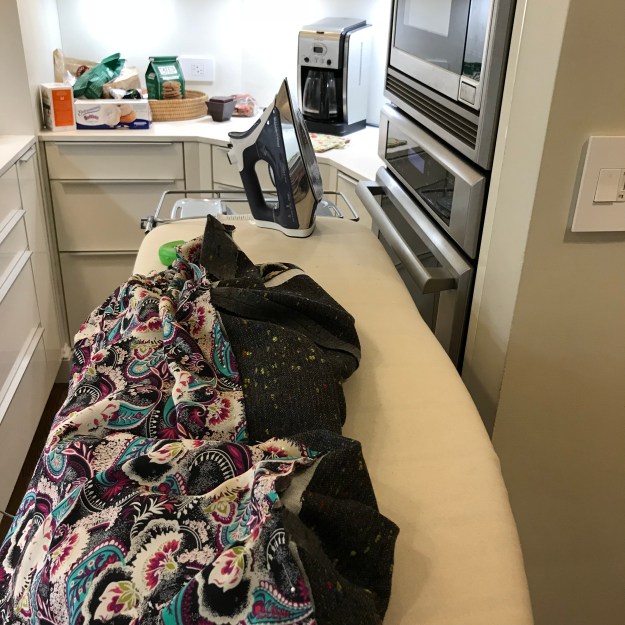
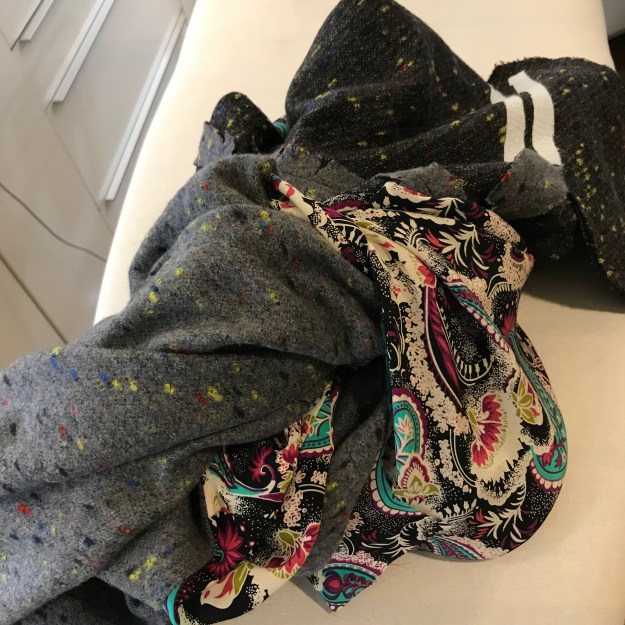
Constructing the exterior of the coat was not that difficult, though with this soft, malleable fabric, I was a little concerned that the neckline and pockets would get stretched out. So rather than attaching the fusible interfacing to the facing, as called for in the instructions, I fused Pellon Ultra Weft directly onto the exterior “fashion” fabric as soon as I cut it. The Ultra Weft gives lofty fabric some soft support that’s not noticeable from the outside.
A little funky-looking, but I knew the lining would hide it.
This is where the “steamy” part of the post comes in. With a coat like this you need to press press press!! As Kenneth King told me in my interview with him, “good pressing can save bad sewing.” I wasn’t planning on sewing badly, but knew that pressing diligently really would make or break this design.
So I got out my arsenal.
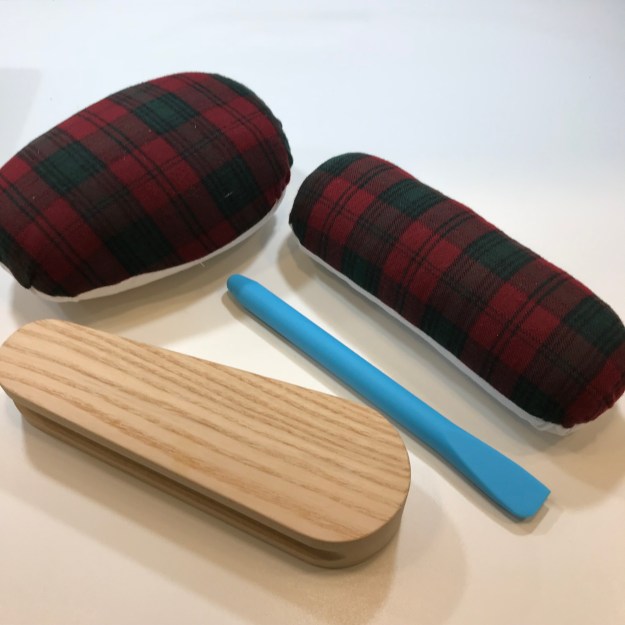
Ham, seam roll, clapper, and mysterious obscene-looking blue thing. (You put the squared-off edge of the blue thing in a corner that you’ve turned and press over it to get a sharp angle.)
I gave every seam a “sandwich press,” where you press it just the way it’s come out of the machine, then clipped the seams and pressed them open (over the ham or seam roll). For those seams that needed to be turned out, I clipped, turned, and pressed pressed pressed again. I gave them lots of steam and then jammed the clapper on them until they cooled off nice and flat.
Honestly, I spent as much time pressing as I did pinning and sewing, so it took longer than I expected.
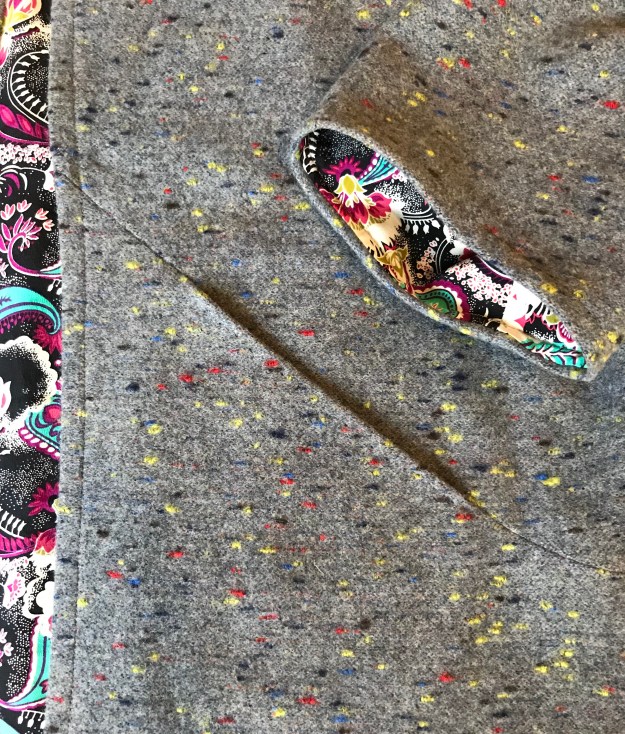
The pocket design is very clever, as the pocket bag is included in an elegant bias seam with shaping at the end. I was a little worried about the bias pocket edges stretching out with this soft fabric though, so I reinforced the tops and bottoms of the openings with more Ultra Weft.
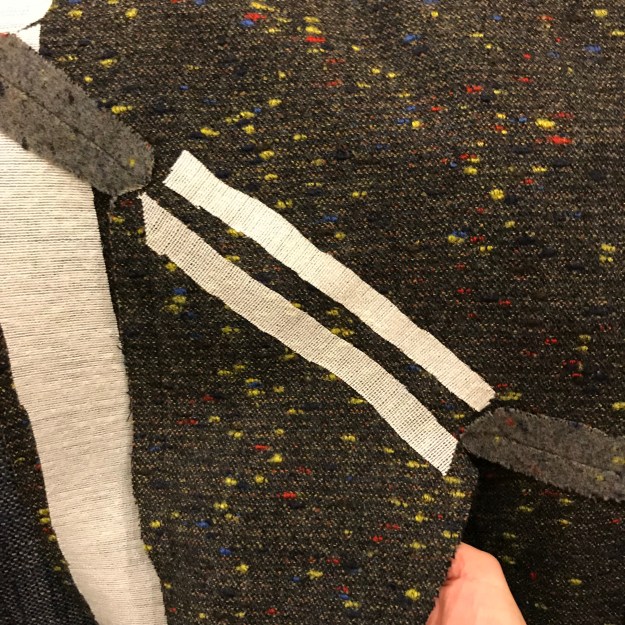
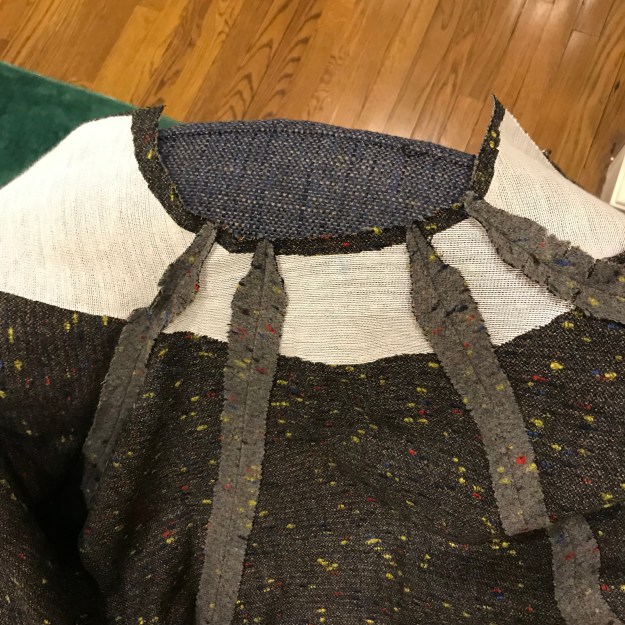
The back piece of the coat also has bias seams where the wing-like shoulder panels are attached. To reinforce those seams, I took a tip from the 50s bias-cut garments in my collection, and sewed Hug Snug seam tape over the seamlines.
At that point, I really didn’t feel like catch-stitching all of those seam allowances down, which is the haute couture way of keeping them from curling up under the lining. So I totally cheated and used Lite Steam-a-Seam 2, a fusible mesh, to glue them down. It worked well, but would I get busted by the couture police?
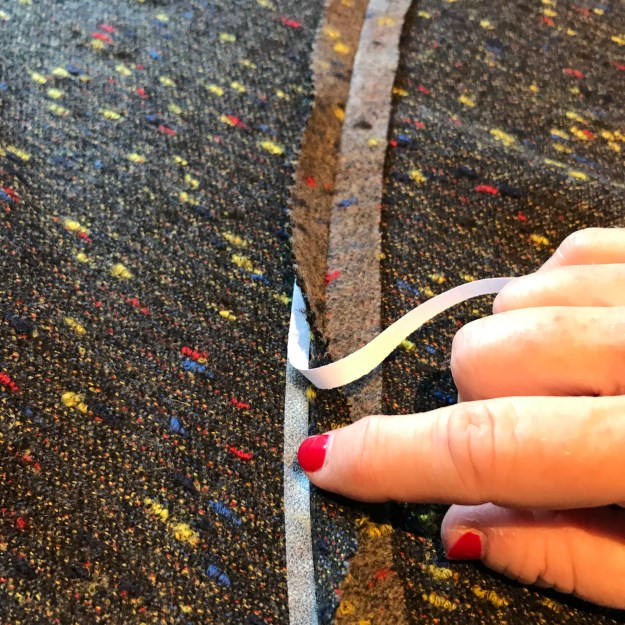
When I confessed my wanton ways on Instagram, a comment popped up from Kenneth King himself, saying, “if it’s in the lining, it doesn’t exist.” Phew, dodged that bullet!
The outside’s done and looking good! Now I just have to cut the lining! Urrrrgggggg.
I wanted to use silk crepe de chine, as a wool/silk combo is light and toasty. I ran off to “Sewfisticated” outside of town, a discount roll-end place that’s like Forrest Gump’s box of chocolates – you never know what you’re going to get. But whatever it is, it’s cheap!
I found some pretty fabric on the silk table for $9/yard. Would it pass the burn test? If you burn a scrap of mystery fabric, you can usually figure out what it’s made of. And it’s an easy way to burn down the house!
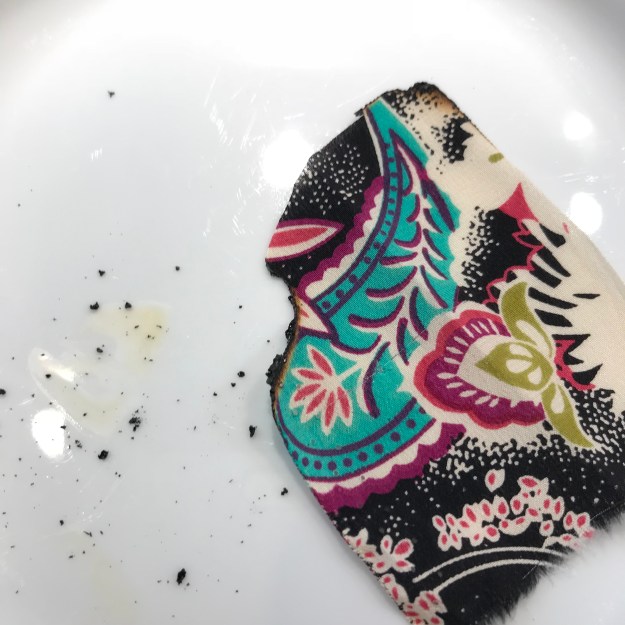
It’s silk! Let’s get back on the floor and cut, Julie! Because cutting and sewing silk is so much fun!
Or maybe it’s time for new hobby. Modern cross-stitch perhaps?
I got all of the supplies and a couple of books:
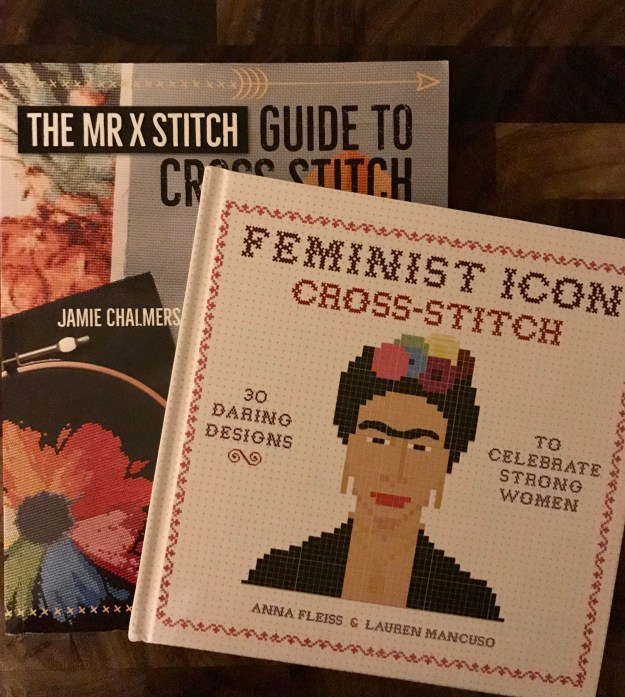
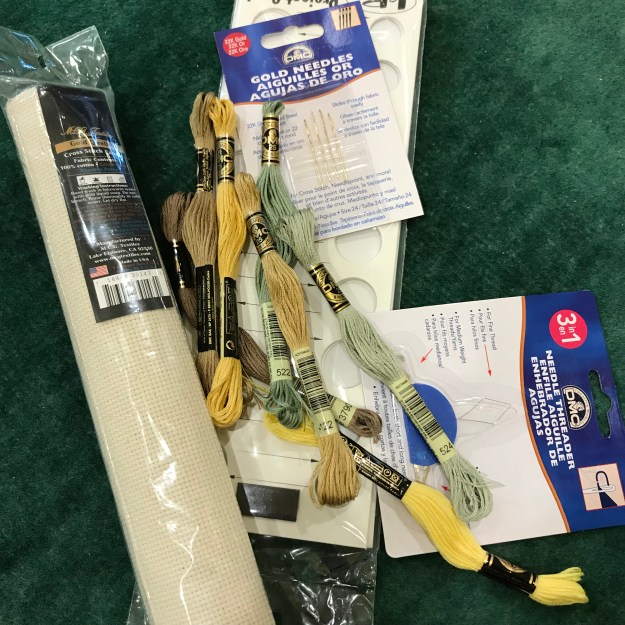
I cross-stitched the Mona Lisa’s cleavage!

Okay, that’s boring. Where’s that silk?
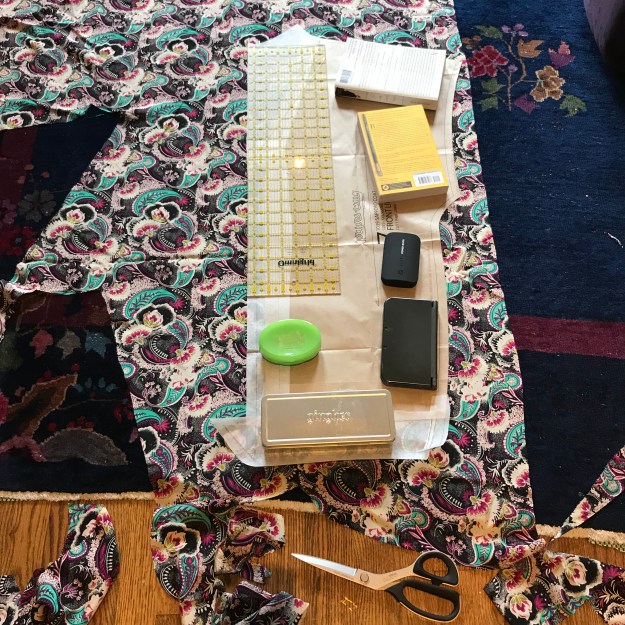
(You can tell by the Nintendo pattern weight that I’m back in my son’s room.)
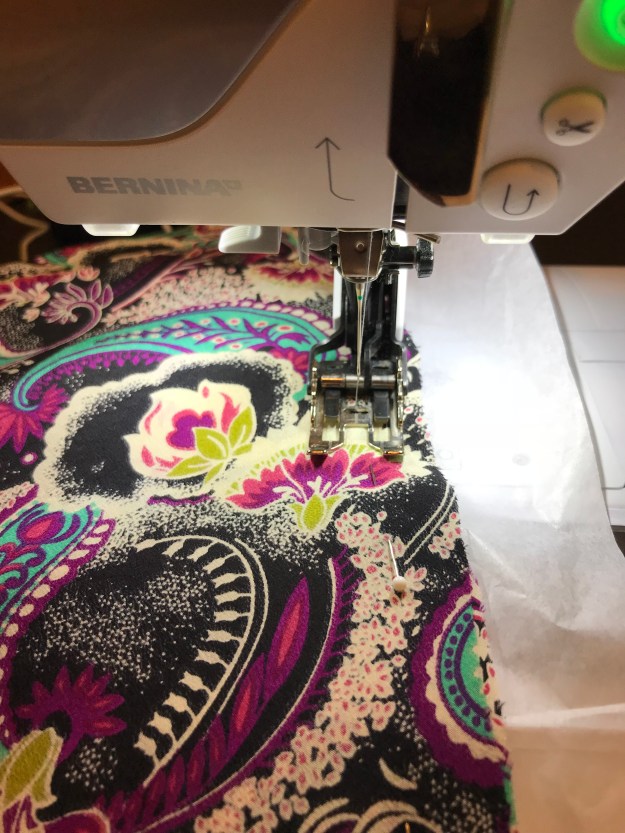
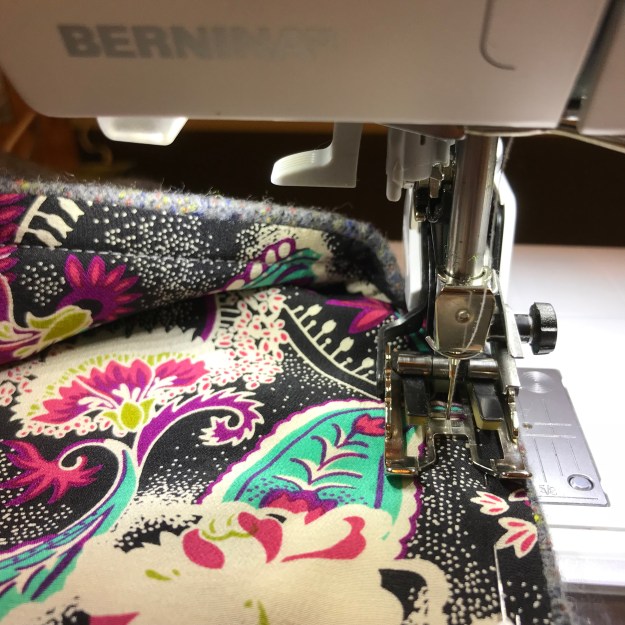
By now, Karl was back from the sewing machine spa – lubed, rested, and ready. I pinned the silk to tissue paper and we got busy. The tissue paper really helps keep the seams smooth with slippery silk. (Then you just rip it off when you’re done.)
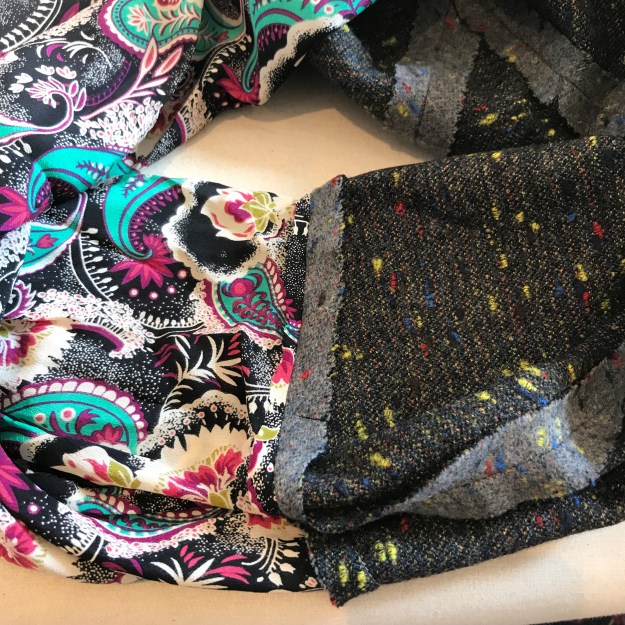
The pattern instructions call for the sleeve of the coat (called the “cuff” in the pattern) to be lined with the same fabric as the exterior, then attached directly to the body of the coat. But that would have given me a seam at the upper arm with three layer of wool sewn together, and I was worried that that would be too bulky. If you decide to make this coat, dear reader, I recommend buying extra lining fabric and using it to cut the sleeve cuff lining, so the seam won’t be as thick.
In my case, I made the lining completely separately from the coat, and decided to bag the whole thing. (“Bagging a lining” is an industrial sewing method that allows you to sew in a lining with only a tiny bit of handsewing, but it’s very confusing to pull off.)
I consulted the oracle, Sandra Betzina:
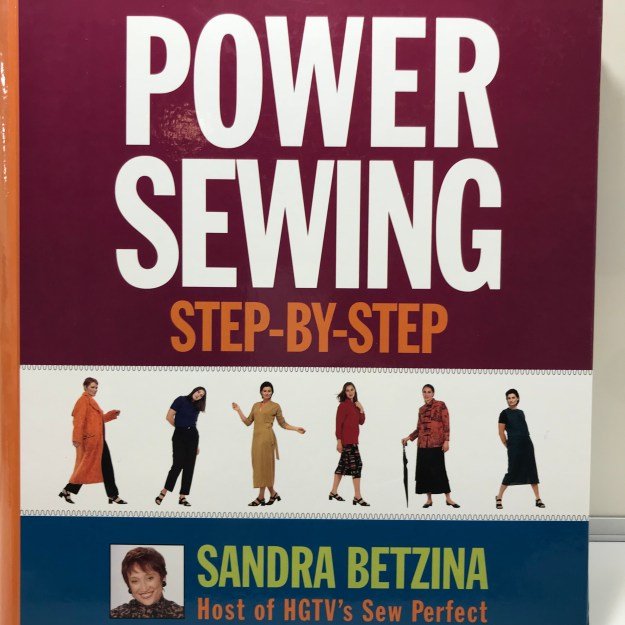
I love this tutorial, as it’s by far the most lucid explanation I’ve seen of a very tricky maneuver. This is a great book to have in your arsenal, because it addresses a number of advanced sewing techniques.
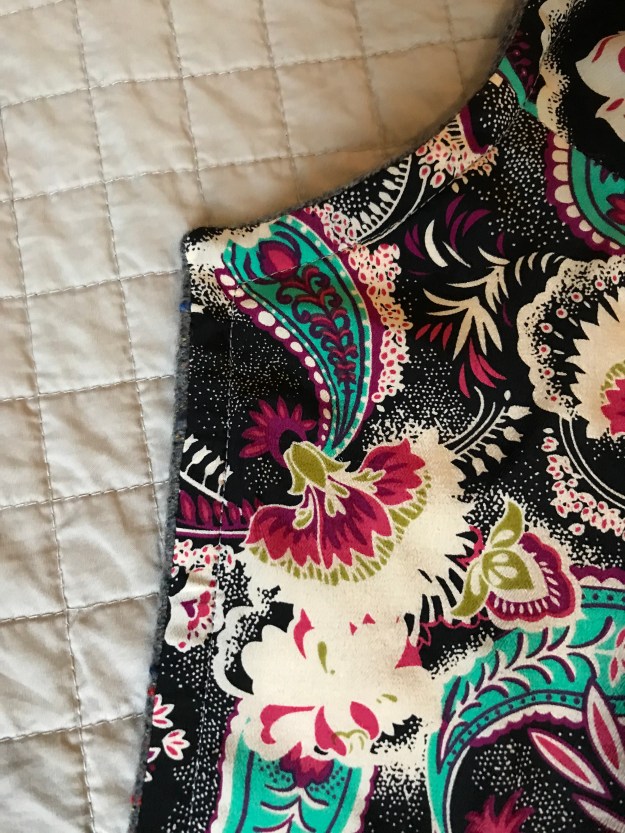
I started to attach the lining, stopping after each step for more obsessive pressing. I rolled the fashion fabric under a tiny bit, pressed pressed pressed, and top-stitched it down.
The mysterious blue pressing tool really helped on the corners!
Now the tricky part: attaching the sleeve linings by pulling them through the open hem at the bottom of the coat. I heeded Sandra B. and lined them up like “two elephants matching their trunks.”
Then I went in the kitchen and made a burrito.
(Okay, it’s the “Burrito Method” where you wrap everything inside and sew the hem by machine.)
Then I turned it right side out and – remain calm!! Burrito giving birth in the kitchen!!
(That was messy.)
More pressing, then a little pick-stitching along the pocket edges, through the Ultra Weft, to give them more even stability. See, all of that pressing paid off!
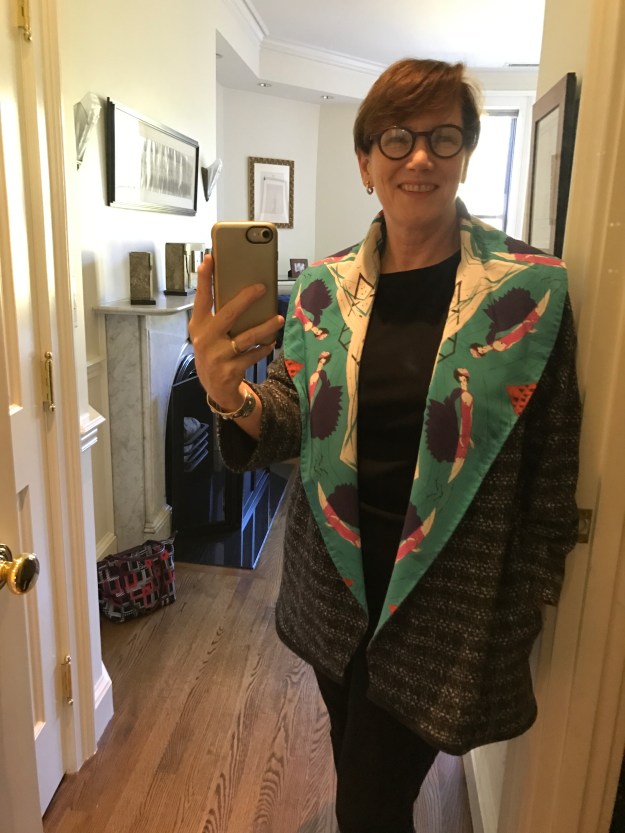
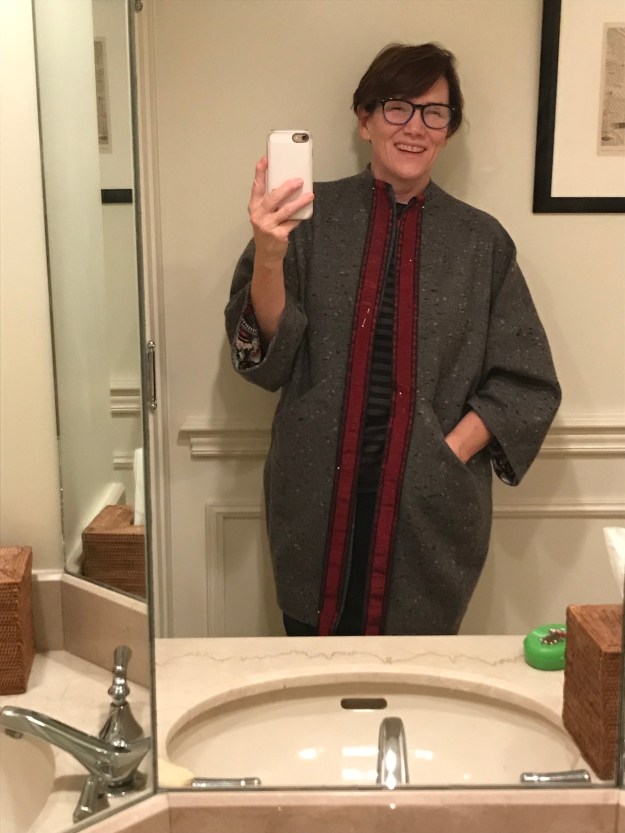
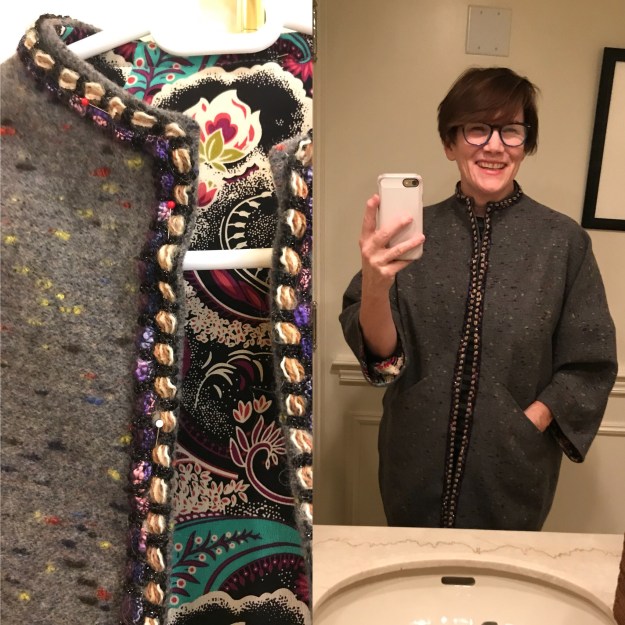
I was excited to try it on! But then, hmmmm, I was on the fence about the oversized look, to be honest. You know how you make something, and it doesn’t match your mind’s eye?
That meant it was time for Saturday night bathroom selfies/Instagram confessions. Does this coat make me look like a big gray seed pod? Would it be better with some vintage French ribbon to draw the eye vertically? Or is that just too “Art Teacher Chic?”
Via Instagram, the general consensus among worldwide sewing peeps was: don’t do it.
Then I rooted through my stash and pulled out five yards of haute couture Chanel-ish trim from Paris. pinned it on, and went back to the bathroom IG confessional.
There were a few “maybes,” but mostly a chorus of: “nope.”
Even choreographer Martha Graham, high priestess of spare modernism, got in the act:
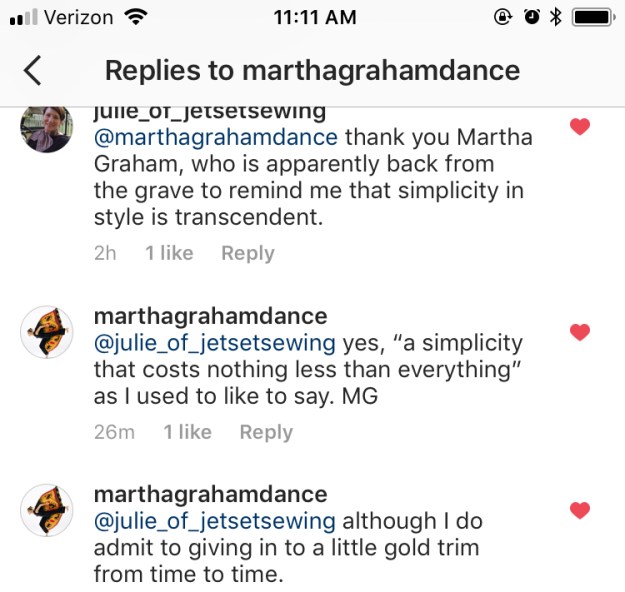
(Or maybe it was my sister channeling and quoting Martha – I think she was running the Martha Graham Dance IG feed that night…)
I went to bed still ruminating about whether “to trim or not to trim.”
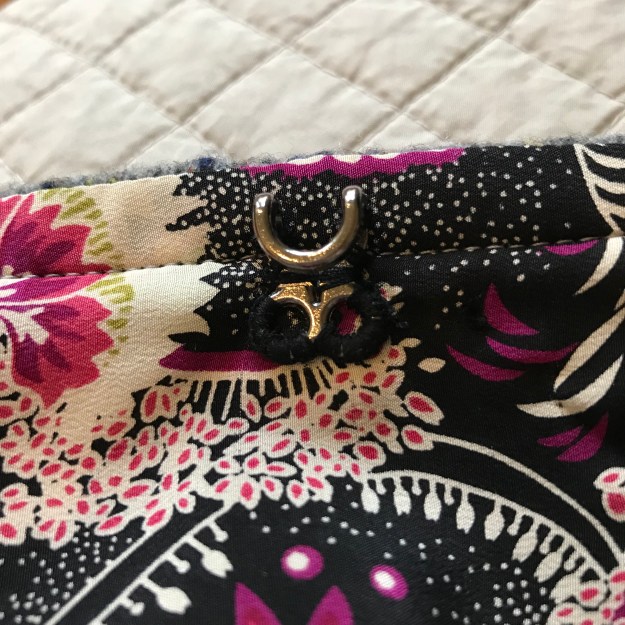
The next morning, I sewed on one of the large hooks and eyes I’d found in New York at Pacific Trimming:
I dug an Art Deco pin out of my collection that I hadn’t worn in about 15 years (as recommended by my IG peeps, who were telling me that the coat needed a broach rather than trim). I tried it on again, and decided I was done.

Nice! It’s a lovely design.
Now, having recovered from seed pod anxiety and my steamy pressing hot flash, I’m really going to enjoy wearing it!
