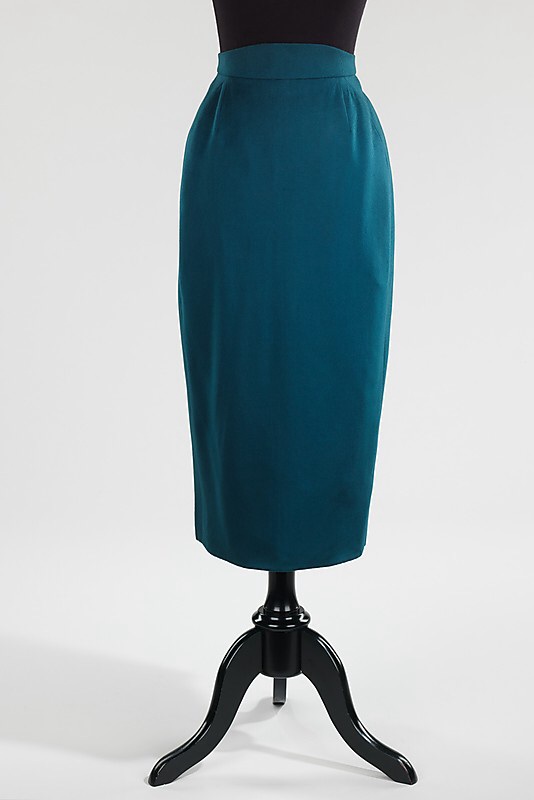
So I started making a version of this:
Charles James “Dorothy” Skirt in the Metropolitan Museum
from this 1950s mail-order sewing pattern:
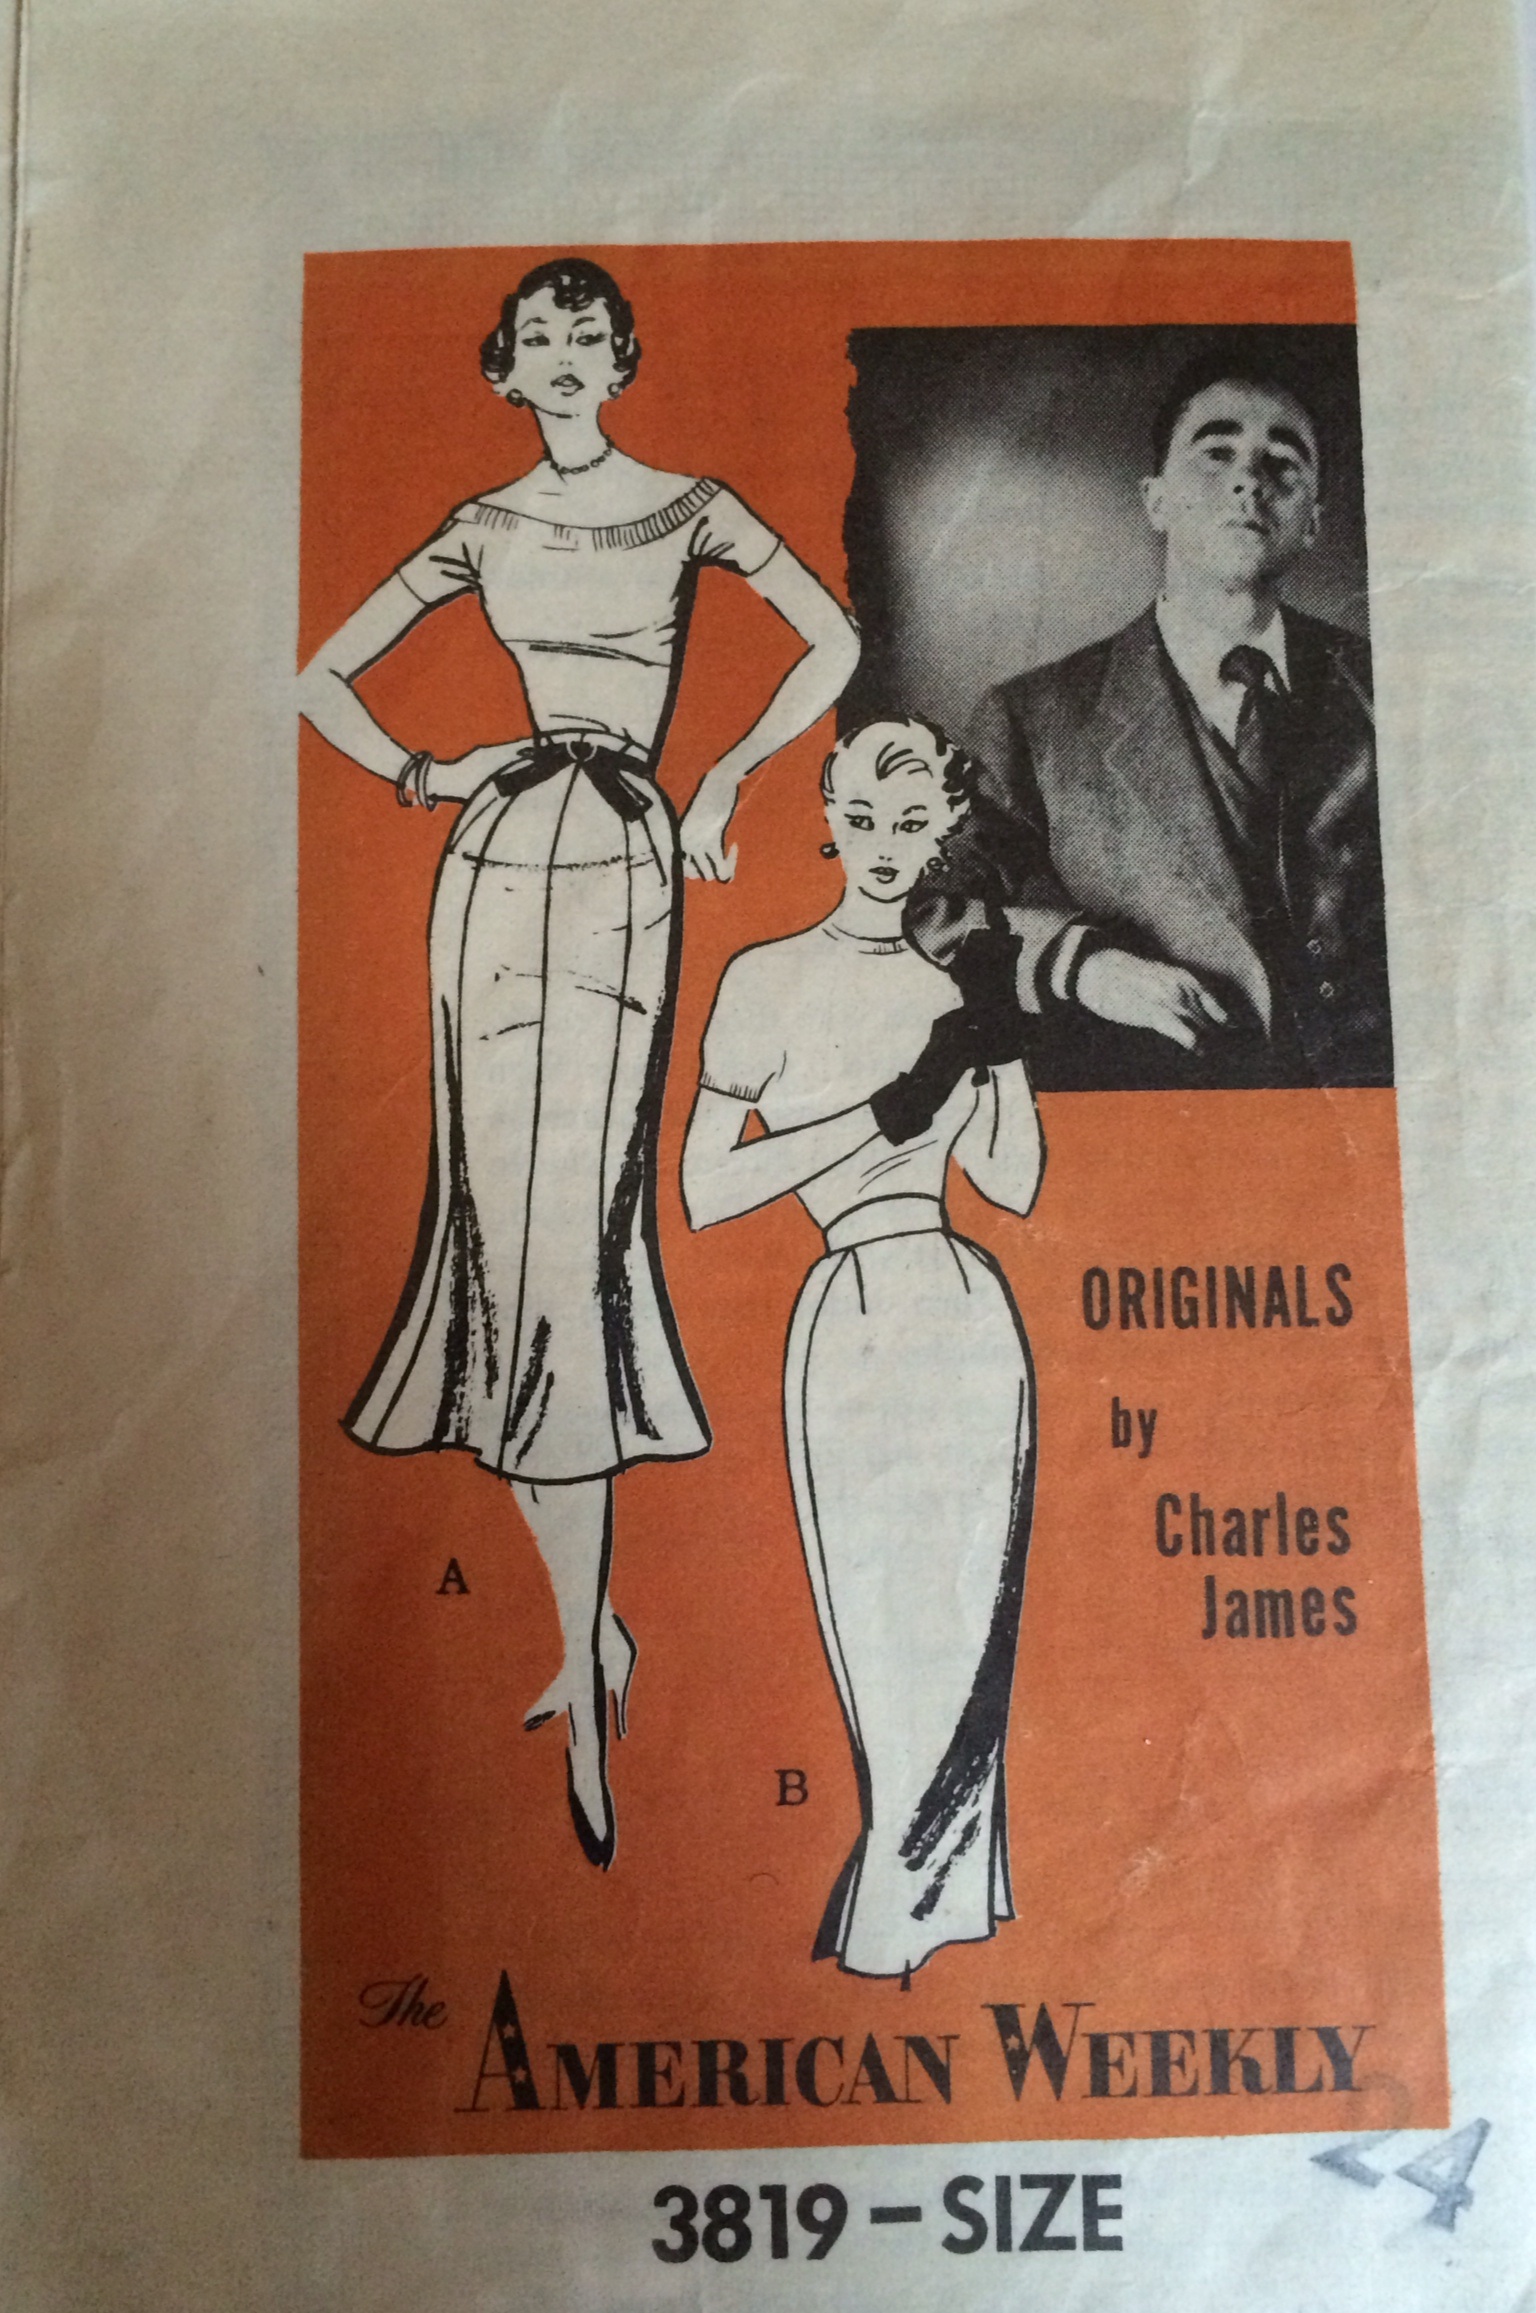
I just read an article in this month’s U.S. Vogue (May 2014) by Hamish Bowles, talking about the life and work of Charles James, and my guess is that this skirt pattern (and another Charles James dress pattern) were released during a time in the 50s when James was married to heiress Nancy Lee Gregory (the former wife of one of James’ lovers, oh by the way…) who was trying to help him expand his business. But artists are rarely good at business or marriage, and both were pretty much over by the early 60s. (As usual, I felt a jealous frisson at the quality of Hamish Bowles’ writing in the article.)
Here’s a video of Hamish Bowles visiting two iconic Charles James dresses in James’ birthplace of Chicago. Having seen some of Charles James’ erotic drawings, Bowles posits that many of his creations may have been inspired by a certain appendage of the male anatomy: (Video about Charles James)
And here’s an article from the New York Times about the Met’s reconstruction of the “Four Leaf Clover” dress, which will demonstrates the architectural elements of James’ designs: (Charles James New York Times Article)
Since I’d like to have the skirt done by the time I leave on Tuesday for the Charles James exhibit in New York, I’d better do less blabbing and more sewing. So here’s the progress so far:
As with all of the vintage unprinted patterns I use, when I first take them out of the package, I need to label them:

That’s when I discovered that two of the pattern pieces were missing. AAAyyyiiiii!
Curse you, lazy 50s housewife, who made this skirt and then neglected to put back all of the pieces! So what if you had four kids and were probably in the midst of a pre-feminist Betty Draper psychotic episode, it’s Charles James for pity sake!
So after that little meltdown, I realized that it wouldn’t be too hard to re-create the pattern pieces for the back of the waistband and lining for the pleats.
I traced the pattern onto craft paper and put the original away to preserve it. Then I compared the pattern to my recently completed fitting shell pattern. Since the Charles James pattern was cut for a 24″ waist, I knew I would have to size it up considerably to fit me.

The brown is the Charles James skirt pattern and the white is my fitting shell pattern. At this point, I could tell that the front piece (on the right) was far smaller than my fitting shell, while the back piece (left) was close to the same size. So the skirt was designed for the back piece to wrap around the side to meet the front piece in the front. Also, there’s a complex triangular part at the top that extends even further toward the front.
I decided that trying to size up the pattern in the flat pattern state was foolish, and that I should just make the thing up as is, then see what I could do to make it bigger.
I cut the muslin pieces for the test version of the pattern out of two different color fabrics, to better show you the design of the skirt in photos (and I’d like to thank you readers for inspiring me to move forward on the boring parts of projects like this).

This is why it’s worth doing a muslin. You’re looking at the top of the skirt’s side seam, where ordinarily on a pencil skirt the two seams would match, and you would just sew them together on a curve. But on this pattern, the triangular part on the back (in black) wraps forward to meet the front (in white), and the pieces curve away from each other in the opposite direction. When I started to pin them, it reminded me of setting in a sleeve, so I added some basting and gathered the back piece to curve it around.
Here’s how it looked pinned:
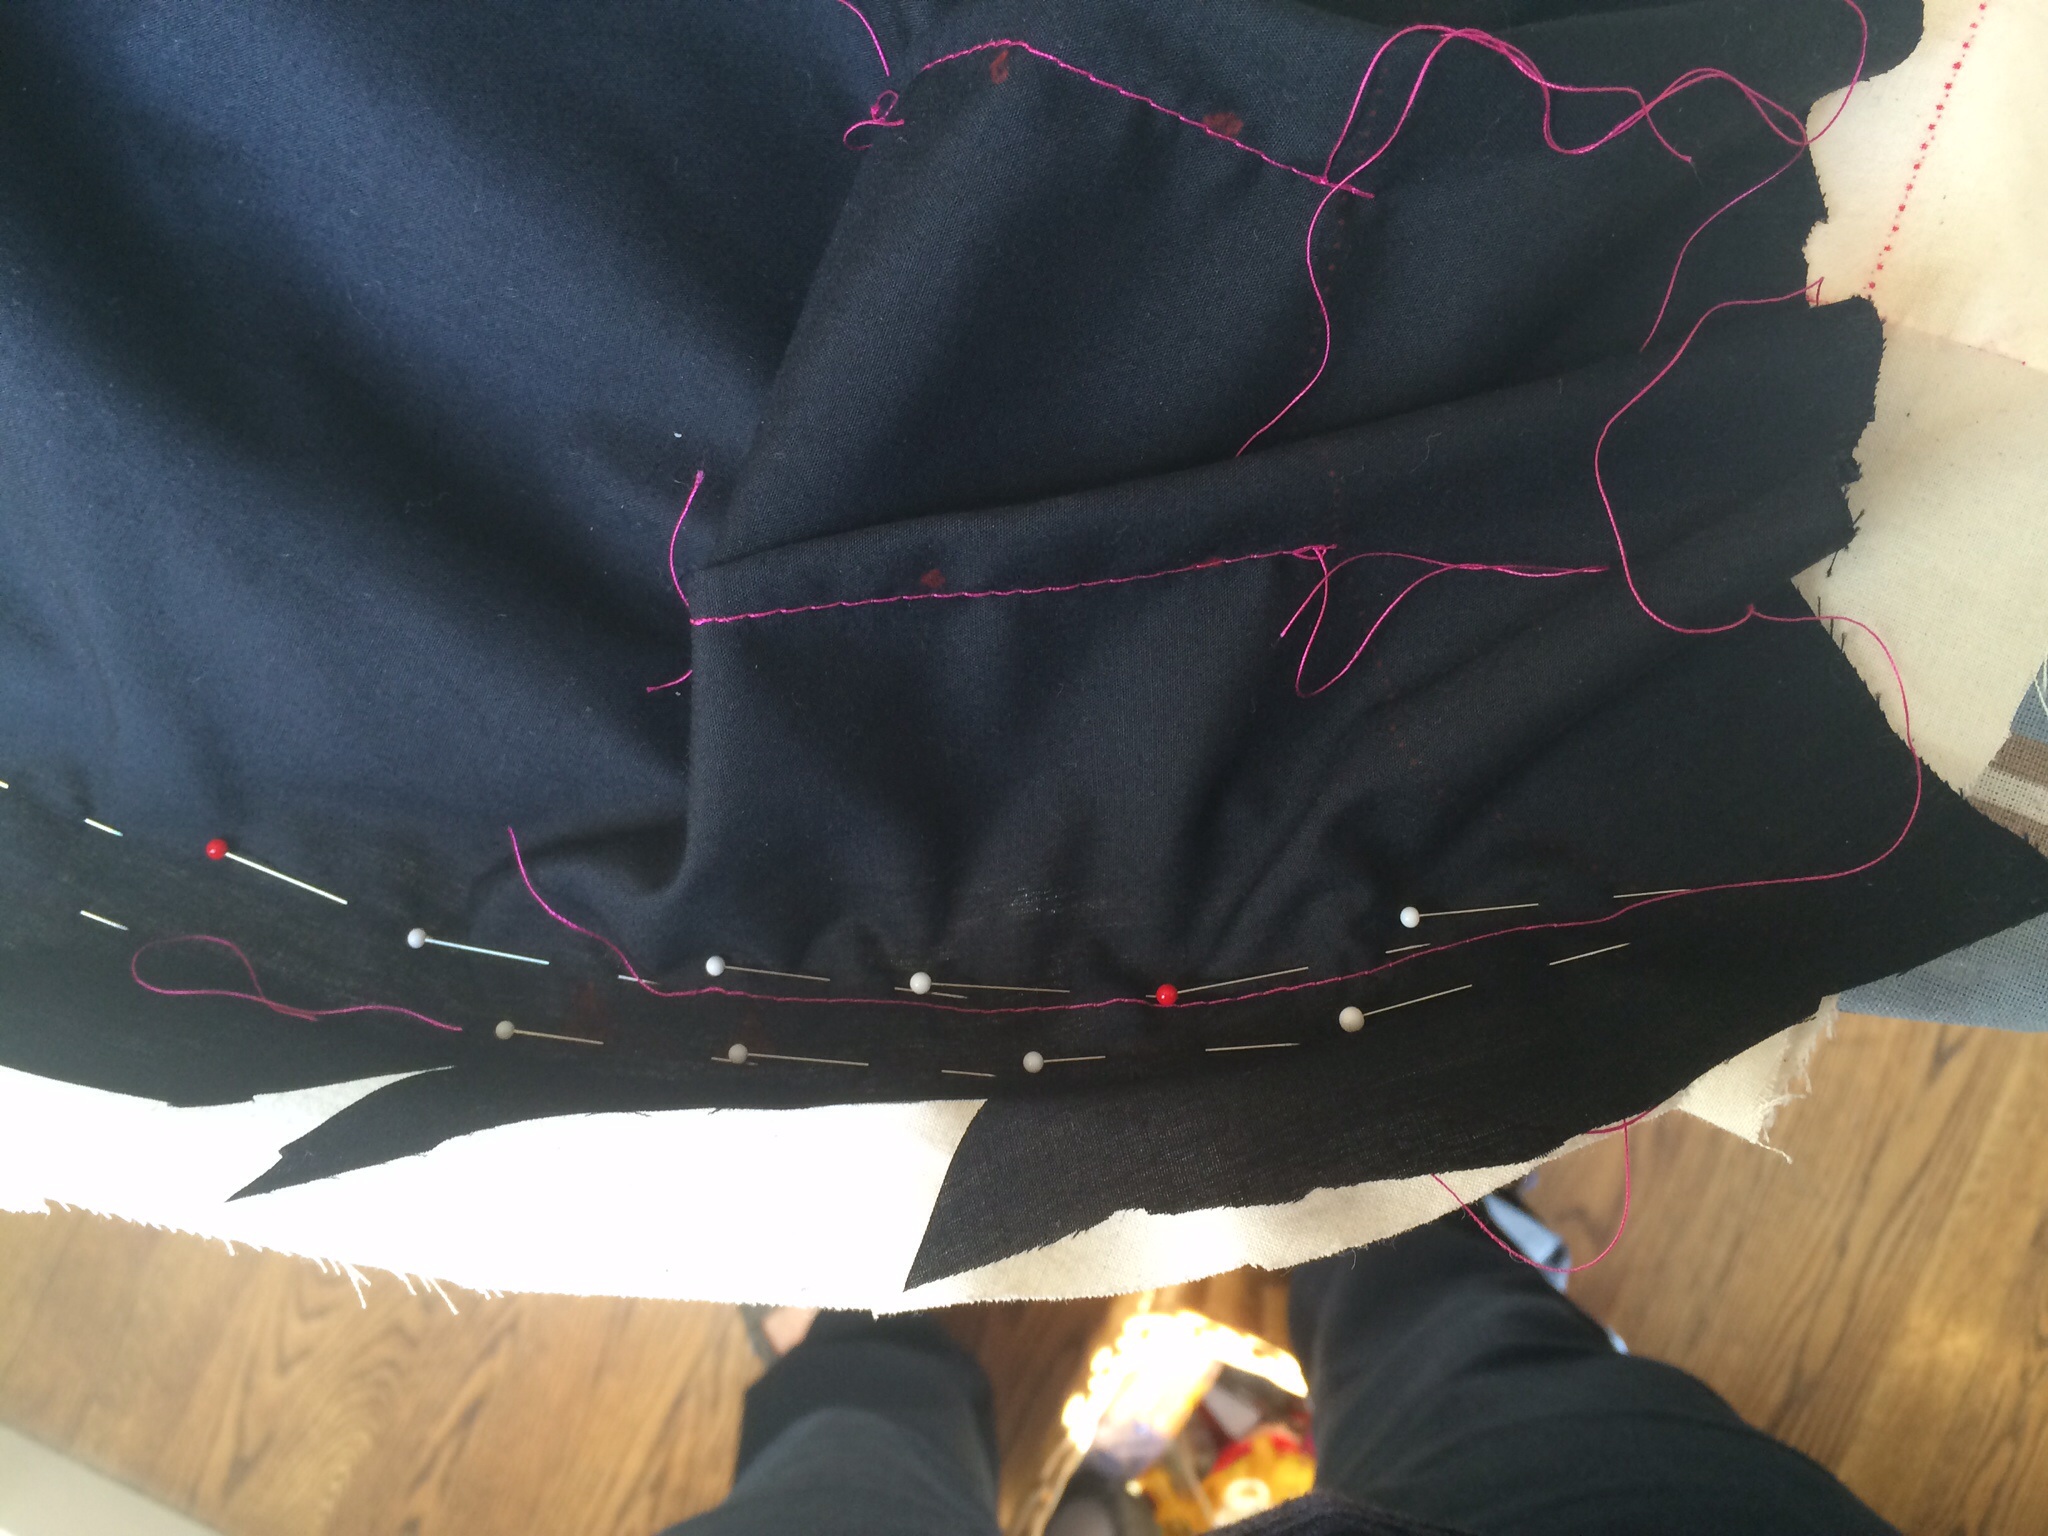
You can see I had to ease the back piece around to meet the hip curve of the front piece.
And here’s how the exterior looked after it was sewn:

It’s not just curved, it’s molded. And that’s what made Charles James such a great designer, even with something as simple as a pencil skirt.
Here’s a look at the front of the completed muslin version:

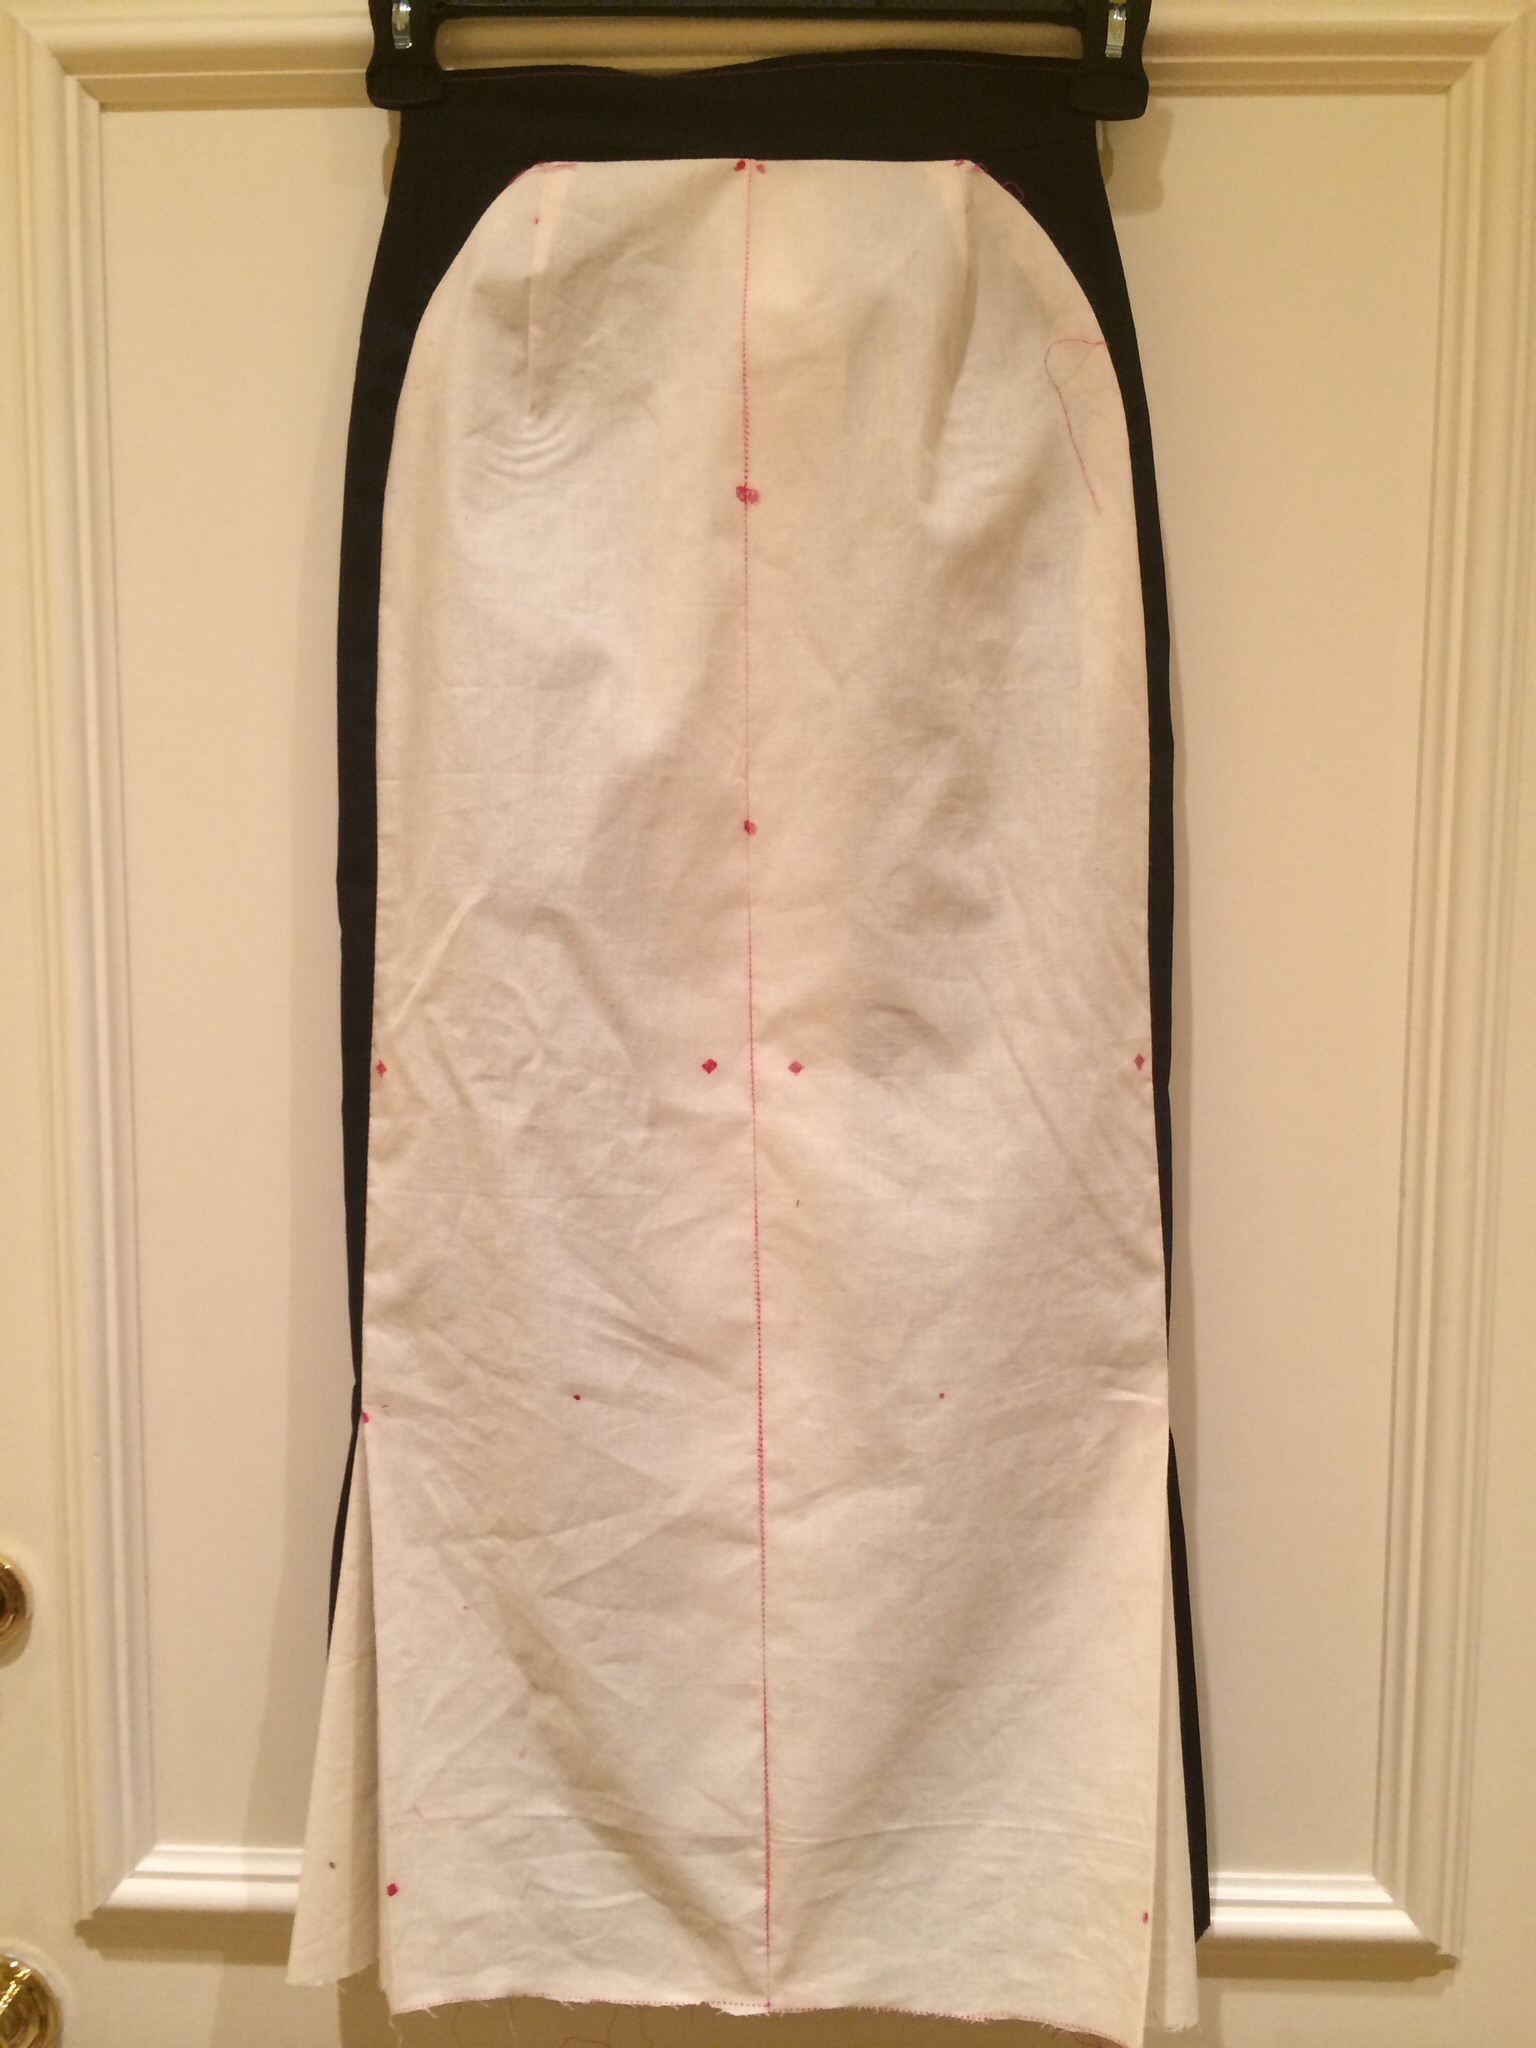
The back (in black) wraps around to the front to make an arch shape in the front. It’s hard to see, but that same shape is mirrored in a subtle arch on the waistband front. At the bottom of each side of the front piece are two lined pleats. (There’s no seam in the center front. I just messed up when I cut it, which is another reason you do a muslin.)
Here’s how the skirt looks from the side:
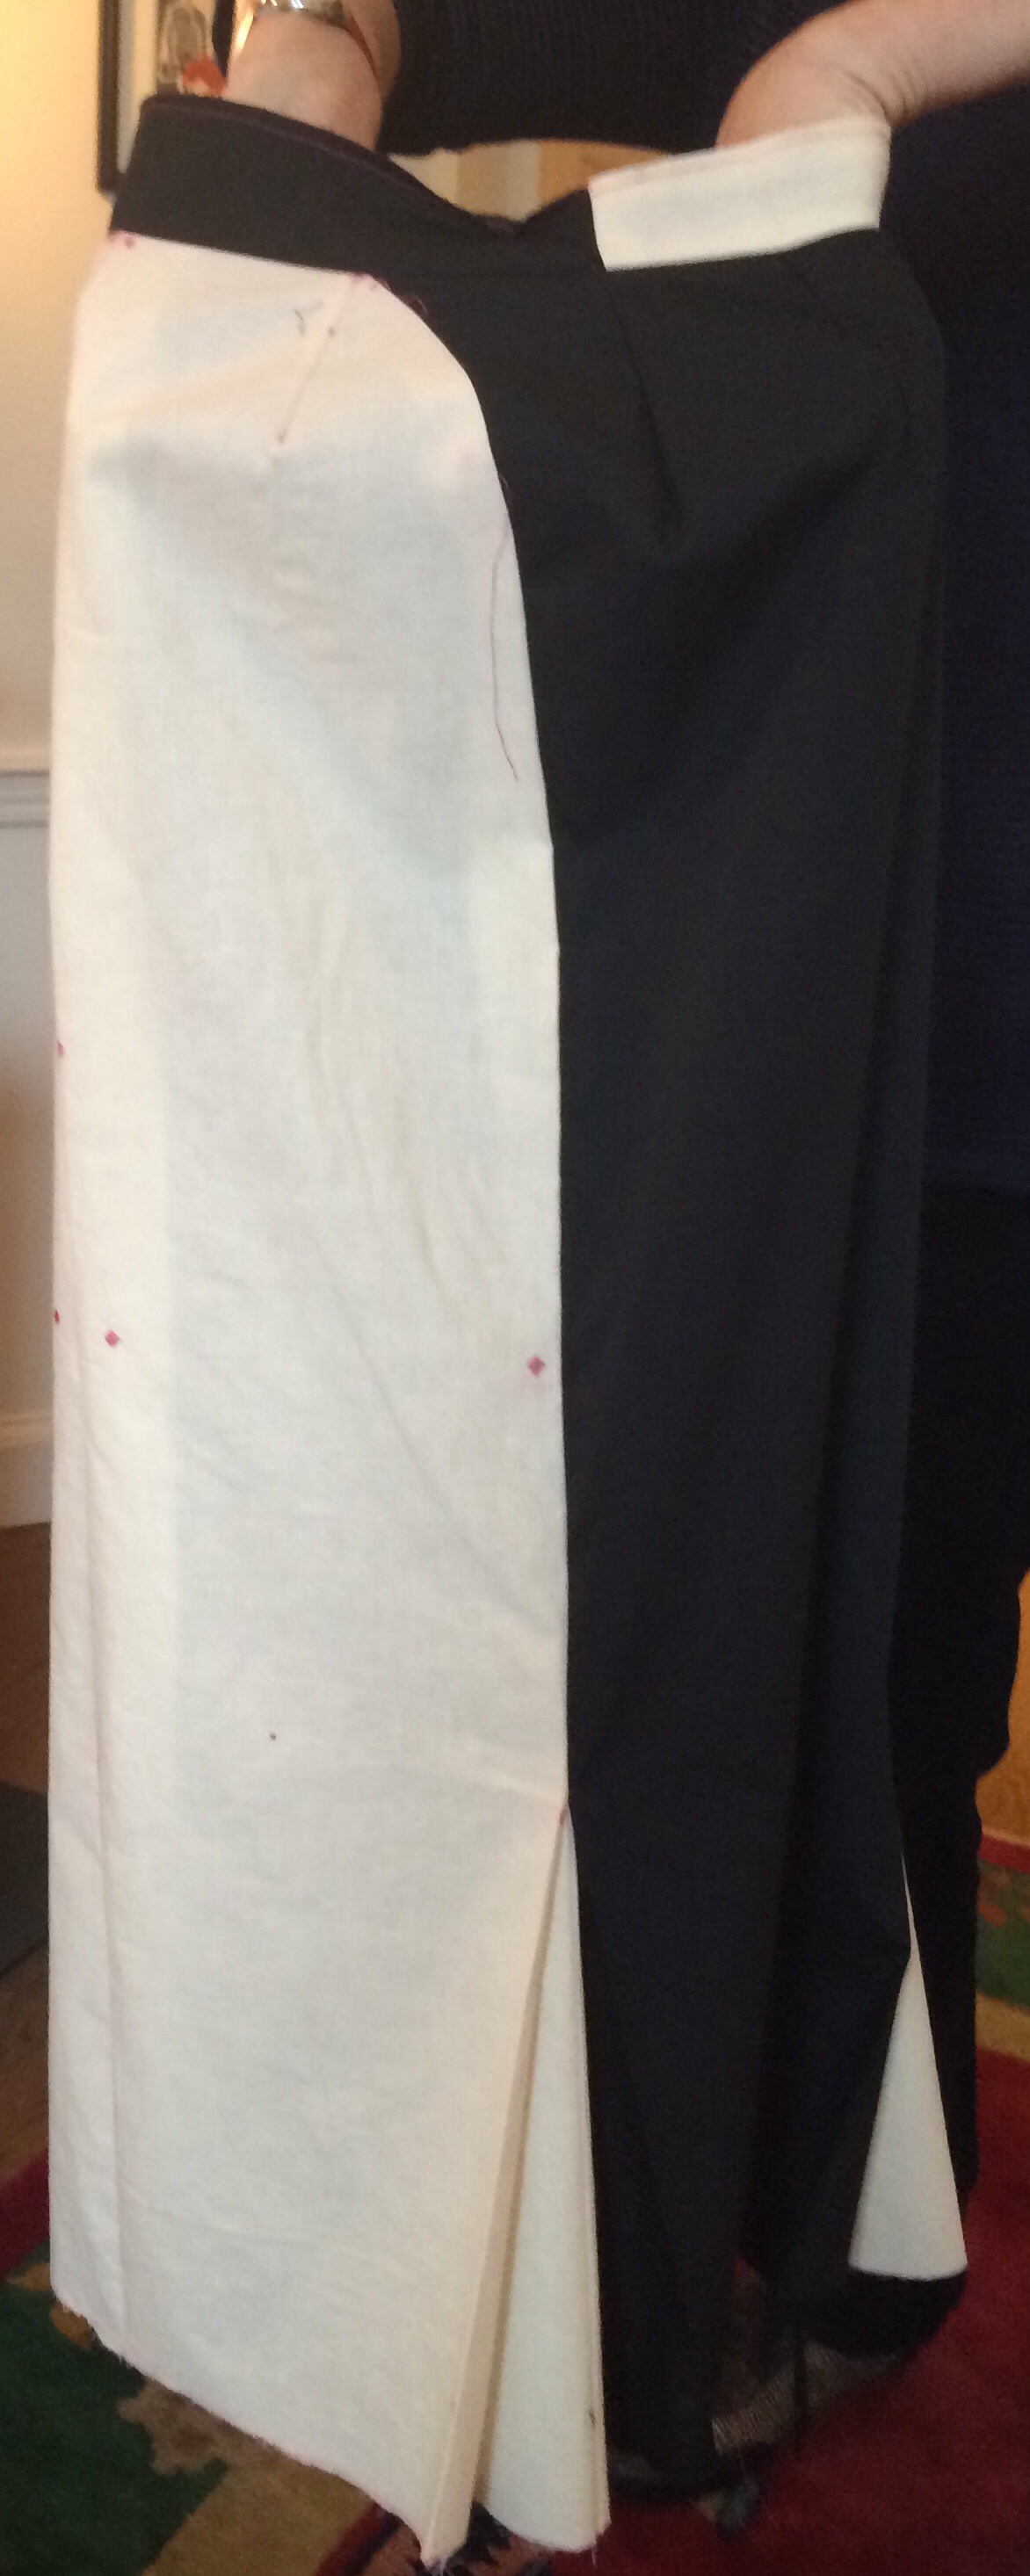
The seam between the front and back of the waistband meets at the actual side of the waist, over a dart, rather than where the front and the back pieces meet.
And here’s the rear, where there is another pleat in the center back:

The waist on the skirt is a petite 25″, and the hips max out at 37″. The whole thing’s so tiny it won’t fit on my dress form. But the length of the skirt, after hemming, is 32″, and on my 5’6″ long-legged frame, comes just 4″ above my ankle. That’s why I think this original is fitted for Amazon Barbie.
Clearly I’m not going to need to make it any longer, so I’m just going to attempt a massive “slash and spread” revision in the middle to get the skirt to fit me. There’s no way I’m touching the engineering on the sides.
And I hope that Charles James, somewhere in the great beyond, will forgive me for messing with his elegant design. But I can’t imagine that he would.

I was violently disagreeing with your ‘muslin first, then alter the flat pattern’ …and then I read all the way to the end. Thank you for all your ‘boring’ details, thank you for putting it up in two colors and a readable traced mark line. Should you find a way to casually drape the muslin over your arm at the show opening? “Oh, this old thing…”
You’re welcome! Once I got all of the marking and cutting done, the actual sewing was fun.
Perhaps a chic wrap out of the muslin?
I wanted to add that I learned the muslin marking and making technique from Susan Khalje’s Couture Dress course on Craftsy.com. It’s well worth the taking the time to learn, because in the end the fitted muslin becomes the pattern. I think it’s the best way to deal with the fit idiosyncrasies of these vintage patterns.
Thanks so much for this close-up look at the way this pattern works. I’m amazed every single time I see something designed by James.
When I bought the pattern I thought it was just some watered-down version of his design, but it’s pretty fab. I added a few inches to the center front and back and am now testing out the skirt in ponte. I’m very pleased with how it’s turning out, and I’ve really enjoyed making it.
Enjoy your day at the Met. I hope to get there in the next month. Should be a fabulous exhibit. I also enjoyed your skirt saga and hope someone notices you are wearing Charles James. Post loads of photos.
Hi Mary,
I had a ball and will be posting about it later today. You should definitely go, and plan to spend a lot of time at the museum to drink it all in. It’s fabulous!
Pingback: More from the Charles James Exhibit | Jet Set Sewing
Makes absolutely sense to me to sew something up in it’s original form when it’s got so much ‘behind the scenes’ action going on there. Incredibly scary, those waist to hip ratios! Love the pleats at the sides.
Thanks! My thinking now with these vintage designer patterns is to make the muslin up as is to see what it’s supposed to look like, then take it from there. Particularly with a designer who worked by draping, like Charles James.
Pingback: Is it okay for feminists to sew? Or: Want a man? Get a sewing machine. | Jet Set Sewing