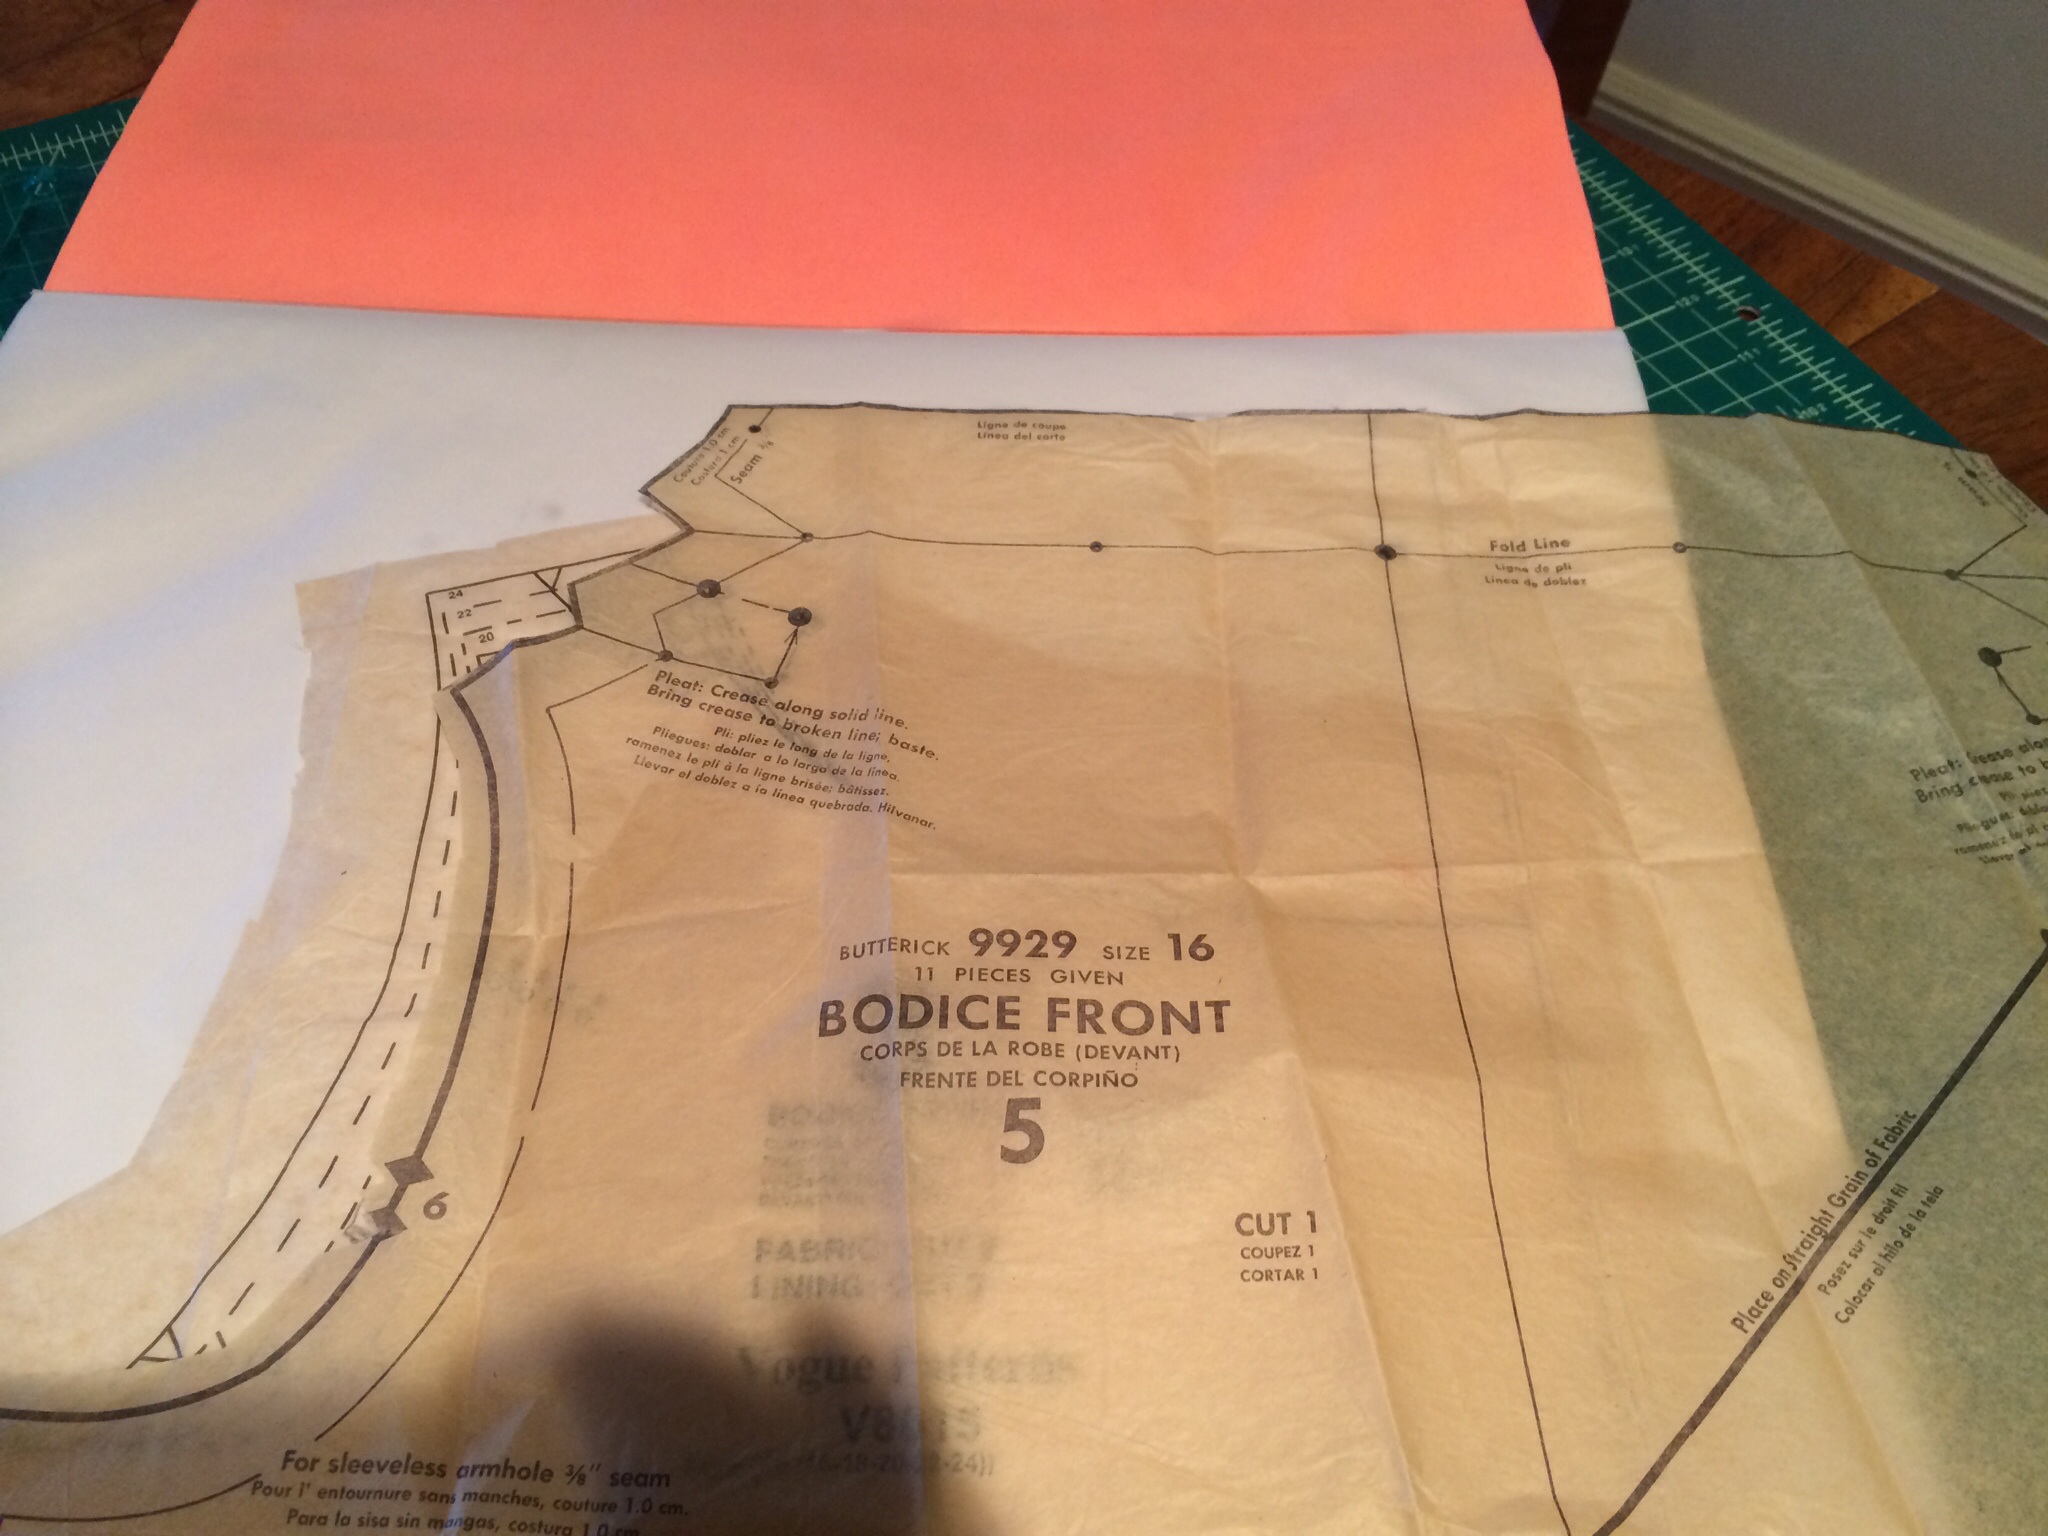
Back home and settled in, my January project was to make a top that recreates the type of 1960s high “crushed boatneck” shown in the pattern on the left:

Boy, I remember that “puffy bodice/straight skirt” look from the 60s. Yecch. But what I liked about the pattern was the high boatneck with small folds on the side, the French darts that start low on the side, and the 3/4 sleeves with two darts. Sleeve darts are something that need to make a comeback; they give woven sleeves such a nice shape.
I bought the pattern on Ebay to use with this gorgeous Italian wool that I picked up at Janssens et Janssens in Paris. I wish I could send you a swatch; it’s like buttah.

The sequins are printed on, so it’s trompe l’oeil, which is French for either “fool the eye” or “impossible for Americans to pronounce”. Due to the one-sided, one-directional nature of the print, I knew I’d have to lay out and cut the pattern very carefully.
The pattern was too small for me, so I decided to use the bodice of the modern Vogue pattern 8615 (on the left of the photo above) as my “fitting shell.” That pattern has French darts as well (and not the dreaded princess seams), and it includes bodice pieces for different bust sizes. It also has a relatively small armscye and narrow sleeve, which is rare for modern patterns. It has received good reviews on patternreview.com (Reviews of Vogue 8615), and it makes a very cute retro-style dress.
I taped the Vogue pattern to some tracing paper, then put the vintage Butterick boatneck pattern on top to trace the neckline.
After I was done tracing, it looked like this:
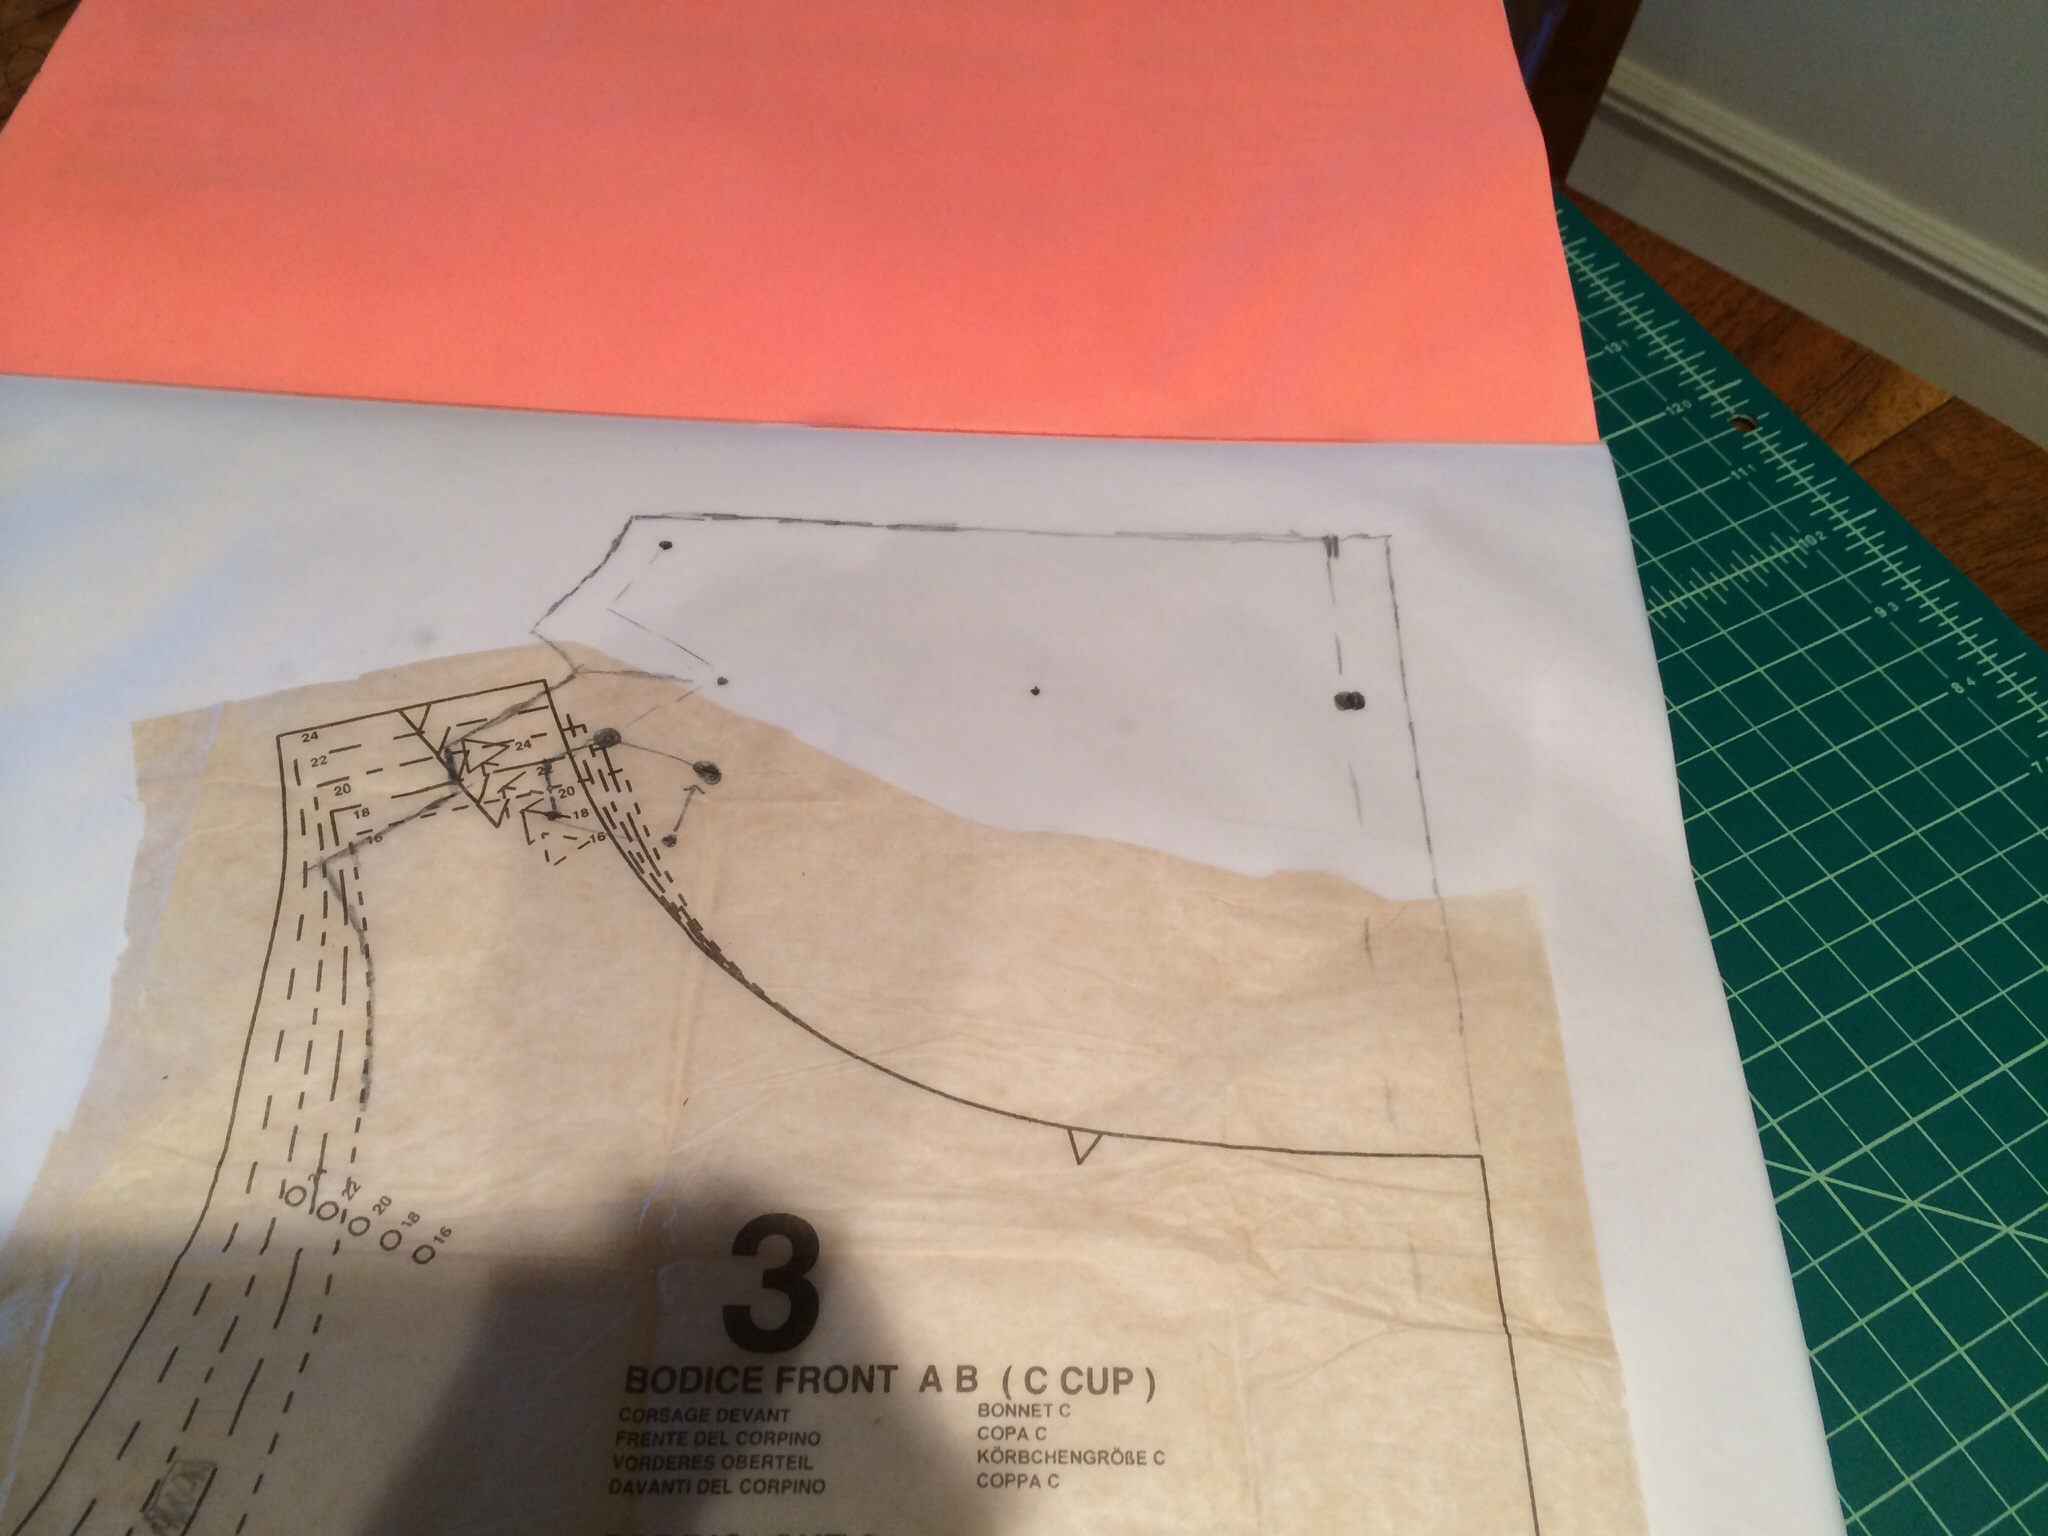
Then I realized that since I was making a top, and not a dress, that I needed the pattern to extend below my waist. So I dragged out a muslin I made last year, when I was going through vintage Lutterloh hysteria. The weird world of Lutterloh deserves its own post, so I’ll elaborate in the future. But in the meantime, here’s a review of the Lutterloh top I made last year: (50s Lutterloh Top review)
So I put the Lutterloh muslin on top of the Frankenpattern I was creating and traced around the bottom, also adding the bottom of the dart.

A heads up: when you’ve gone this far into pattern combining, you will lose all track of the notches and have to fake it.
I don’t have a picture of it, but when I made the Frankenpattern of the back, I added two waistline darts in the rear, and kept a couple of small shoulder darts from the original Butterick. Rear darts are another thing that should make a comeback; they really improve the fit.
For the sleeve, I used the top of the modern Vogue pattern, so the sleevecap would fit in the armscye, and then drew on the bottom of the sleeve from the vintage Butterick pattern, so I would get the curved shape and two darts.

This is the point in my projects where I start wondering if I’ve bitten off more than I can chew.
Since the fabric I was using was so expensive and nervous-making, I did a full-out muslin at this point. I also wanted to have a muslin to use as a pattern in the future, since I adore the unique neckline and shaped sleeves.
Once again I used the technique outlined in Susan Khalje’s “Couture Dress” course on craftsy.com. I laid out the muslin on a large sheet of tracing paper, put the frankenpattern pieces on top, and marked the muslin with a tracing wheel.

I hate doing muslins, hate ’em, until the very moment I put them on and think “boy, that has some fit issues…”

I saw right away that I had constructed the two sides of the neckline differently (hard to tell without notches) and that the bust was tight. At that point I was so happy that I was only picking out the basted seams on a muslin and not messing with my delicate fabric. I adjusted the fit and liked what I saw.
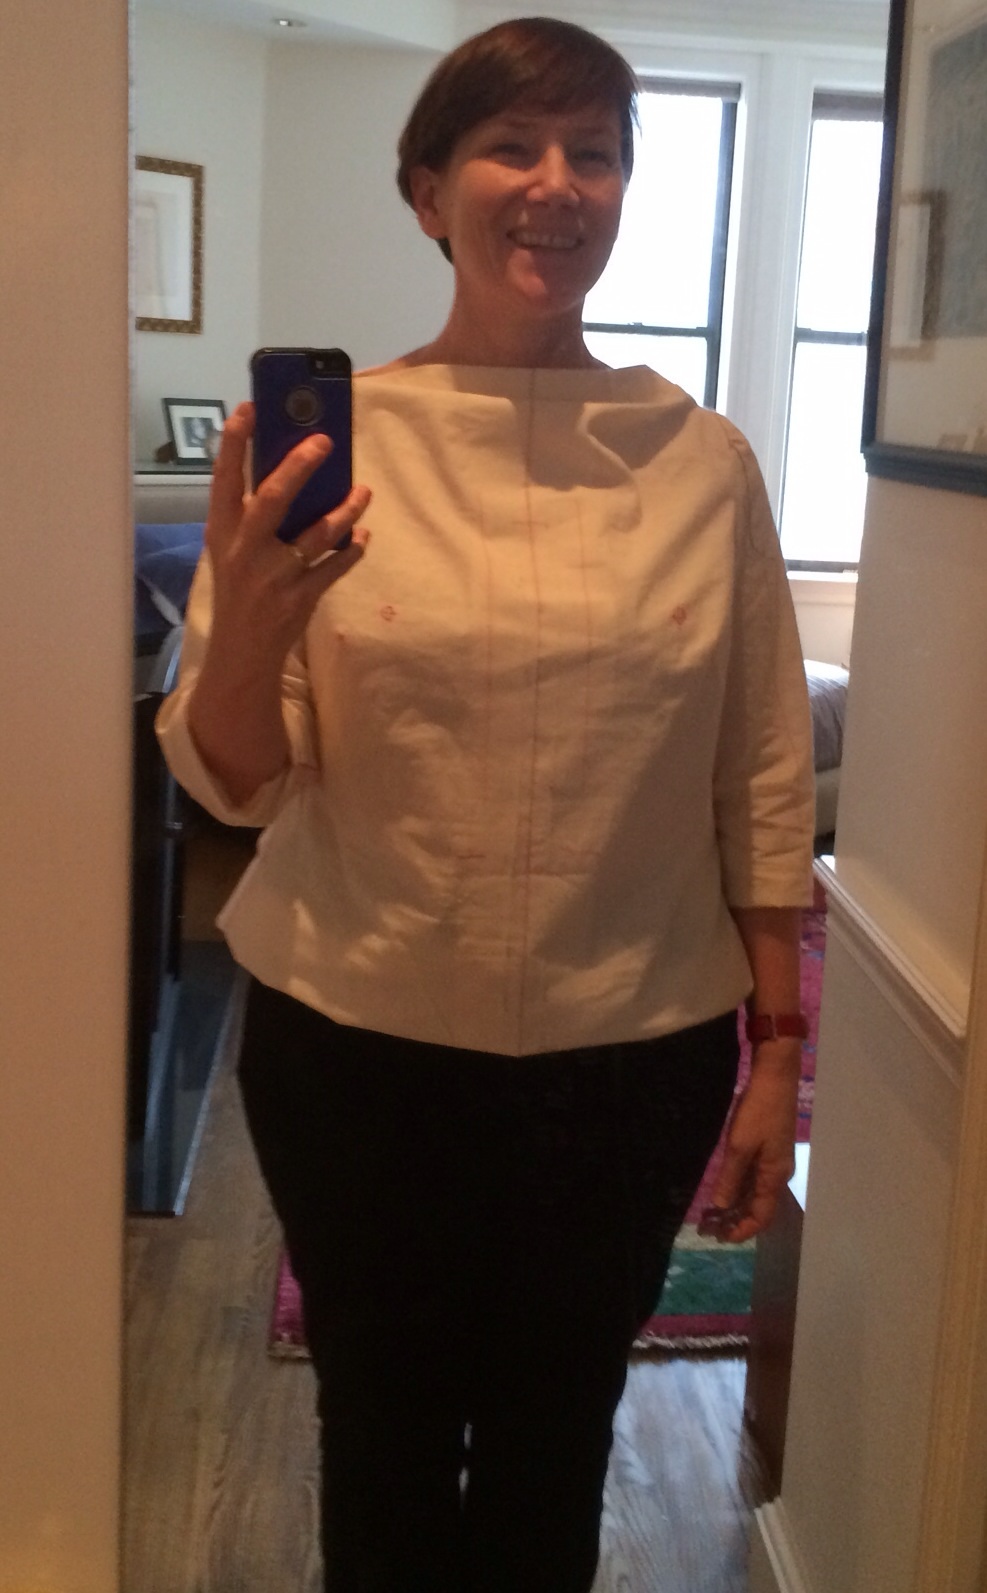
I really need to put on lipstick before I take these muslin selfies.
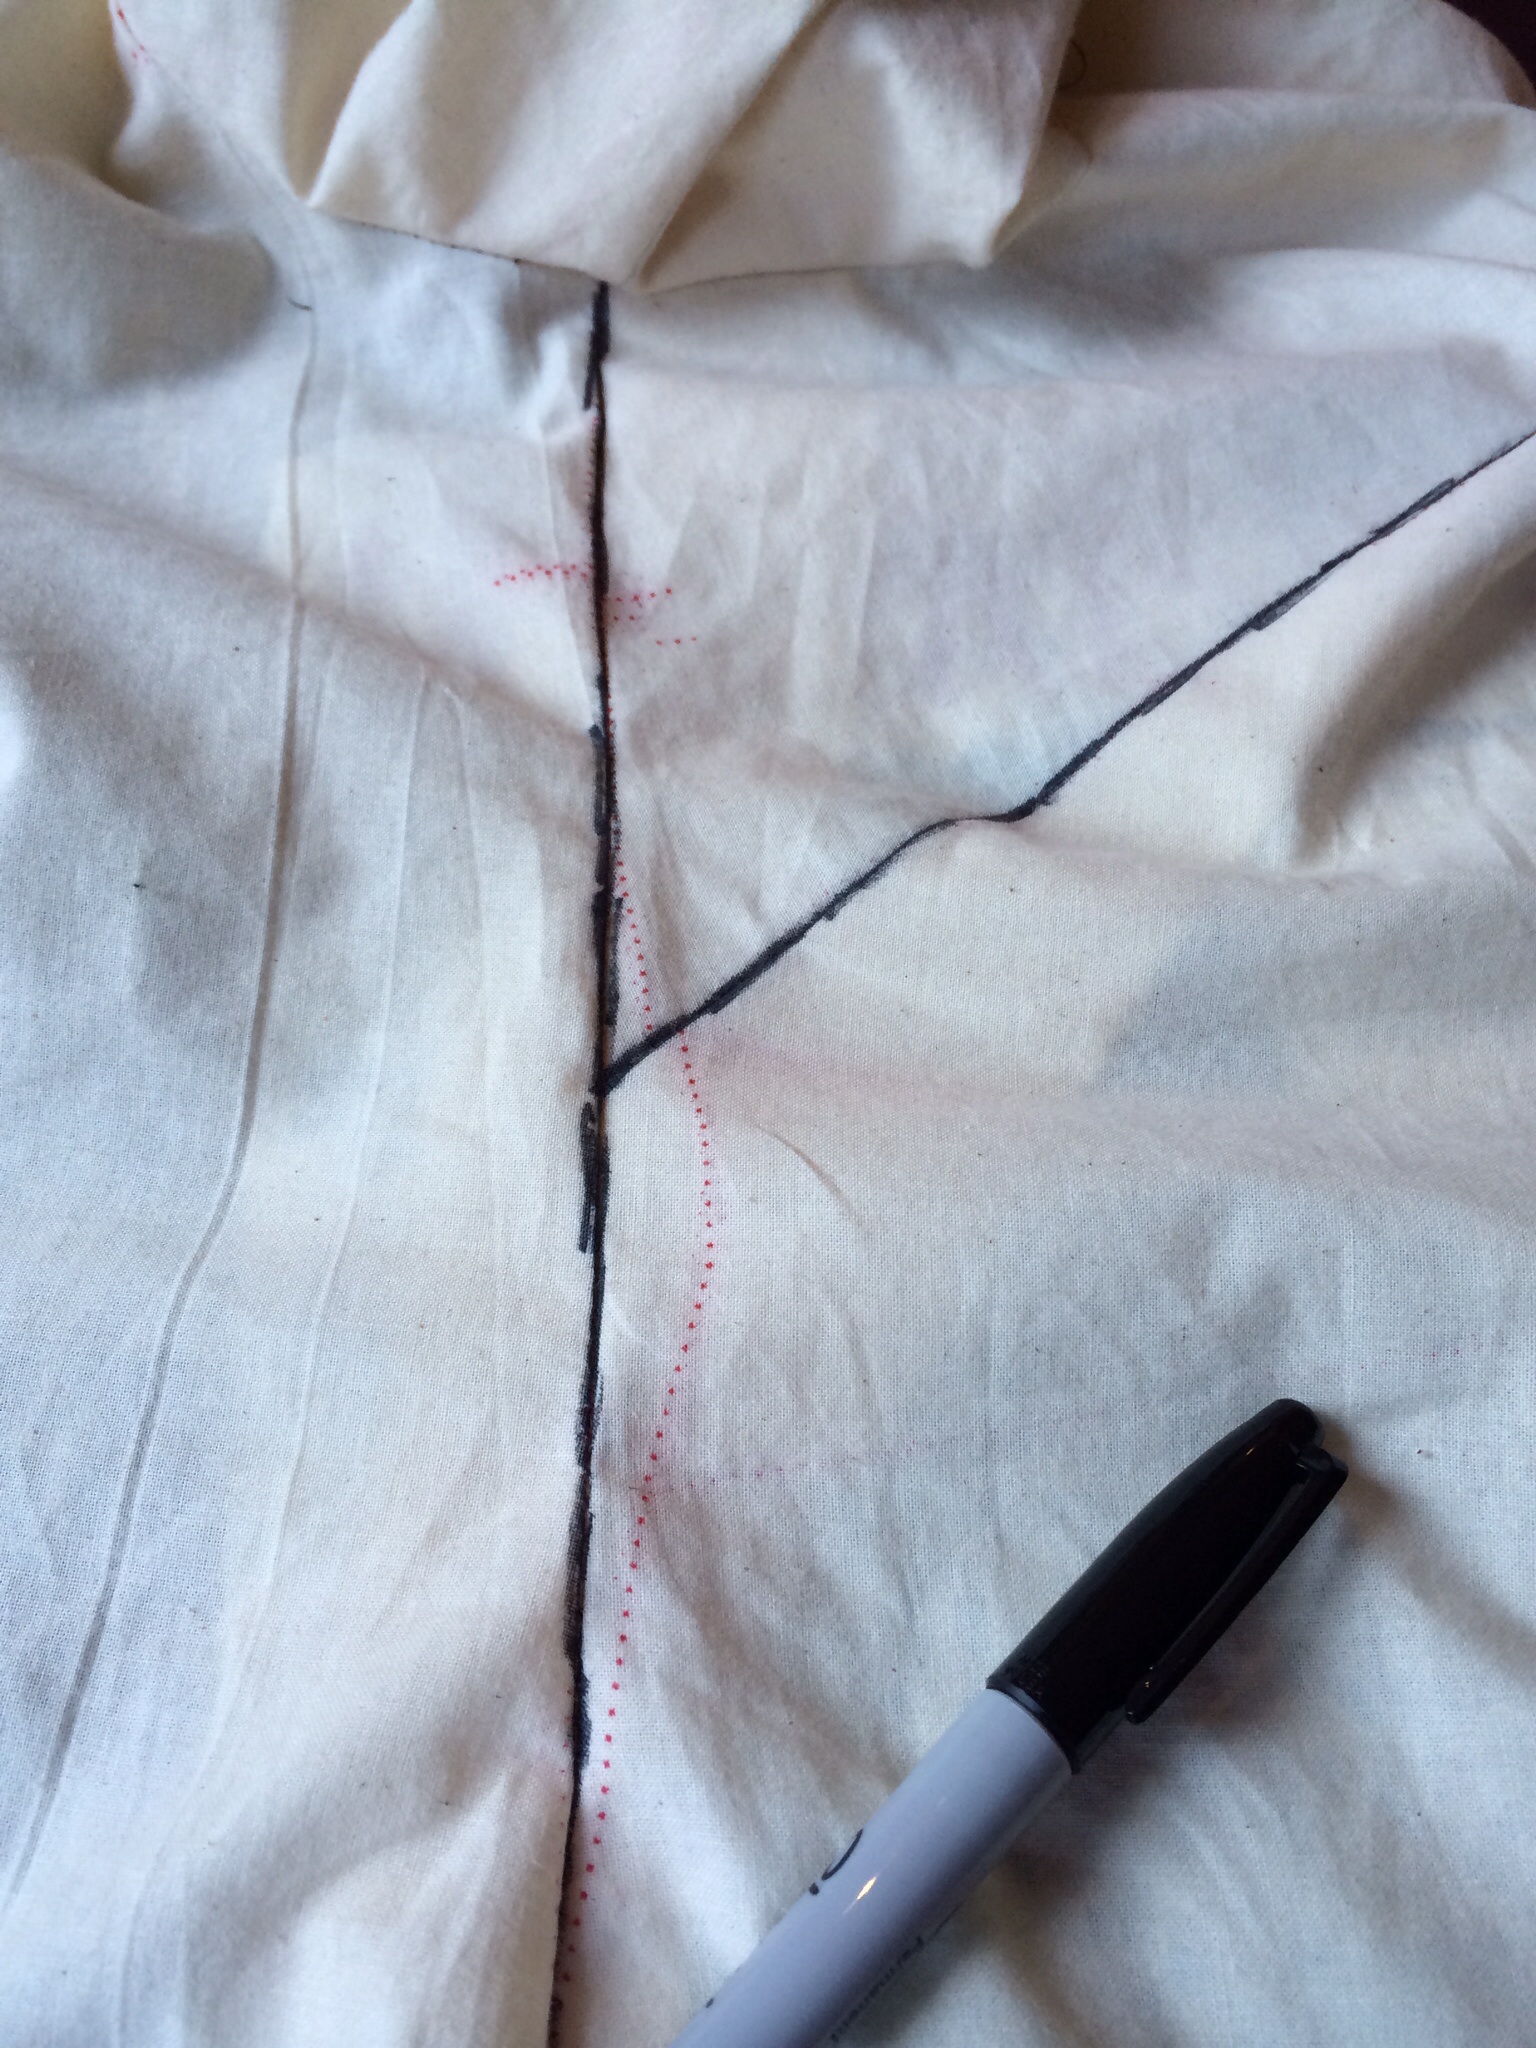
The last thing I do when I’m done fitting a muslin is to take a magic marker pen and mark both sides of each seamline and dart seam. That way when I take the muslin apart, I know exactly where the final seamline is.

Now I felt so much better about cutting that fine, fine fabric. And I had a nice project for a snowy day in Boston.

I’ll let you know how the top’s turning out in my next post. How’s your new year’s sewing going?

That’s a lot of work, just for the pattern, but I understand why you must do this when working with such nice fabric. I look forward to the end result!
Thanks Lizzy, it’s turning out nicely. Too much work really, except I know I’ll reuse this pattern a number of times.
I knew you would find something special to do with that gorgeous “sequinned” fabric. It was very helpful to see your process of frankenpatterning — thanks for the details in this post.
Hi Patricia! You’re right, one thing I’ve learned from working with couture-level fabrics is that it’s worth monkeying around with a muslin for awhile to get the look and fit you’re looking for…but at a certain point you have to “fish or cut bait” as we used to say in the Midwest. Even though muslins are a pain, I’ve learned a lot about pattern structure and fitting from making them.
I love such necklines! It is wonderful – the fabric is so special.
Thanks! It was a lot of work, but now I use the pattern a lot. The fabric is light as air.